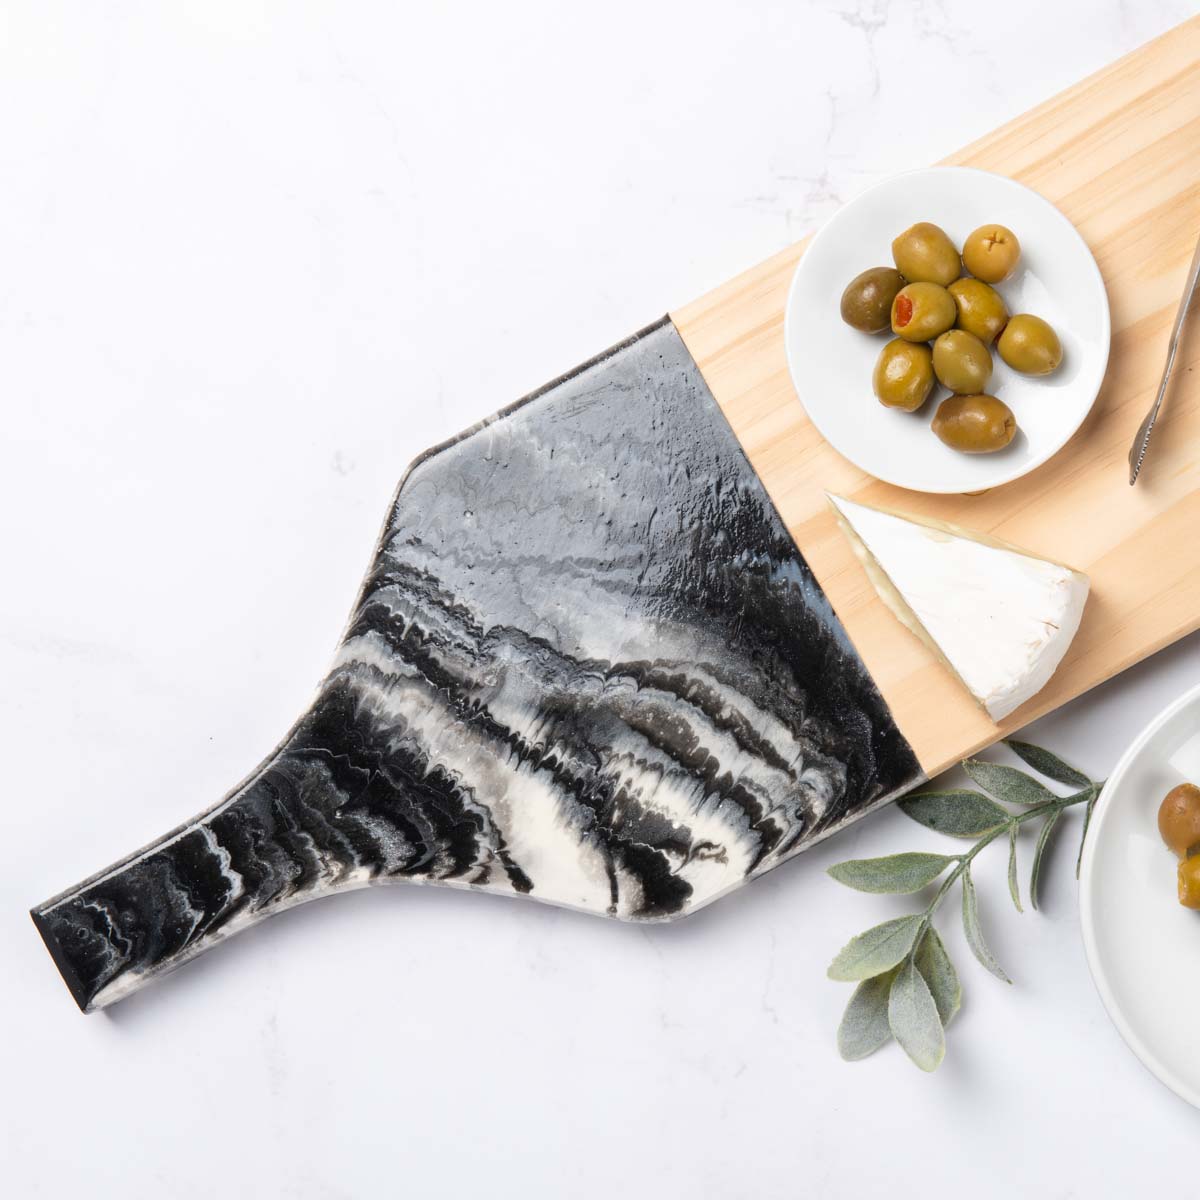
Go with a simple, yet classic black and white marbled look using Mod Podge Resin. Pair this elegant board with your favorite cheeses to make your wine tasting party unique and creative.

Instructions
- On your cutting board tape off the area where you are going to pour resin with painters tape. The area where you do not wish to have resin should be covered completely. To save tape, you can cover the edge (where the resin will touch) in tape and cover the rest in paper or a plastic bag. Also, tape along the edge on the underside of the cutting board for prevent resin from dripping onto the bottom.
- On a protected work surface, place the cutting board so it is balanced on 3-4 upside down cups. This will allow for excess resin to drip off of the cutting board so it doesn’t pool around it. Note: cups and work surface will get resin on them, so make sure they are disposable.
- Mix the Mod Podge Resin.
- Split the Mod Podge Resin into two cups evenly.
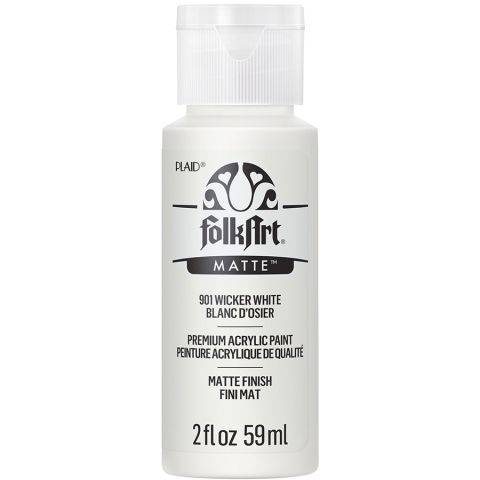
- In one cup, add 2 dollops of Wicker White and mix.
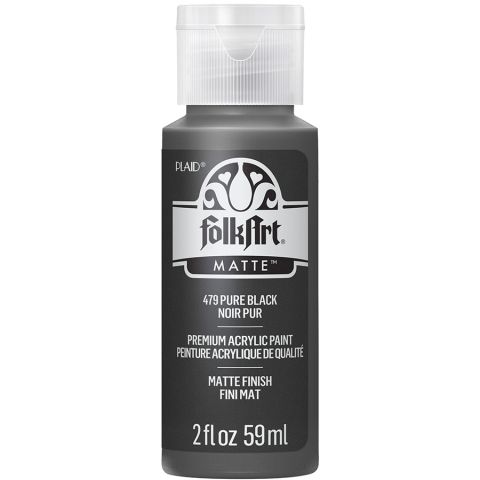
- In the second cup, add two dollops of Pure Black and mix.
- Pour a “stripe of white resin on the cutting board. Then, pour a “strip” of black resin. Continue alternating colors and pouring “stripes” until the desired area is nearly covered.
- With a hair dryer, blow the resin “stripes” perpendicularly on the lowest setting. You want the stripes to blow into one another to create a blended look. Continue pouring more resin and gently blowing with a hair dryer until the desired effect is achieved.
- Allow the resin to cure.
- When the resin is cured, removed the tape from the cutting board. If there are any areas that leaked, or if resin dripped onto any areas that you did not want, gently sand it away with sand paper.
8.5.7

