$1.99
$1.99
$1.99
$1.99
$1.99
Special Price $1.19 Regular Price $1.99
$1.99
$1.99


Instructions
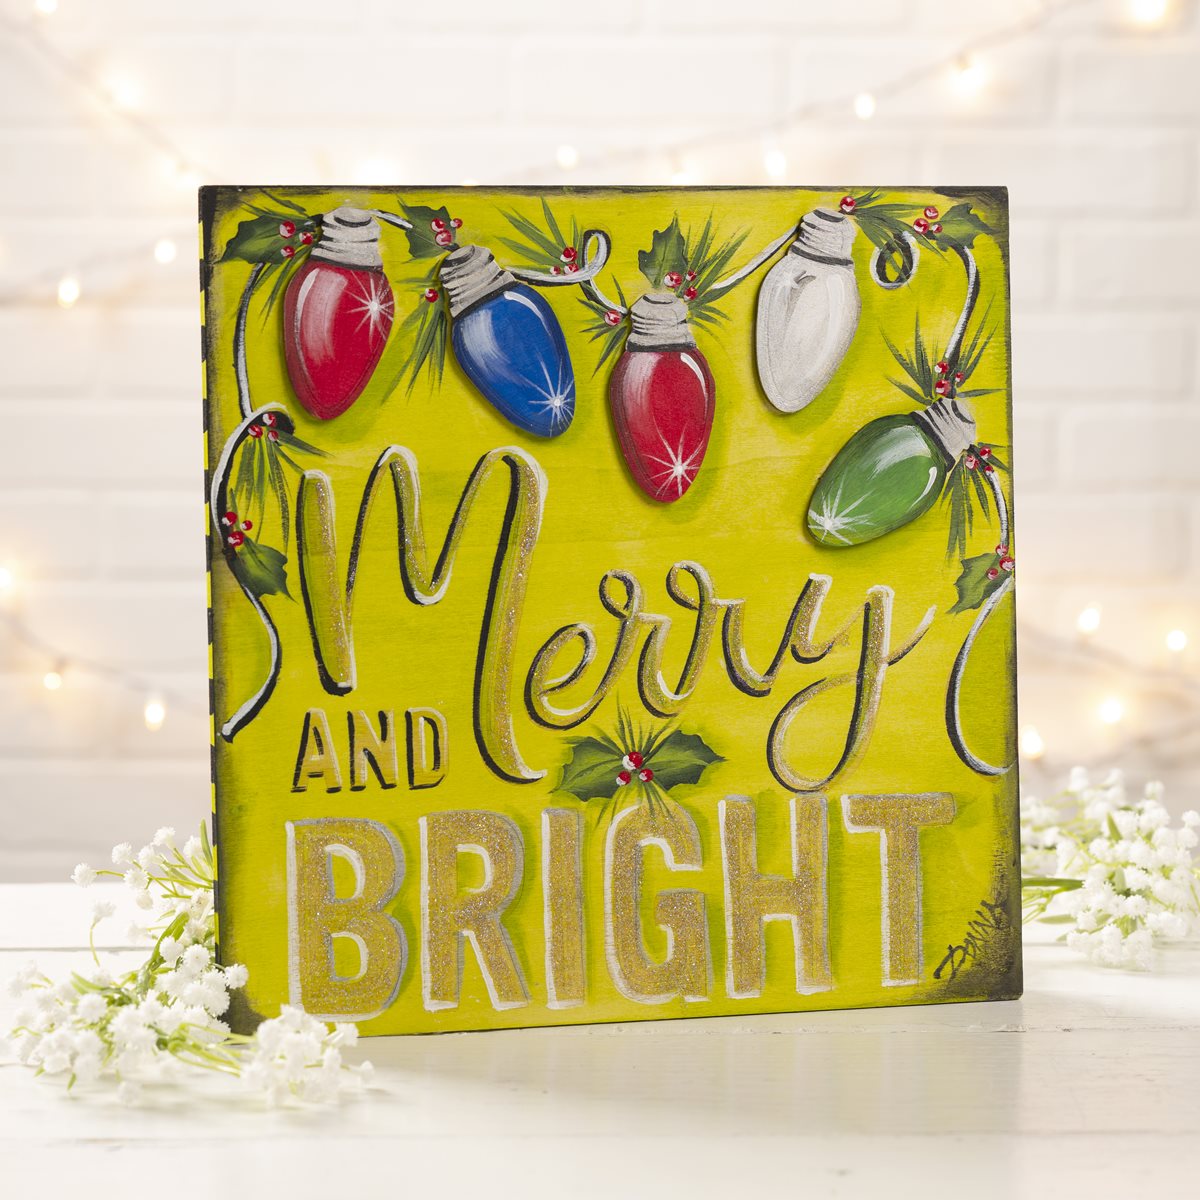
PREPARATION
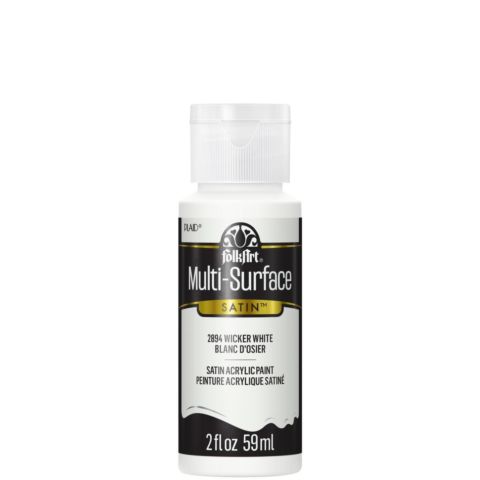
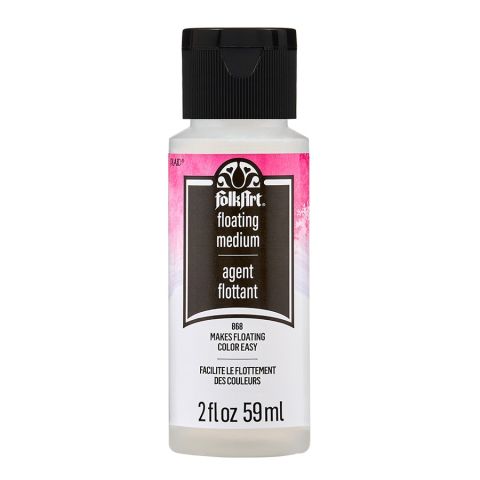
Load the ¾” Flat with Citrus Green and a lot of Floating Medium, blending to a thin wash color, and basecoat the square surface and edges. Let dry. Load the#12 Flat with Cobalt Blue and a lot of Floating Medium, blending to a thin wash color, and basecoat one light bulb. Repeat with Classic Green and Wicker White for one light bulb each and with Apple Red for two light bulbs. Add stripes of Classic Green around the outside edge of the sign. Let dry,
LIGHT BULBS
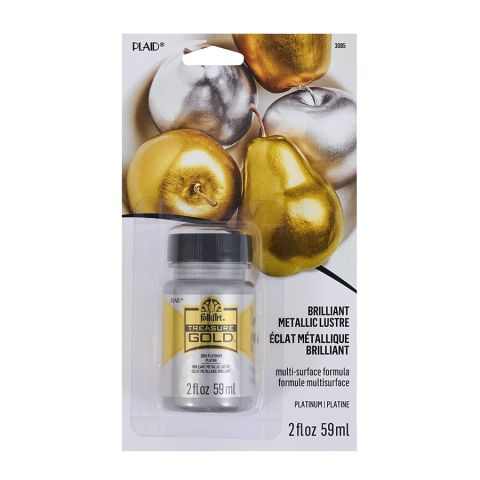
Load #6 Flat with Steel Gray and add Floating Medium, blending well. Basecoat the screw top on the end of each light bulb. Let dry. Load #6 Flat with Treasure Gold – Platinum and stroke over the gray screw top on the end of each light bulb. Load the #2 Script Liner with Licorice and add water, mixing to an inky consistency. Stroke detail lines on the grooves of each base and outline each light bulb. Also stroke a detail line down the left side of the white lightbulb and stroke the length of the light string. Load the #2 Script Liner with Wicker White and add water, mixing to an inky consistency. Stroke a starburst on each light bulb, dotting the center of each with the handle of the brush. With the same loaded brush, stroke a long highlight streak down the right side of each bulb except the white bulb and stroke a highlight along the light string. Pick up a tiny bit of Wicker White on the chisel edge of #10 Flat and tap off on paper towel. Dry brush a highlight down the left side of each light bulb.
GREENERY
Load the #10 Flat with Citrus Green and side-stroke Sap Green, blending well. Add Floating Medium, blending well. Stroke the leaves around the sign, keeping the dark edge to the outside of each leaf. Standing on the chisel edge of the brush, add pine needles by stroking outward, leading with the light edge. Then, reverse the brush direction and lead with the dark edge for a few strokes. Finish the pine needles by side-stroking Wicker White and stroke a final few highlighted strokes. Dip the handle into Apple Red and dot berries. Let dry. Pick up Wicker White on the tip of the #2 Script Liner and add comma stroke highlights on the left side of each berry.
LETTERING
Load the #2 Script Liner with Wicker White and add water, mixing to an inky consistency. Highlight the right side and top of the letters “Merry” and highlight the left side and bottom of the letters “BRIGHT”. Load the #2 Script Liner with Licorice and add water, mixing to an inky consistency. Stroke along the left side and bottom of the letters “Merry AND”. Load the #2 Script Liner with Steel Gray and add water, mixing to an inky consistency. Stroke along the right side and top of the letters “BRIGHT”. Let dry.
FINISHING
Load the #12 Flat with Floating Medium and side-load Citrus Green and a touch of Classic Green, blending well. Shade on the inside left side of the letters “Merry”, on the right side of each light bulb and the letters “BRIGHT”, around the leaves and on the sides of the sign in the middle. Load the ¾” Flat with Floating Medium, side-load Sap Green and shade along the top edge of the sign as well as along the side edges down about half-way. Repeat the load with Licorice and shade along the bottom edge of the sign as well as up the sides about half-way. Load #6 Flat with Glitterific Fine – Gold and stroke inside ”BRIGHT”. Load the #2 Script Liner with the color of your choice and add water, mixing to an inky consistency. Sign the project piece.

