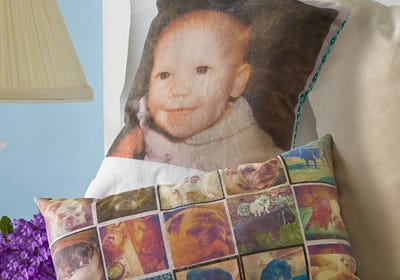
Show your love with a sweet photo pillow, created with Mod Podge!
Instructions
1. Use a dry toner computer to generate printouts or have copies made. I recommend testing a copy before beginning the project. Cut images to desired size.2. Wash, dry and iron fabric.
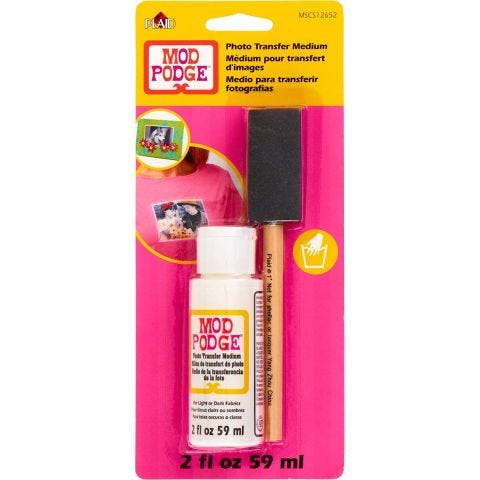
3. For easiest clean-up, cover work surface with the silicone mat. Apply a medium layer of Photo Transfer Medium to the front of the image to be transferred. Make sure medium completely covers the image.
4. Quickly put the covered image face down on the white fabric and smooth. Wipe away any photo transfer medium that squeezes out the sides. Repeat for remaining photos.
5. Let dry for 24 hours.
6. Rub the paper off of the photo transfer using the sponge and water, following package directions. Let fabric dry.
7. Place the fabric with the photo transfer face down on the right side of the patterned fabric; sew together, leaving a small hole.
8. Turn the pillow inside out so that the photo transfer is now on the outside.
9. Stuff the pillow with the fill. Make sure to stuff into the corners.
10. Fold the edges of the hole over and use the needle and thread or sewing machine to close.
PROJECT TIP: Be sure to test a photocopy before beginning…..


