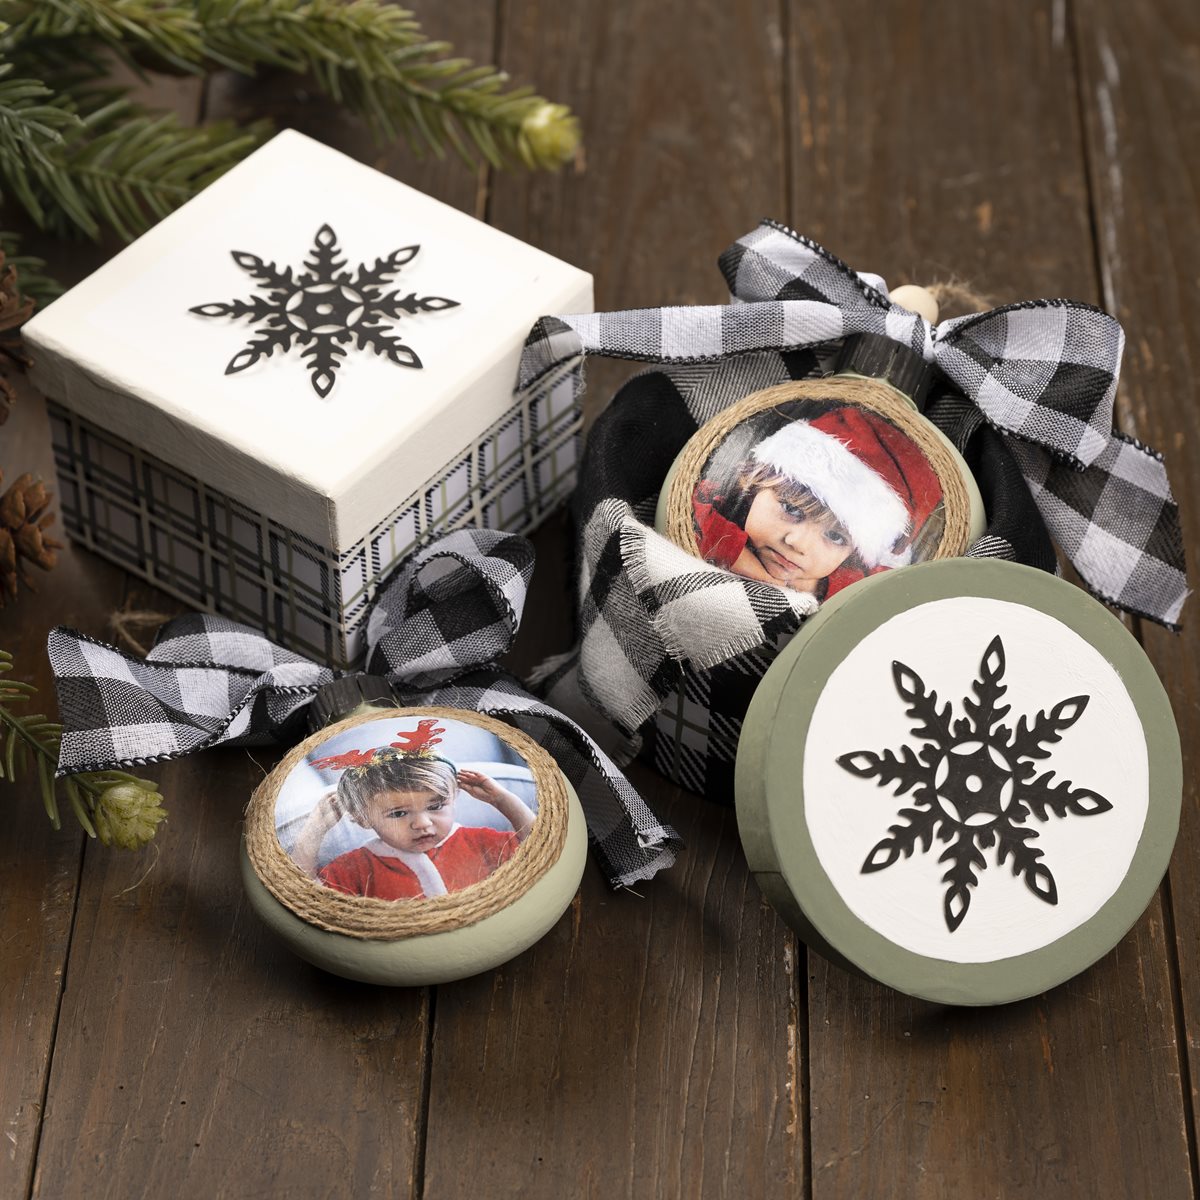
Give the gift of handmade with these beautifully painted boxes and personalized photo ornaments! Easy and fun to create with Mod Podge Photo Transfer Medium
Instructions
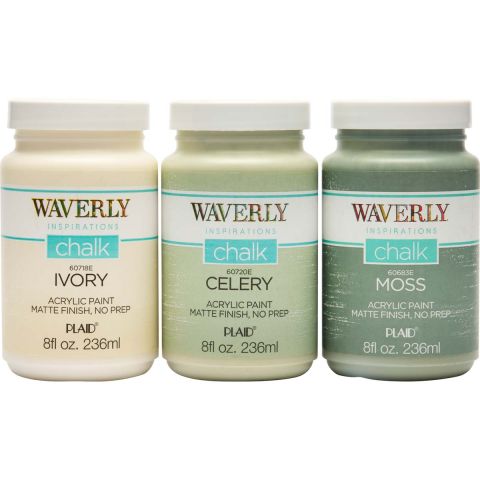
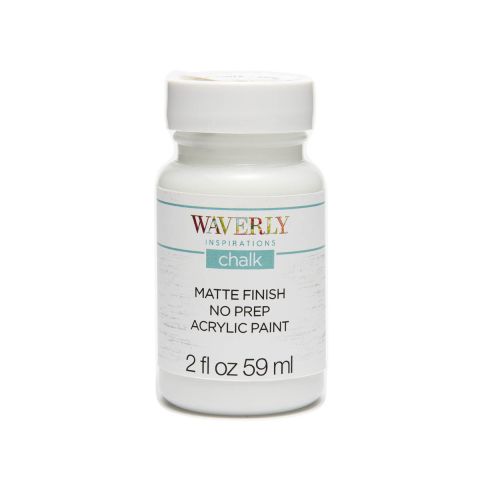
- Basecoat the round box with Moss. On the top of lid, paint a White circle leaving a ½” border around the edge.
- Basecoat the square box Ivory. Paint a White square on top of the lid, in the center, leaving a ½” border around the edge.
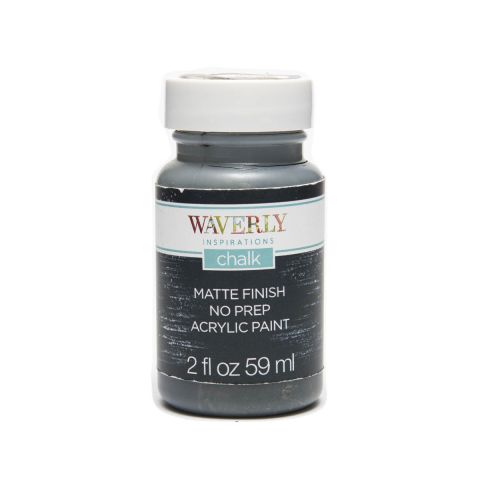
- Paint the paper snowflake with Ink and Mod Podge it in the center of the lid.
- Place the boxes on top of the paper and trace the sides onto the papers with the pencil.
- Cut out the paper and Mod Podge it to the sides of the boxes. Allow to dry.
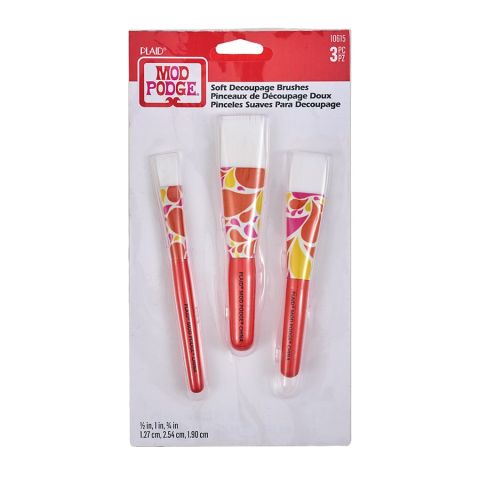
- Add extra color to the plaid pattern by painting a line in between the plaids in Moss and Ivory using the liner brush.
- For the ornaments, begin by watching this awesome video about photo transfer and how to use it. Andy from our Let Paint Live goes through every step with lots of detail. https://youtu.be/Eub8LFuQ0MQ
- Now that the image is on the ornament, paint the rest of the ornament with Celery. Allow the paint to dry.
- Brush the twine with the Mod Podge Matte and begin to make a frame around the photo. Wrap it around about 3 or 4 times depending on how thick the twine is.
- Cut about 12” piece of twine and pull it through the ornaments hanger.
- Tie a knot at the ends of the twine. Pull the knot of the twine back down to the hanger of the ornament. Secure the knot to the top of the ornament with hot glue. The loop of the twine is now at the top.
- Next, thread the loop at the top through the wooden bead. Push the bead to the bottom of twine and tie a knot to secure it.
- Tie the black and white buffalo plaid ribbon around the ornaments hanger a make a bow.


