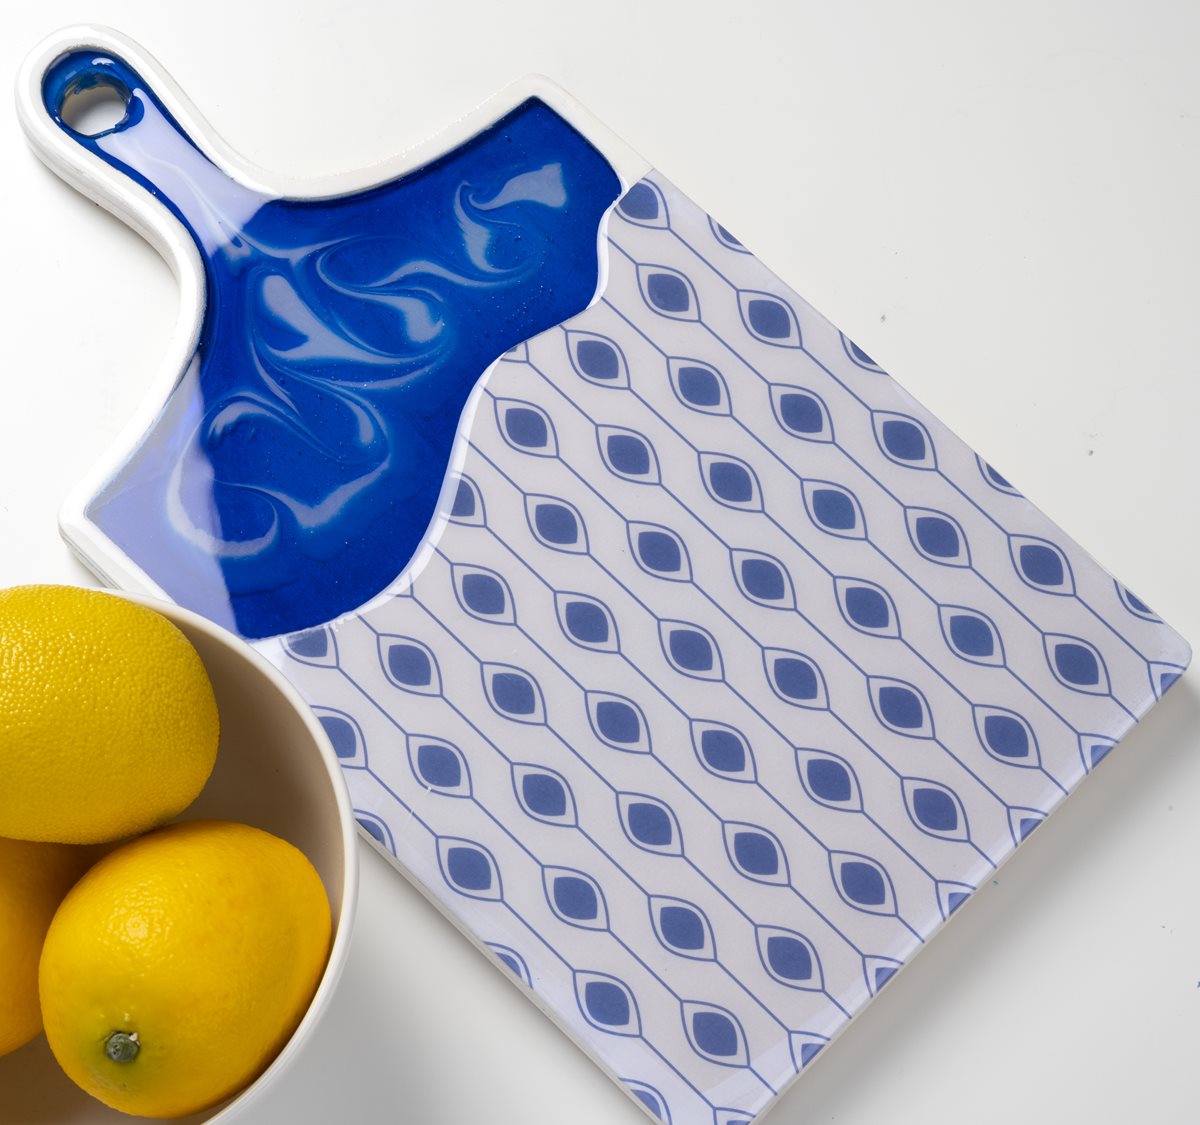
Take your kitchen decor to the next level with this fun blue cutting board resin DIY! This cutting board is easy to customize and add your personal touch to match your kitchen color scheme. This would also make a great house warming gift!


Instructions
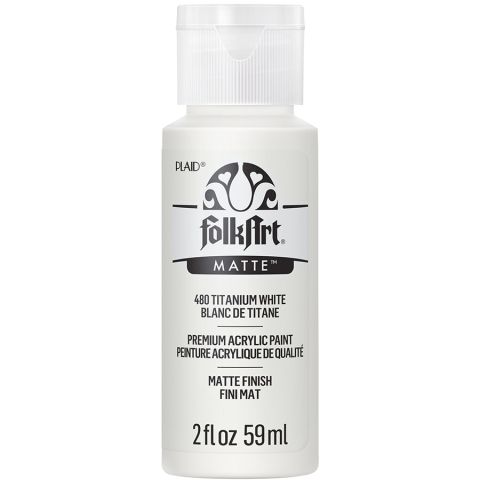
- Paint the edges of your cutting board with Titanium White.
- Trace the recessed edges of your cutting board with your tracing paper. Cut out the shape from your tracing paper and trace and cut the shape out on your scrapbook paper.
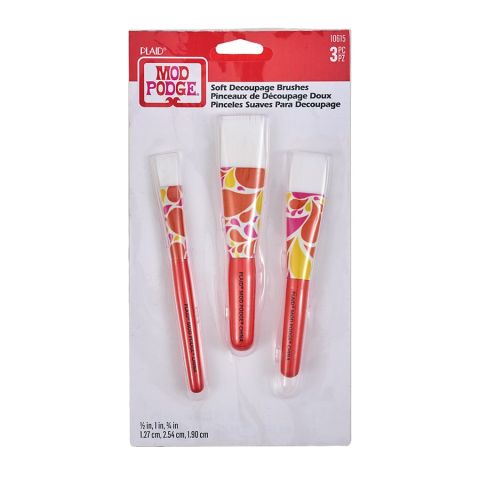
- Use your Mod Podge to adhere the paper to your cutting board. Let dry.
- Go to Plaidonline.com/modpodgeresin for instructions on how to mix resin.
- Divide your resin into two separate cups. Color your resin with two colors of alcohol ink. Mix the color into the resin.
- Pour the resin into the recessed part of the board. Use a toothpick to swirl the two colors together.
- Use the torch to remove any bubbles.
- Allow to dry for 24 hours.
- Mix some more of your Mod Podge Resin.
- Tape off the back of your cutting board. Tape off the circle/hole on the handle of your board. We want the resin to have a level surface to spread out in. Pour the plain uncolored resin over your whole cutting board.
- Use the torch to remove any bubbles.
- Allow to dry for 24 hours. Remove all of your tape.
