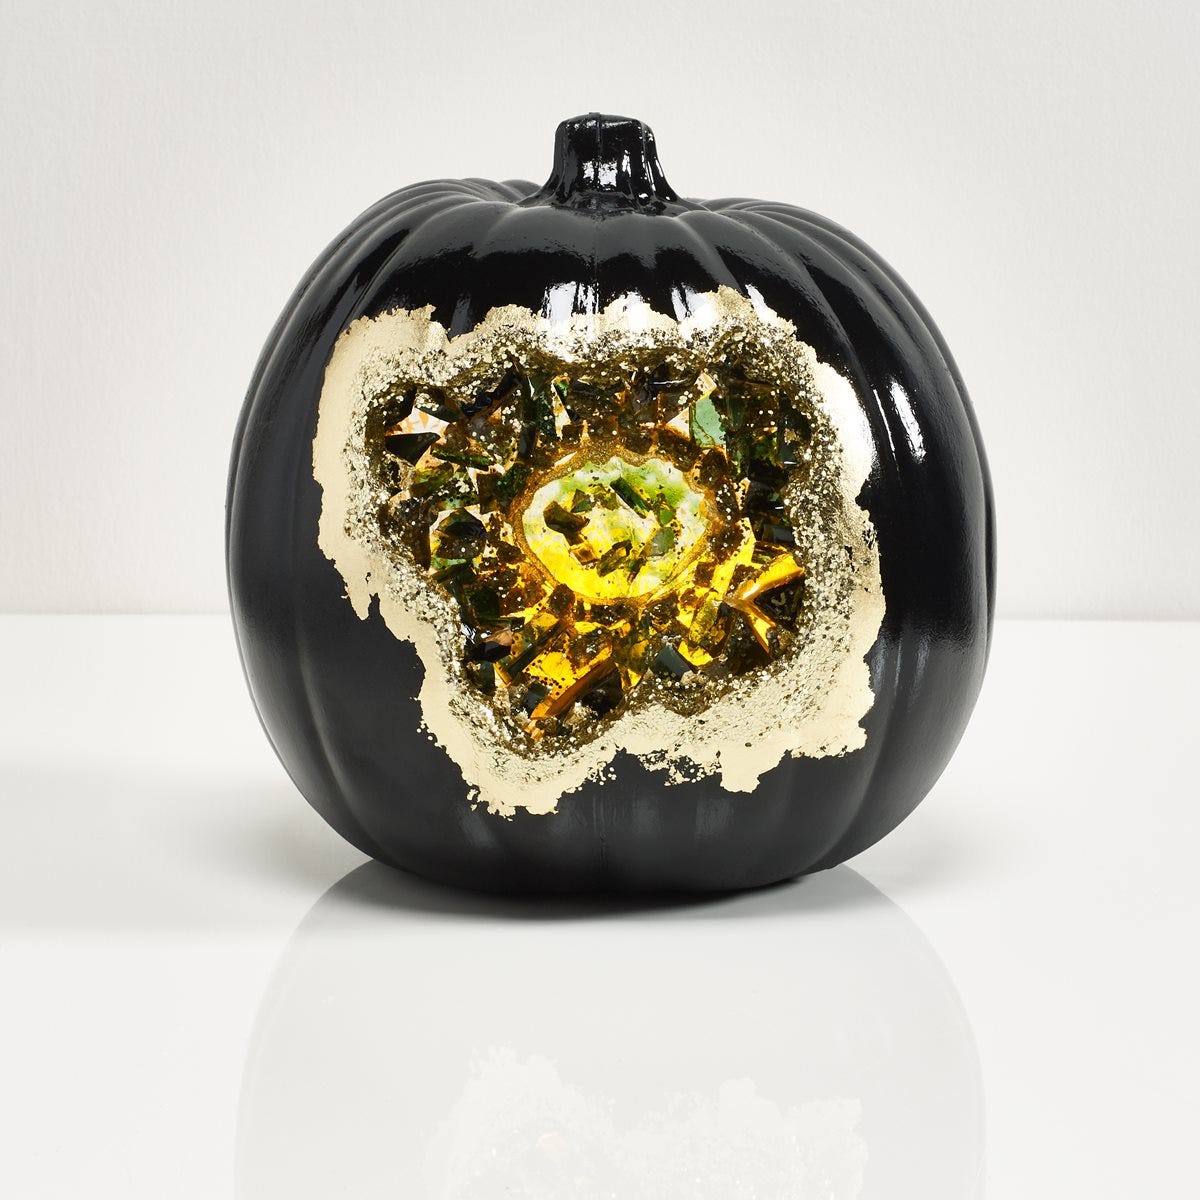
Make your pumpkin stand out with a beautiful geode design using Mod Podge Resin! Create a realistic geode look for a unique addition to your Halloween celebration.

FolkArt ® Multi-Surface Satin Acrylic Paints - Pure Black, 2 oz. - 2957
FolkArt
2 oz
+ 73 colors
$1.99
Instructions
- Carve out an organic shaped cavity from the front of the pumpkin using a craft knife. Carve a square section out of the back to access the interior.
- Cut a piece of plexiglass in a round/oval shape to rest inside the front cavity as a base/wall to adhere resin shards. Hot glue in place.
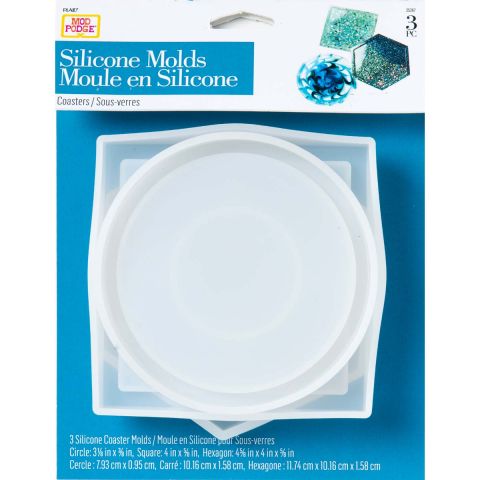
- Mix and pour several coasters or other flat silicone molds with a mixture of green and gold alcohol inks and glitters.
- Once cured, place resin pieces into several gallon sized ziploc bags and smash into small shards or "crystals" using a hammer. Outdoors on concrete is best.
- Using hot glue, add resin shards into the front cavity, following a geode-like ring pattern.
- Pour a final coat of resin into front cavity to seal "crystals" in place. Allow resin to cure.
- Basecoat exterior of pumpkin with Pure Black.
- Apply gilding adhesive around edge of front geode cavity. Allow to dry until tacky.
- Using a soft brush, apply gilding sheets over adhesive. Brush off excess.
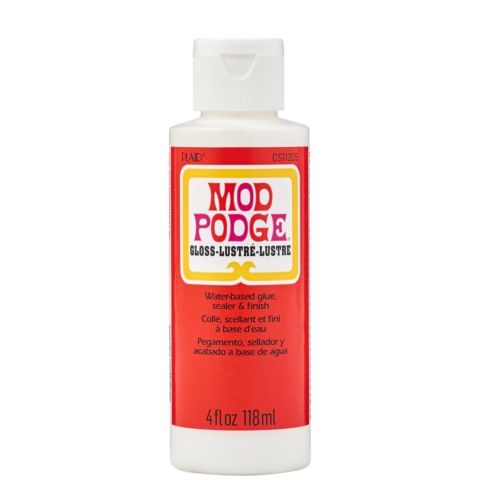
- Apply a small ring of Mod Podge gloss on the inside edge of the gilding, leaving the outer edge of gilding sheets showing. Apply gold glitter over Mod Podge and allow to dry.
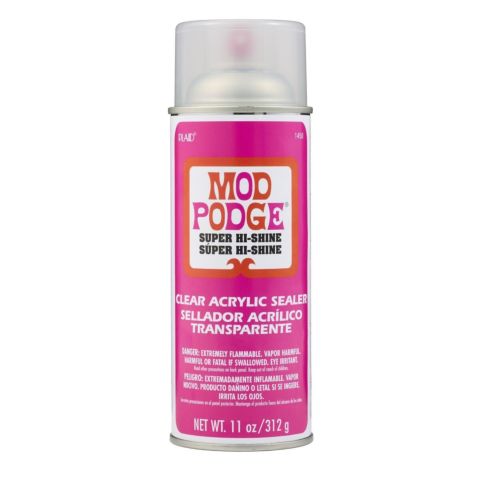
- Apply an even coat of Mod Podge Super Hi-Shine to the exterior of the pumpkin for a brilliant gloss finish.
- Insert a battery operated tealight into the back cavity of the pumpkin and replace the back section to close the pumpkin.


