We are excited to announce that Arteza has joined Plaid Enterprises, expanding our portfolio of trusted creative brands alongside Bucilla, Delta, Apple Barrel, and more.
We are excited to announce that Arteza has joined Plaid Enterprises, expanding our portfolio of trusted creative brands alongside Bucilla, Delta, Apple Barrel, and more.
Completely sand the wood plaque to a smooth finish. Wipe away the dust.
Place the scrap paper down onto the top of the plaque and trace around the edge with the pencil. Use this template to cut out your scrapbook paper; set aside.
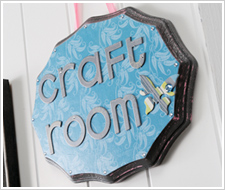
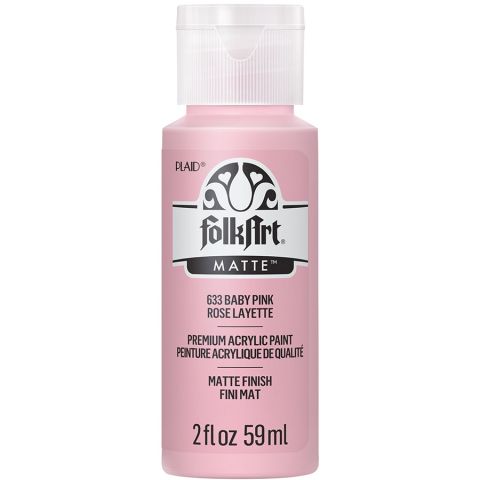
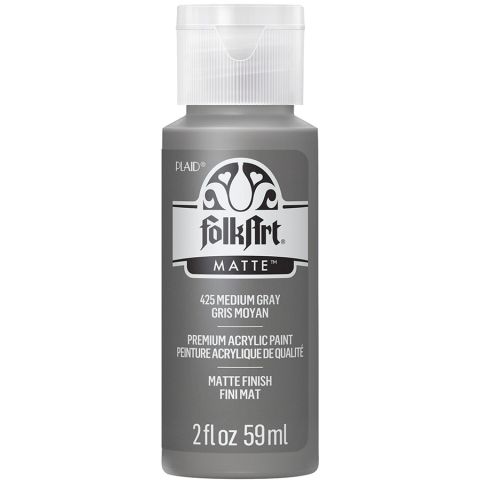
Paint the plaque with two coats of Baby Pink and allow to dry. To create a distressed look, rub a candle over the edges of the plaque and in various places along the outside ridge. Paint at least two coats of Medium Gray over the top of the pink and wax and allow to dry.
Sand away areas where you put wax and that will result in distressing. Sand a little more for a more distressed look and a little less for just a worn look.
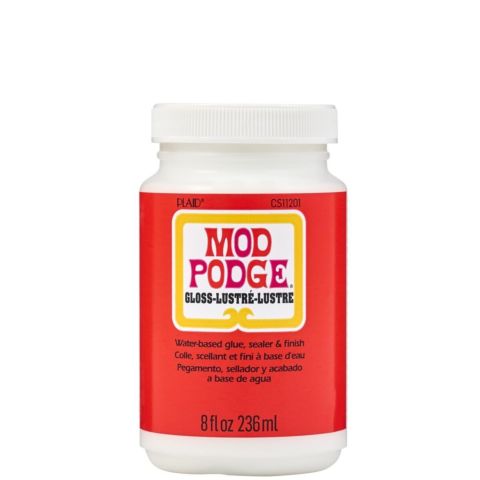
Apply Mod Podge in a medium-thick layer directly to the wood and then place the paper down, smoothing thoroughly (I use a brayer). Keep smoothing until you have removed the bubbles from the paper. Allow to dry for 15 – 20 minutes. Tip: You may need to add more Mod Podge to the corners since those typically dry the fastest.
Completely coat the plaque with two coats of Mod Podge, allowing to dry for 15 – 20 minutes between coats. This provides a finished seal for your project.
Add the chipboard letters, embellishment and rhinestones using craft glue and allow to dry. Glue the ribbon to the back to hang. Allow project to dry for at least 24 hours before using.