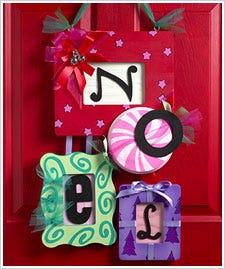
Craft this four tiered Noel Wall Hanging Sign for a funky and bold pop of color in your decor. Get your whole family involved in making this creative signage.
Instructions
- Basecoat the frame with Napthol Crimson.
- Draw a star on the stencil blank and cut it out with an craft knife.
- Stencil the stars in a random pattern using the Light Fuschia.
- Outline the stars with the black permanent ink marker when dry.
- Cover a piece of the heavy cardstock with light green netting, sized to fit inside the frame opening.
- Secure the card to the frame with hot glue.
- Cut out the letter ‘N’ from the black fun foam in any font you like, then glue it to the front of the card in the frame.
- Wrap lengths of ribbon around the frame to resemble a wrapped gift. See photo for placement.
- Hot Glue three Jingle Bells to the center of the bow.
- Drill holes into the top of the frame and screw eye hooks into frame.
- Run a length of teal and green netting and ribbon through the eye hooks.
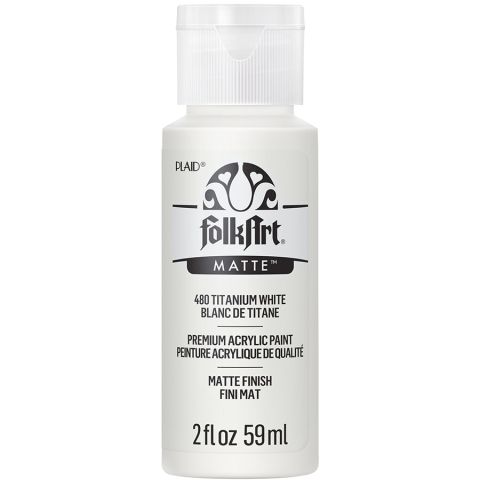
- Basecoat the circular plaque with Titanium White.
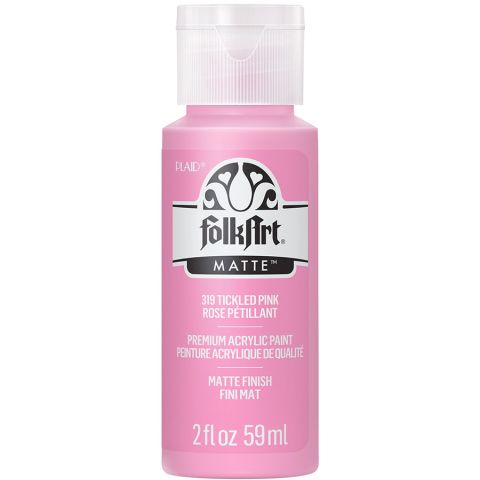
- Use Tickled Pink to create the Peppermint stripes.
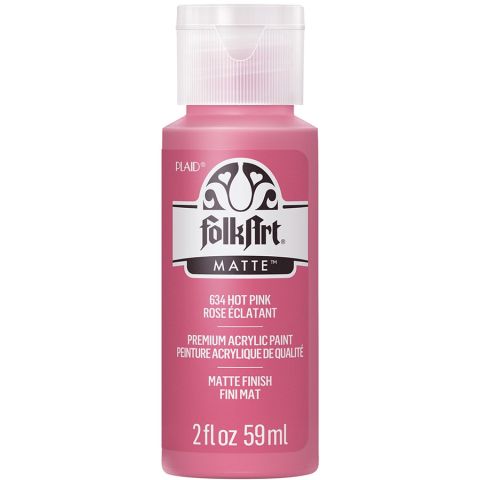
- After it has dried, wrap the plaque in fuchsia netting and tie it at the sides with ribbons. See photo for placement.
- Cut the letter ‘O’ from the fun foam and hot glue it to the plaque.
- Secure it tightly to the star frame with Hot Glue.
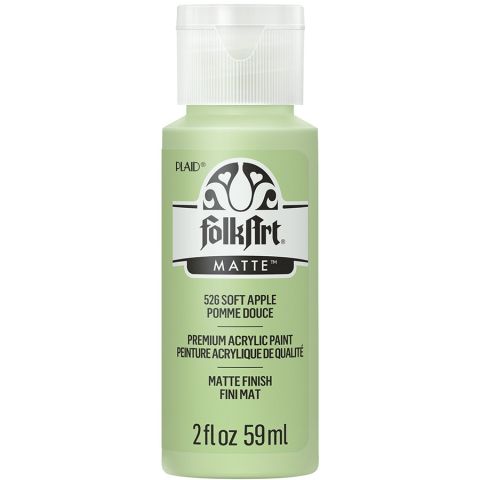
- Basecoat the frame with Soft Apple.
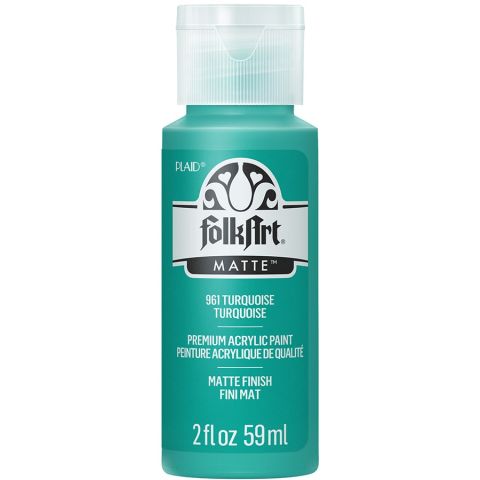
- Paint the edges of the frame and the swirls with Turquoise.
- Wrap three pieces of Teal netting around the left side of the frame.
- Cover a piece of heavy card with Fuschia netting and secure it to the frame with hot glue.
- Cut the letter ‘E’ from the fun foam and glue it to the center of the netted card.
- Use the lavender ribbon to hang the frame from beneath the red frame. See photo for placement.
- Basecoat the frame with Purple Lilac.
- Cut a tree shape from the stencil blank.
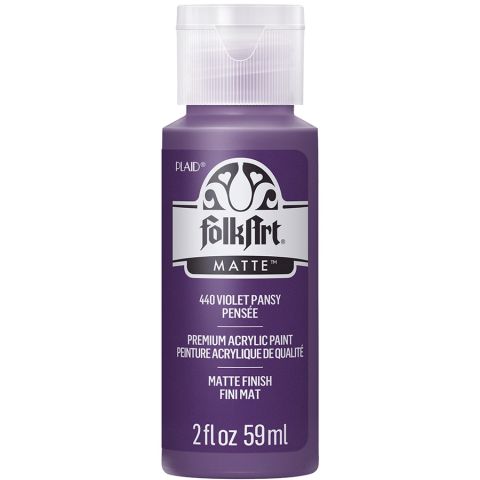
- Stencil trees over the frame using Violet Pansy.
- Outline the trees with black permanent ink marker once dry.
- Wrap Lavender ribbon around the frame to resemble a present.
- Cover card with Red netting and glue it to the frame.
- Cut an ‘L’ from the fun foam and glue it to the center of the frame.
- As shown in the picture, hang the purple frame beneath the red frame using red satin ribbon.


