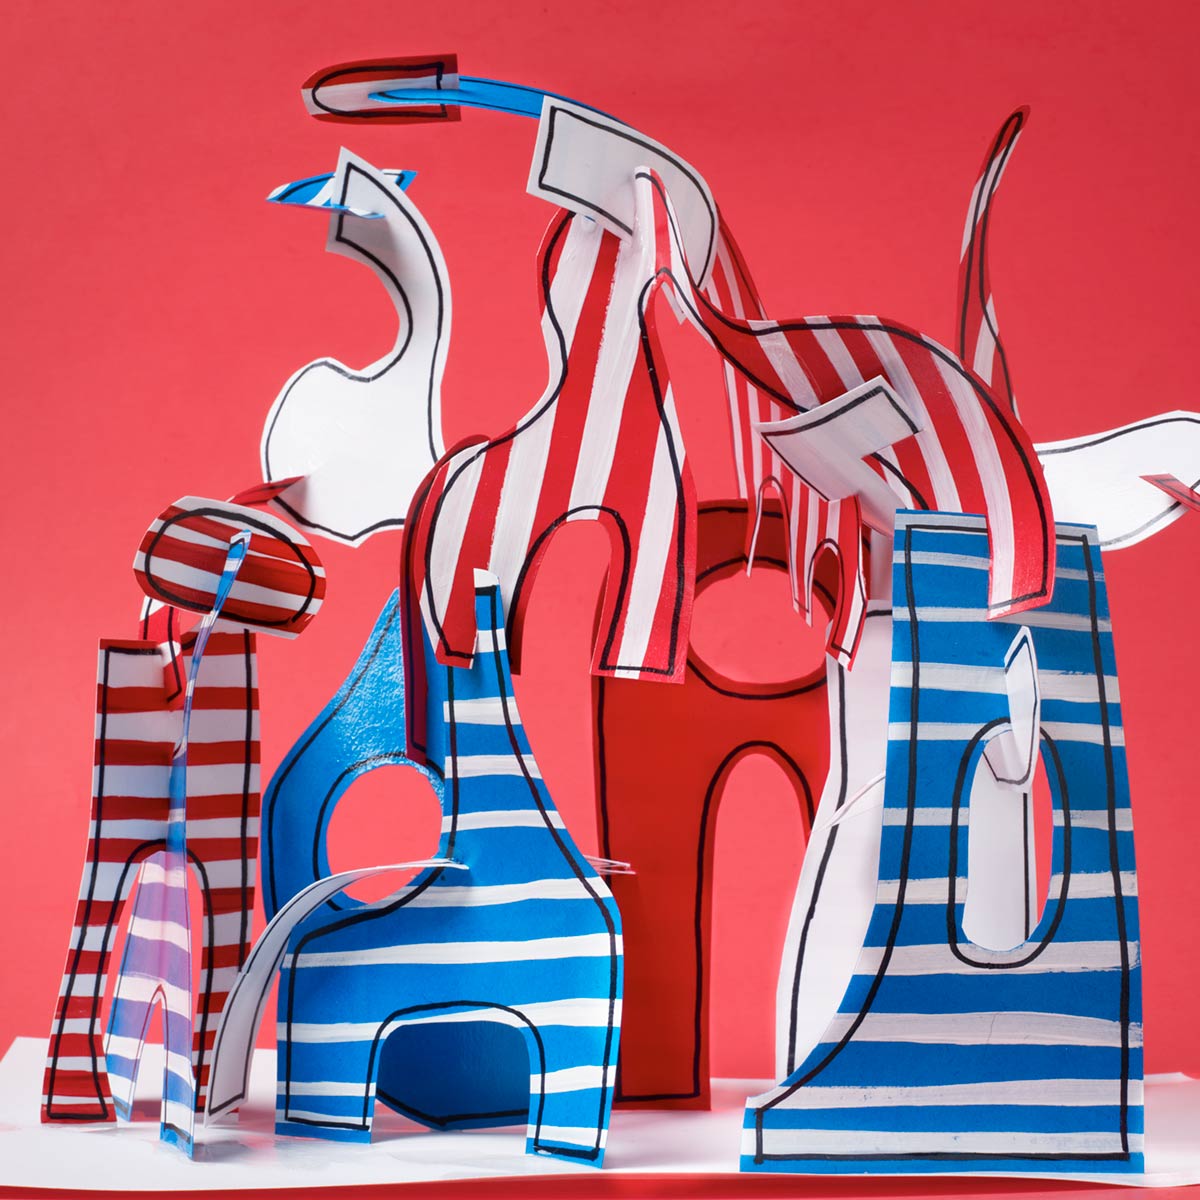
Make abstract art with paper and Mod Podge! Like a puzzle, create odd shapes with a variety of patterns to spark the imagination of your kids.


Instructions
- Place the red paper in a portrait position. Lightly draw a center line down the page with a pencil. On the left half, paint White horizontal lines of varying weights across the page to the pencil mark. Fill the vertical half with sections of lines that are similar in weight and distance from one another. Note: Each section might contain fi ve each thin, medium and thick lines. Set aside to dry.
- Repeat Step 1 with the blue paper. Set aside to dry.
- Place one sheet of the white paper in a portrait position. Using a pencil, lightly draw two lines, about an inch apart, down the center of the page. From the left side of the paper, paint Bright Red horizontal lines to the pencil mark varying the line weights as suggested in Step 1.
- Turn the paper completely around so that the painted lines are on the right Repeat painting horizontal lines varying line weights using Bright Blue across the page to the pencil mark. Let dry.
- Using reference photos of Jean Dubuffet’s sculptures, draw similar shapes on the backside of all three Bright Red, Bright Blue and White painted stripe papers. Note: Suggested shapes may include large shapes with a fl at bottom, large shapes with rounded edges, smaller shapes and simple organic shapes.
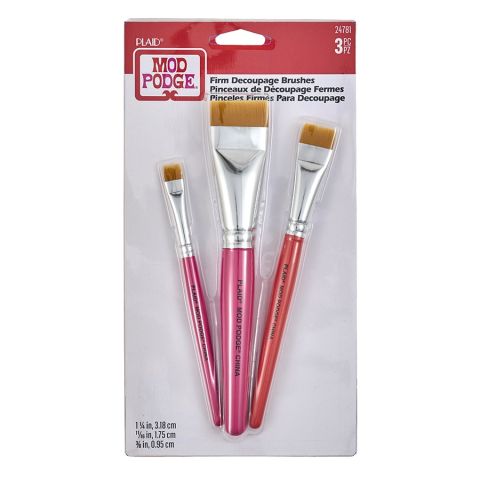
- Cut each of the shapes. You may also choose to use the leftover negative. Note: As an optional step, draw an outline along the edge of each shape on both sides using a black permanent marker.
- Arrange the cut shapes on a sheet of wax paper. Brush each shape with Mod Podge Gloss then place on a baker’s cooling rack to dry.
- After one side is dry, repeat brushing Mod Podge Gloss on the reverse side of each shape. Allow to dry. Note: Both sides of each shape should be completely dry before assembling the sculpture.
- To assemble the paper sculpture, use the fi nal white sheet of paper as the base. Pre-determine the shapes you want to connect and cut a small ¼” slit in each where they would fi t together. Slide the paper shapes together at the slits. The properties of balance and space will be in action as the sculpture grows by adding the shapes to each other.
- When the sculpture is complete, use Mod Podge Gloss to mount each leg of the sculpture to the base. Allow to dry. For additional strength, brush a small amount of Mod Podge Gloss to both sides of each slit connection. Reinforce the sculpture connection to the base as well.
6.9.1


