
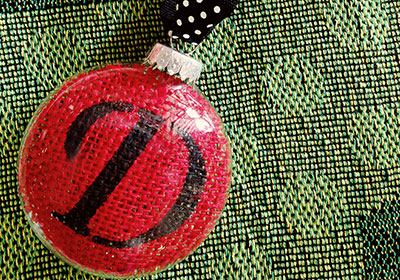
Be bold and bright with this stenciled burlap ornament. It’s easy and fast to make!
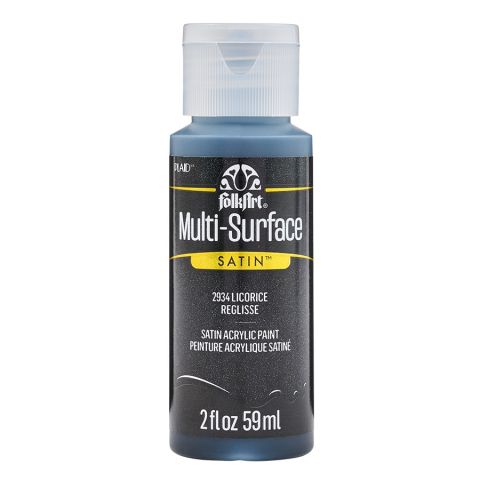
FolkArt ® Multi-Surface Satin Acrylic Paints - Licorice, 2 oz. - 2934
FolkArt
2 oz
+ 73 colors
$1.99
Instructions
- Tape the stencil on all sides to the burlap with painters tape.
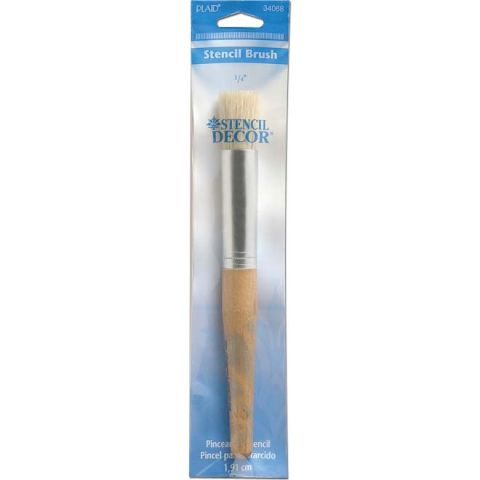
- Place a small amount of paint onto a pallet. Dip the paintbrush in the paint then swirl it around on a clean pallet space. This distributes the paint on all the bristles.
- Dab the end of the paint on clean paper towel to remove excess paint.
- Now you’re ready to fill in the letter stencil with paint using a dabbing motion. Leave the paint to dry and add a second coat if needed to darken.
- Remove the stencil when dry and save for later projects.
- Center the ornament over the initial piece. Trace around the ornament onto the burlap with chalk.
- Cut inside the chalk line with scissors.
- Remove the wire hanger and cap from the ornament.
- Roll up the burlap circle and put inside the ornament. Use a pencil to fluff out the circle and position it just right. 10. Replace the cap, thread the ribbon through the hook and tie off. Ready to hang or give as a gift!
Project Tip: Burlap and Folk Art Multi-Surface paint comes in many colors so you can find just the right combo for your ornament!

