We are excited to announce that Arteza has joined Plaid Enterprises, expanding our portfolio of trusted creative brands alongside Bucilla, Delta, Apple Barrel, and more.
We are excited to announce that Arteza has joined Plaid Enterprises, expanding our portfolio of trusted creative brands alongside Bucilla, Delta, Apple Barrel, and more.
Paint back of fabric with Mod Podge and let dry before cutting to prevent fraying.
Spray all photocopies front and back with several light coats of spray sealer, letting dry in between coats.
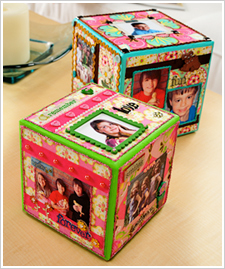
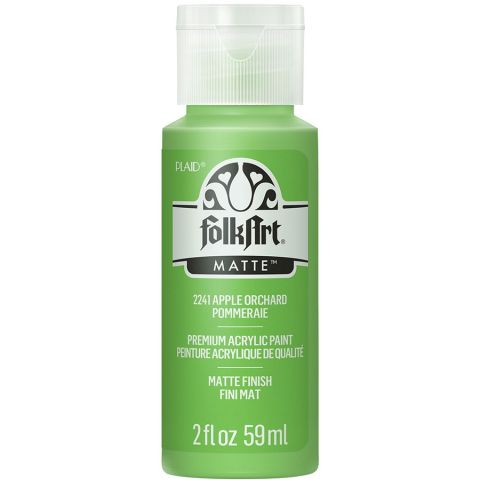
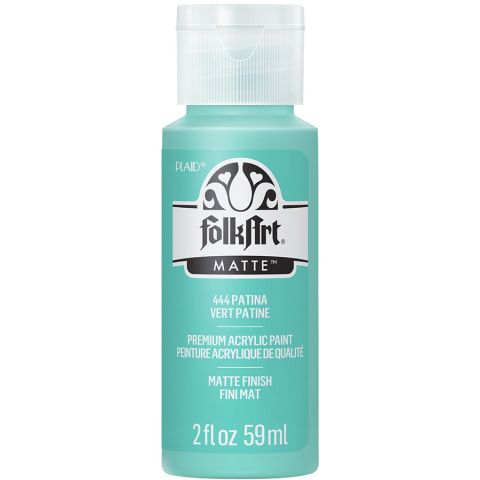
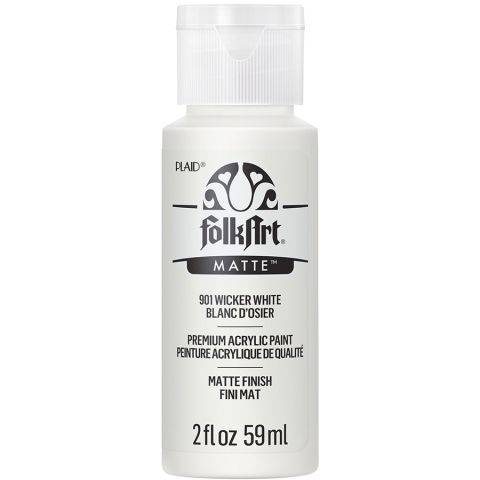
Paint cube Wicker White. Let dry. Paint edges of one Apple Orchard, and the other, Patina.
Cover work area with wax paper. Measure cube and cut square of wax paper for pattern 3/4" smaller.
Turn fabric over. Using pencil, draw around square pattern on fabrics as desired.
Paint all these areas with a generous coat of Fabric Mod Podge. Let dry. Cut out.
Paint Matte Mod Podge on one side of cube. Position square of fabric and press down. Use fingers to rub from the center out until all air bubbles are gone and fabric lays flat. Let dry and apply another coat of Matte Mod Podge on top of fabric.
Repeat for 11 sides. Let project.
Plan layout of pictures. Trim to fit as desired, letting some overlap.
Select trims, ribbons, etc. Apply some under and over photos. Apply Matte Mod Podge to adhere photos. Press lightly with fingers. Let dry before proceeding to next side.
Use a little Fabric Mod Podge to glue trims and buttons on as desired. A toothpick can be used as an applicator.