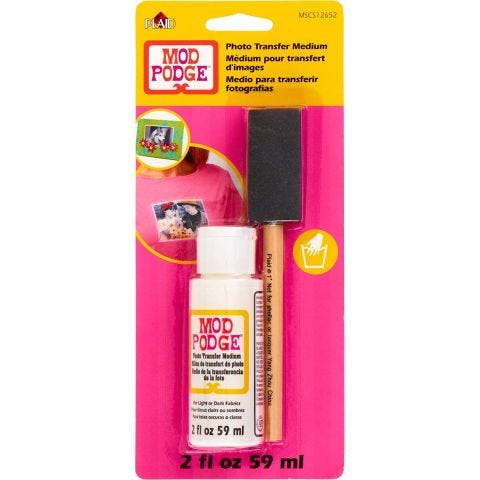
Use Mod Podge Photo Transfer and embroidery floss to create a dimensional wall-hanging!
Instructions
- If you are cutting your image out, cut along the outside of the shape leaving at least 1/8 of an inch. If not, leave your image intact.
- Make sure your fabric is free from wrinkles.
- Lay your image face up on wax paper. Apply an even coat of photo transfer medium over entire surface with foam brush.
- Carefully lift your image off the wax paper and place face down on your fabric. Smooth to even the image out and wipe away any excess from edges. Let cure at least 12 hours referring to bottle for curing time.
- When completely cured, dampen surface of paper and begin to lightly rub paper off in a circular motion. Let the image dry between dampening and rubbing paper off. Repeat until image is clear of any paper.
- Place fabric with transferred image between the embroidery hoops. Tighten the hoop while pulling on edges of fabric until hoop is tight and fabric is taut.
- Use the beading needle and one thread of floss to embellish image as desired. Stitch straight lines, loops for flowers and other stitches to embellish.
- To make a French knot, pull needle through fabric to the front. Wrap floss around needle two to three times, pull thread taut and bring needle back down through the fabric to create knot.
- Trim excess fabric from behind as close to the hoop as possible when completed.


