
Instructions
1. Using either a hand drill or an electric dril, drill a hole through the center of each wood block.
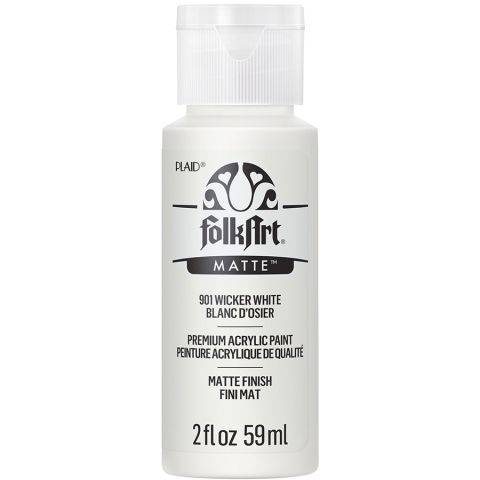
2. Basecoat all wood pieces with Wicker White. Allow to dry and reapply.
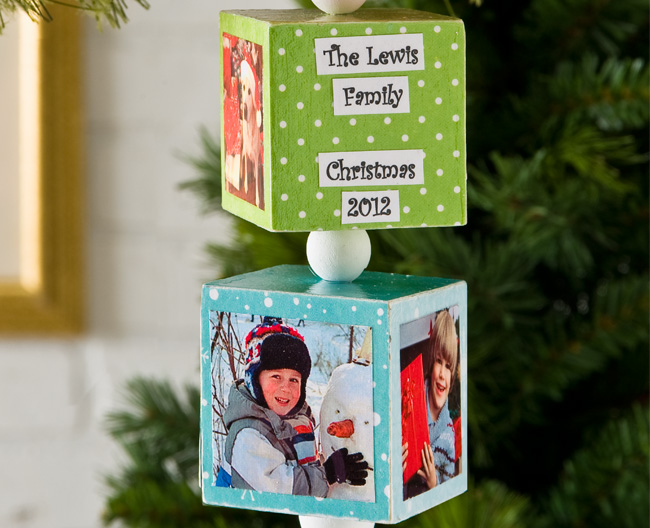
3. Cut photo copy images slightly smaller than wood block.
4. Cut holiday scrapbook papers (different one for each block) into 2” squares. Cut six pieces for each block. NOTE: you can use the same paper for all six sides of the block or you may select different papers like I did and stay in the same color family).
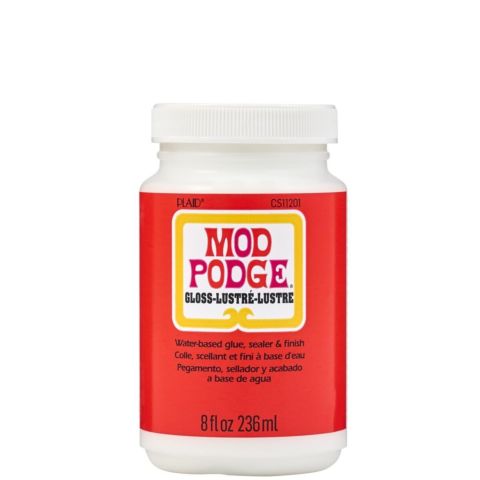
5. Apply Mod Podge to the front side of the wood block and the backside of the scrapbook paper. Place paper square onto the wood block and press in place. Continue until all six sides of each block are covered. Allow to dry. Cut holes in paper on top and bottom of each block where previously drilled.
6. Apply Mod Podge to the backside of the photo copy images and immediately press the image on top of the scrapbook paper block. Press in place to smooth out excess Mod Podge. Allow to dry.
7. If you choose to add personalized such as the family name and/or date, cut out personalization and Mod Podge to a side of the wood block. Allow to dry.
8. Thread the small dowel through the candle cup and glue in place using wood glue. Attach a ½”wood bead to a 1” wood bead and glue to candle cup to create bottom finial.
9. Begin stacking the ornament by threading a block, bead, block, etc. until the last bead is applied using wood glue to secure.
10. If desired, thread both ends of a 6” piece of ribbon through the last bead prior to attaching to the dowel as this will become the ornament hanger. Allow wood glue to set.

