Remove the drawers and completely sand everything to a smooth finish. Wipe away the dust.
To cut the paper for drawers, set the drawer face down onto the back of paper. Trace with the pencil. Repeat for each drawer due to slight variations in size. Keep track of which paper goes on which drawer. When finished tracing, cut out the papers and set aside.
Place the drawer holder face down onto the BACK of your chosen paper. Trace each side separately due to slight variations in size. After tracing, cut out the papers and set aside.
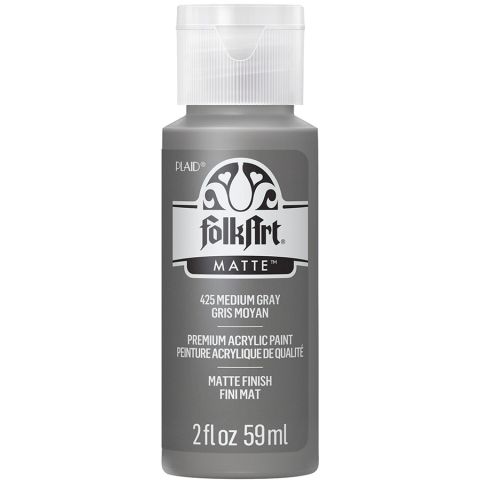
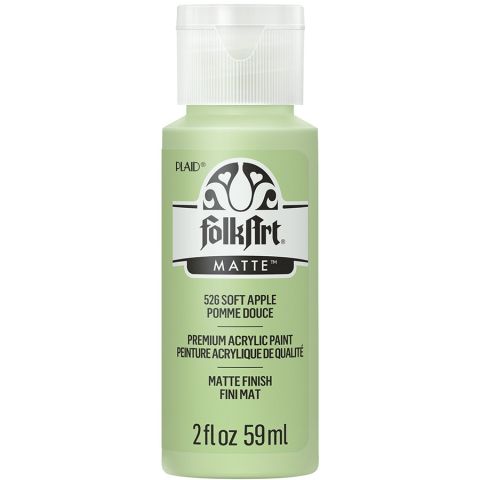
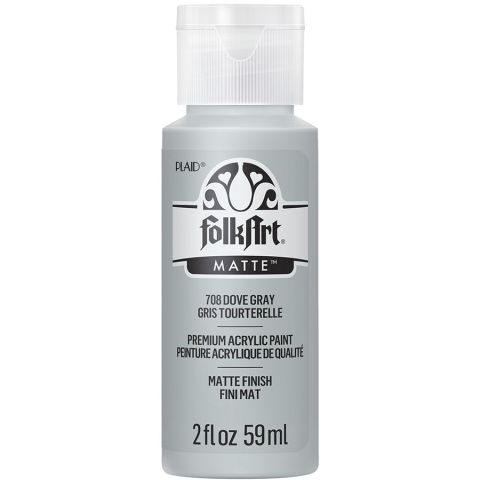
Paint three drawers Dove Gray, three Medium Gray and then the drawer holder Soft Apple. Put several coats on everything and allow to dry.
Start with the drawer holder and work one side at a time. Apply Mod Podge in a medium-thick layer directly to the wood and then place the paper down, smoothing thoroughly (I use a brayer). Keep smoothing until you have removed the bubbles from the paper. Tip: You may need to add more Mod Podge to the corners since those typically dry the fastest.
Repeat with the two other sides and allow to dry for 15 – 20 minutes. While the drawer holder is drying, affix the paper to the fronts of the drawers using Mod Podge. Allow to dry for 15 – 20 minutes.
Completely coat the drawer set and drawers with two coats of Mod Podge, allowing to dry for 15 – 20 minutes between coats. This seals the project.
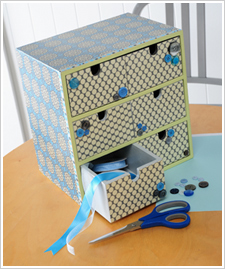
Add ribbon and button embellishments using craft glue – suggestions are shown in the photo. Allow project to dry for at least 24 hours before using.