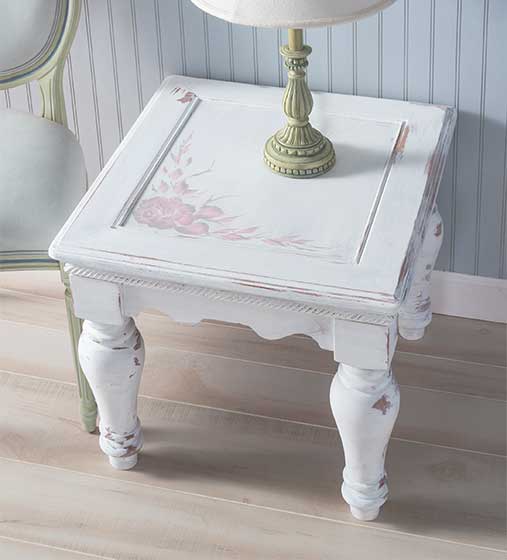
Transform a gently used thrift store end table into trendy shabby chic functional home decor.
Instructions
- Spread a painter’s drop cloth over the studio floor and then positioned your thrift store table over the drop cloth.
- Clean the surface well using household glass cleaner and a paper towel or dry, lint-free cloth.
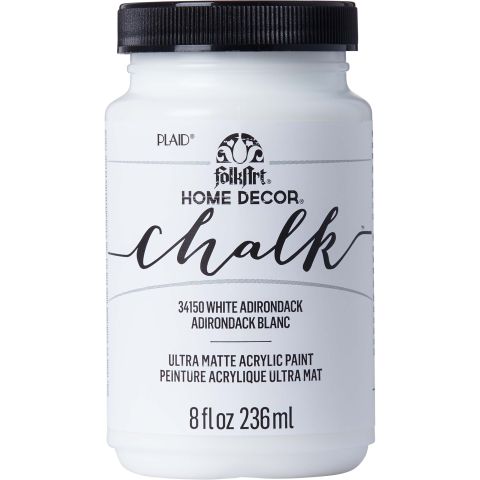
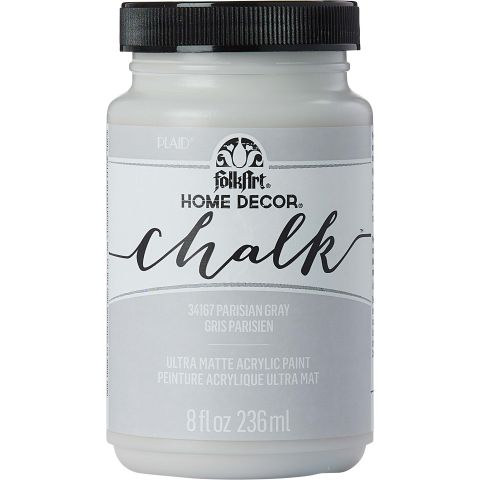
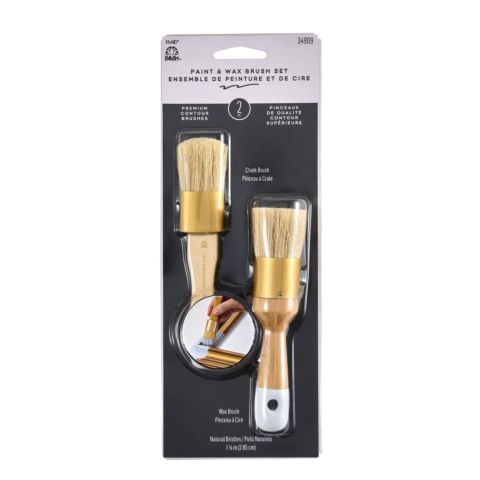
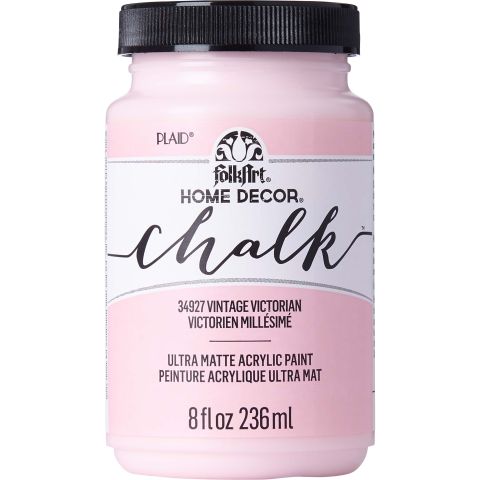
- Once open, stir the FolkArt Home Decor Chalk to fully incorporate the paint. Using a foam plate as a palette, pour a small amount of paint and load your brush by dipping into the puddle of paint.
- Paint over the entire surface of the table. Paint over the dimensional trim making sure the bristles of the brush work paint into the tiny grooves.
- Paint the top surface areas first. Then paint the detail areas such as the rounded trim and routed edges before painting the flat smooth top. FolkArt Home Decor Chalk paints can be applied using smooth long brush strokes or if texture is desired; you can apply the paint slightly thicker and allow brush strokes to show. The choice is yours! When painting with FolkArt Home Decor Chalk paint, you will notice that a small amount of paint goes a very long way; it is not necessary to reload your brush often.
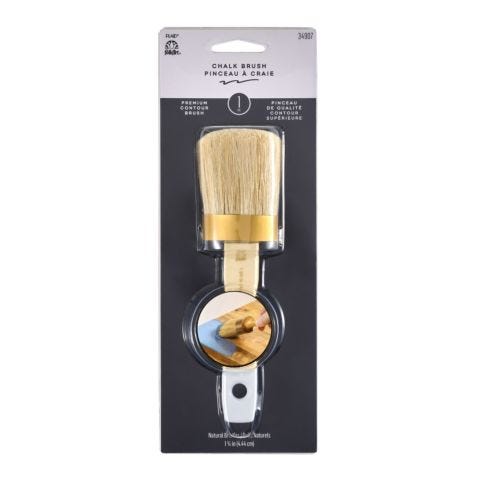
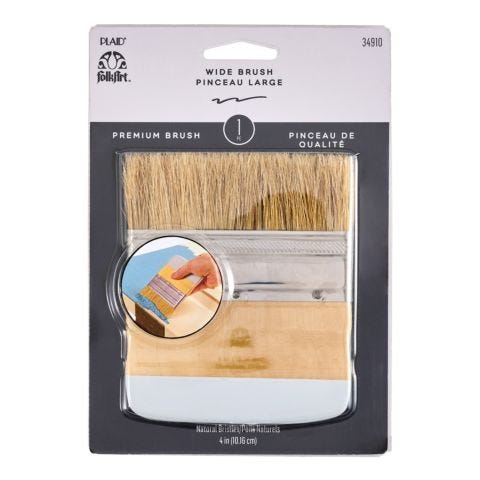
- To finish the top of the table, switch to the 4” wide FolkArt Home Decor Chalk brush and use light pressure to smooth out the stroke work.
- Switching back to the large FolkArt Home Decor Chalk paint brush, paint the apron and any trim.
- Paint the knobby or detail areas first. Paint these areas by moving the brush around the leg making sure the bristles are reaching every tiny groove.
- After painting, clean your FolkArt Home Decor Chalk paintbrushes in warm, soapy water to remove the remaining paint from each brush. Rinse them well and allow each brush to dry.
- Next, allow the White Adirondack to dry to the touch almost completely.
- When the paint is almost completely dry, you can begin the process of wet distressing. Dampen a clean, soft terrycloth rag with water. The rag should be soft and dampened NOT wringing wet. Begin wiping over the areas you want distressed, exposing the pine finish underneath.
- Next, wet distress the table apron. With this technique, you need not be concerned about keeping the distressing marks flowing in a smooth, even direction; the paint is more randomly removed. The key is to continually open and refold your distressing cloth so that you are working on a clean, damp spot. Once happy with the distressed look created, allow the table to completely dry for two hours.
- Donna painted a cabbage rose, a few wiggle leaves and added slider leaves to a few painted vines.
- The next step was to allow the One Stroke painted portion of the table to thoroughly dry.
- You can soften the look a bit more; when dry, sand over the One Stroke painted areas using medium grit sandpaper.
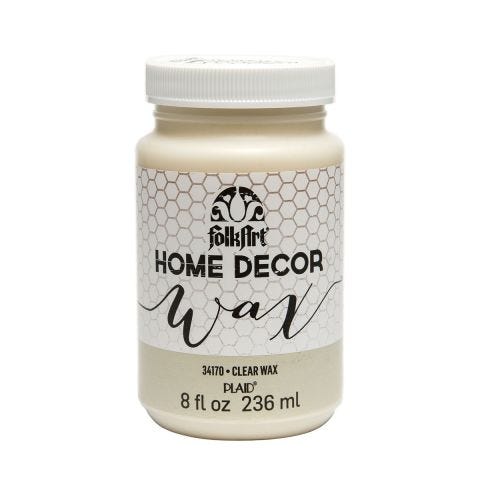
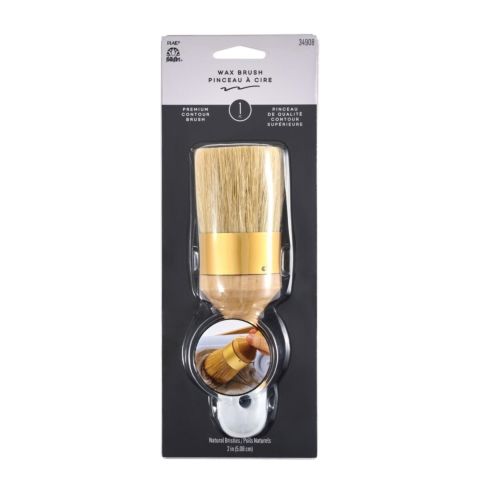
- Lastly, apply a coat of FolkArt Home Decor Clear Wax over the entire table using the FolkArt Home Decor Wax brush. Allow the wax to dry overnight then buffed to your desired sheen using a soft, lint-free cloth.


