Instructions
Read the blog post for step-by-step photos!
Table Preparation:
- Clean table to remove dust and dirt by spritzing surface with household window cleaner then wipe over with paper towels.
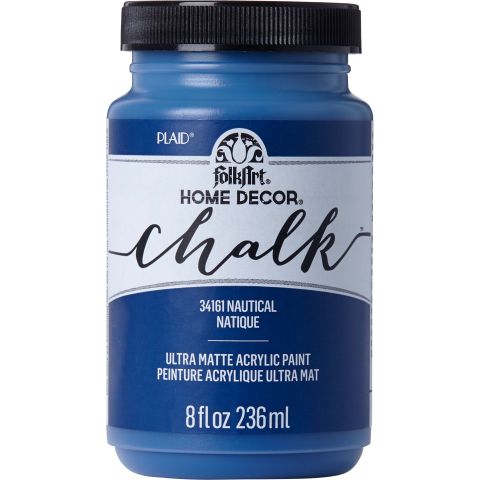
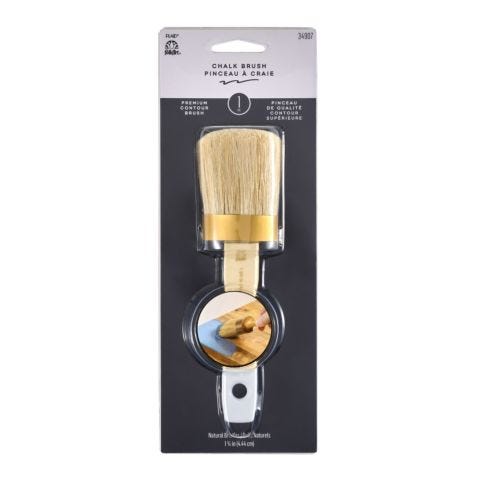
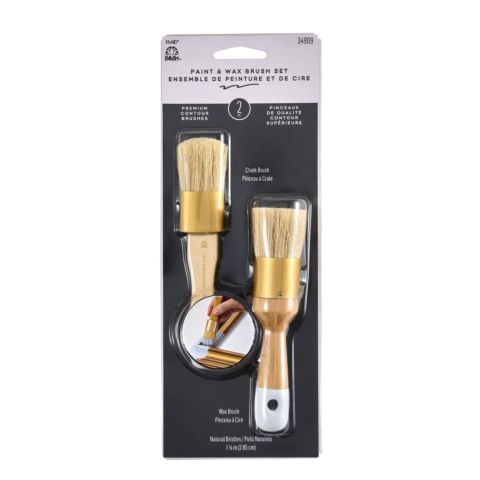
- Open jar of Nautical FolkArt Home Decor Chalk and begin painting table. I used the small paint brush for the spindle legs and the larger paint brush for the table top. Allow to dry 2 hours.
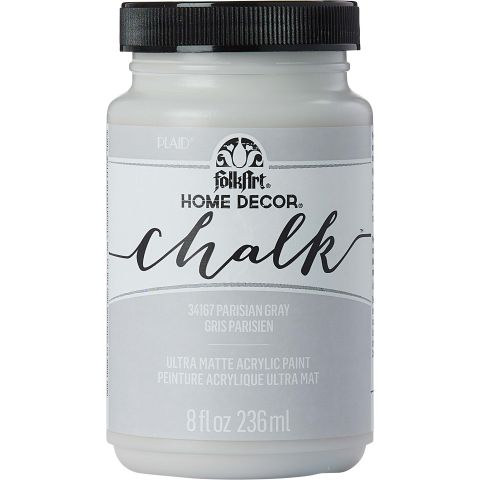
- Paint top coat or layer of color in the same manner, this time I painted Parisian Grey. Allow to dry 2 hours.
- Using sanding block or fine – medium grit sandpaper, sand to distress table where desired. Distressing is usually focused on areas you want to appear time worn.
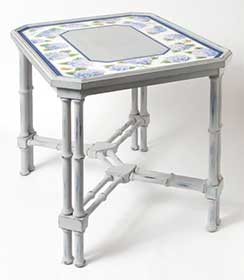
- Using stencil tape, measure and tape a border on the table top following the shape of the table. I used a 3.5” border. You can vary the width of the border depending on the table top size.
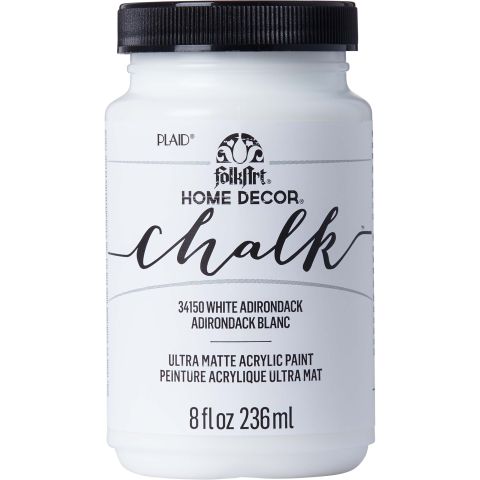
- Paint the border White Adirondack. Allow to dry and reapply paint to create an opaque border. Allow to dry; remove tape and lightly sand edges.
- Using smaller width stencil tape, create smaller borders on both sides of the White Adirondack and paint Nautical. Allow to dry, remove tape and light sand edges.
Decorative Painting Preparation:
- Begin designing the placement of hydrangea blooms within the painted White Adirondack border. Using a circle template and a pencil, lightly trace 2”, 2.5” and 3” circles randomly within the border. Allow some circles to fall half within the border. NOTE: Do not trace circles too close to one another; allow room for painted leaves.
- Leaf and insects can be painted free-hand or they may be traced and transferred using pattern provided.
Painting Instructions:
Leaves:
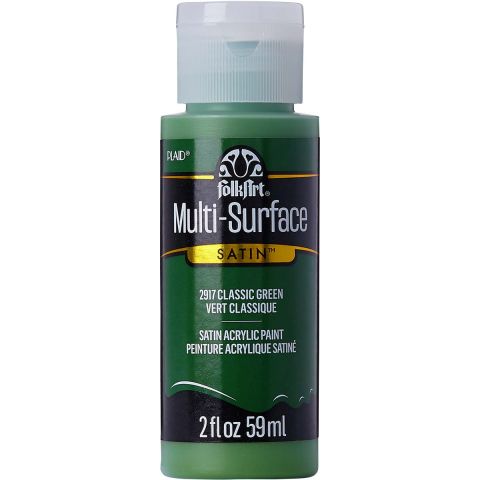
- Using a large flat brush, paint basic leaf shape Classic Green. Allow to dry.
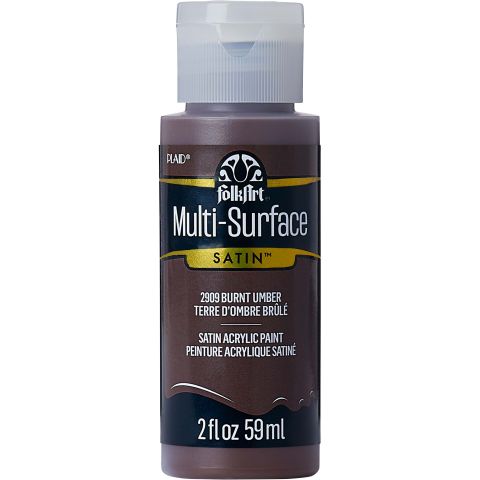
- Shade base of leaf Burnt Umber and paint a curving stem in the center of the leaf painting from the base of the leaf towards the tip using the same large flat brush. Allow one half of the leaf to be darker with Burnt Umber.
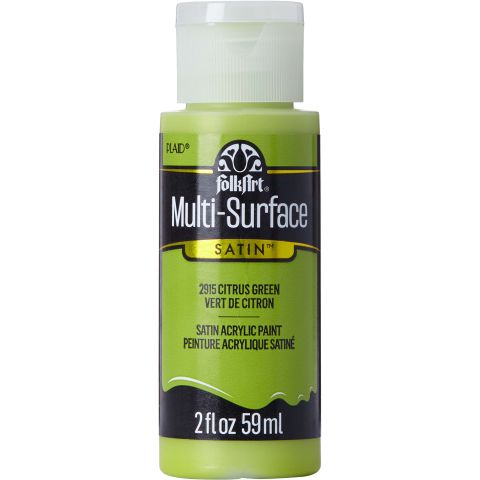
- Highlight leaf edges with Citrus Green. Touch at the leaf edge and pull in toward the center of the leaf while lifting the bristles at the same time.
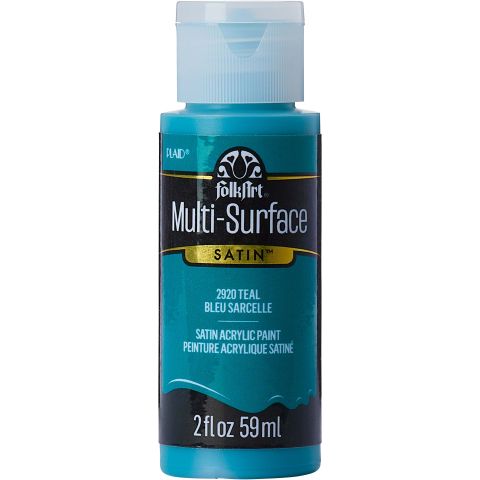
- On the dark half of the leaf add a light blush of Teal.
- On the light half of the leaf add a blush of Light Lavender.
- Using a liner brush, define the Burnt Umber vein in the center of the leaf.
- Thin Burnt Umber with water to ink consistency and paint a very loose wiggle line outlining the uneven edges of the leaf.
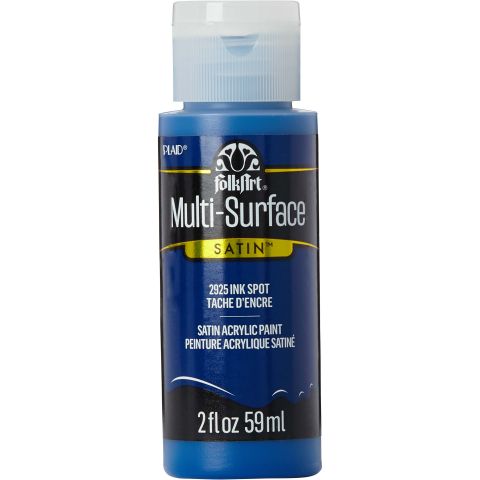
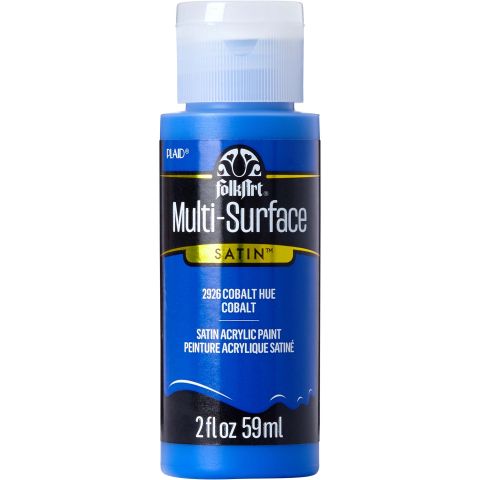
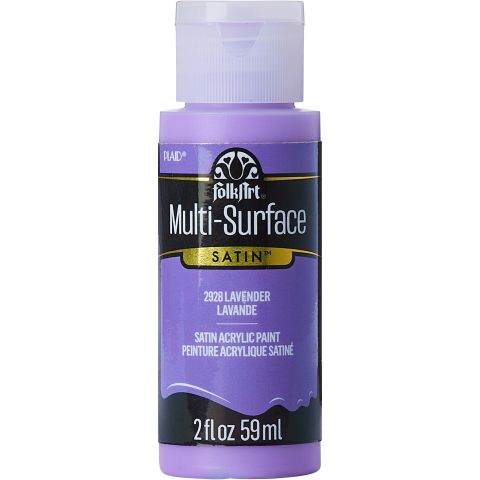
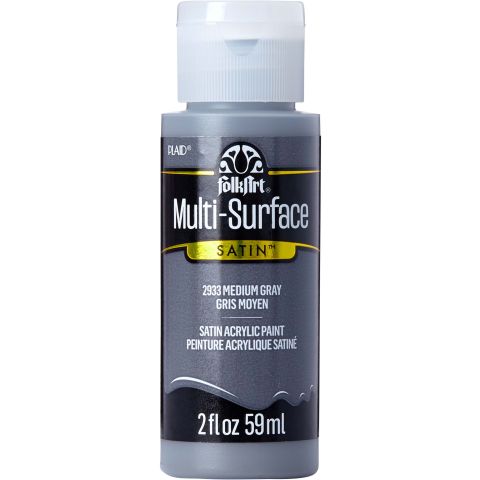
Hydrangeas: These hydrangeas were painted in two different colorways. One blossom color combination is Ink Spot, Medium Gray and Lavender. The other color combination is Cobalt Blue, Lavender and Light Lavender. Paint each hydrangea blossom one at a time and alternate the two different color combinations.
- Using a large flat brush, paint the circle shape by patting color on within the circle beginning with the dark value color at the bottom of the circle, the medium value paint in the center and the lightest value color on the top of the circle. Lightly blend where the color changes.
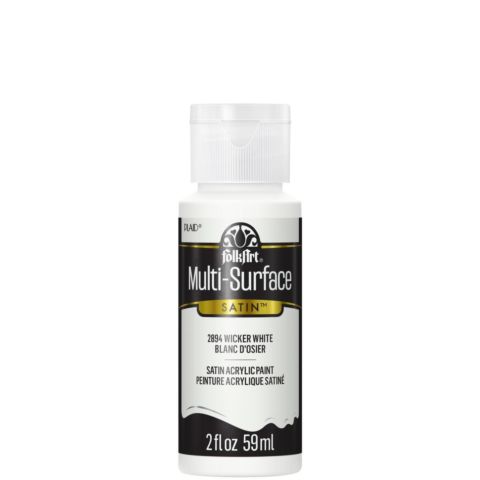
- Working quickly before the paints dry, load a smaller flat brush with Wicker White and paint four petals like a “plus sign” stroking towards the center. With each stroke, some of the underneath color will be picked up and carried to the next stroke which is a good thing. Occasionally, wipe your “dirty” brush on a paper towel and pick up clean Wicker White. Continue adding petals within the circle until the entire hydrangea flower head is covered with small overlapping petals. Paint a few small accent petals outside the flower head stroking in toward the center.
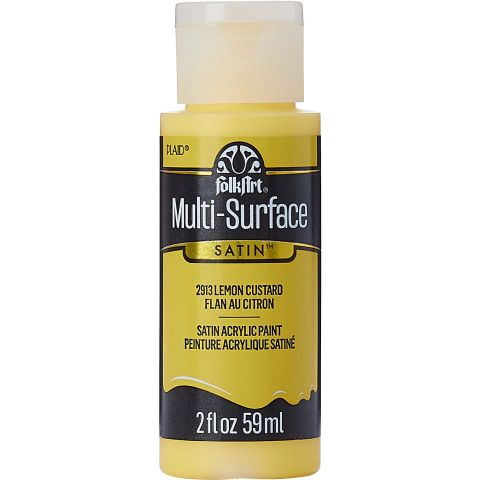
- Add Lemon Custard small polka dot centers to the four petal flowers using a liner brush.
Butterflies:
- Paint the butterfly wings Lemon Custard using a medium flat brush. Allow to dry and add a second coat of Lemon Custard.
- Shade Vivid Orange at the base of each wing close to the butterfly body.
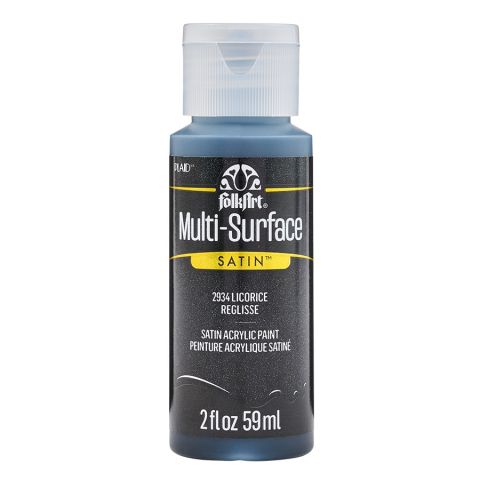
- The butterfly body and antennae are painted Licorice using a No. 1 Liner brush. Thin Licorice with a little water to an ink consistency; outline each wing and paint a couple detail comma strokes on the large wings.
- Add a descending sized polka dot flight trail at the base of each butterfly. TIP: Load the handle end of a liner brush with paint, touch to create the first dot and continue dotting without reloading, dot sizes will become smaller.
Dragonflies:
- Paint the dragonfly bodies Classic Green using a liner brush.
- The wings are painted lightly with Teal using a small flat brush.
- With a liner brush, thin Burnt Umber with a touch of water to an ink consistency and outline each wing.
- Add a descending sized Burnt Umber polka dot flight trail at the base of each dragonfly.
Flyspecking:
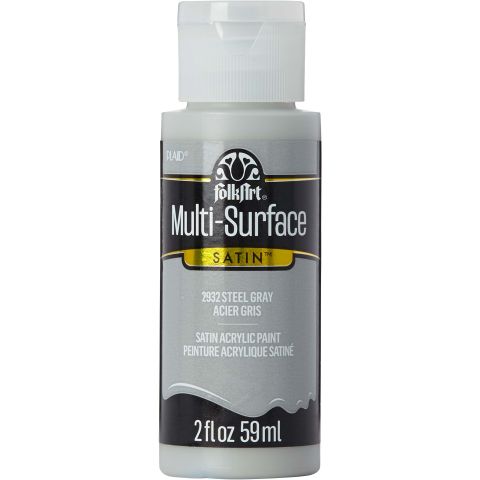
This step is optional, however, the uneven paint splatters create a lovely accent to finish the painted border. Using an old toothbrush, (or a stencil brush or other stiff bristle brush), thin Steel Gray with a touch of water. Load the old toothbrush with the thinned gray; run your finger across the bristles directing the brush where you want the tiny specks of paint to fly. NOTE: If flyspecks appear where you do not want color, quickly wipe them away with a wet paper towel. I added fly specks only on the White Adirondack areas not on the flowers, leaves or insects.
Finishing:
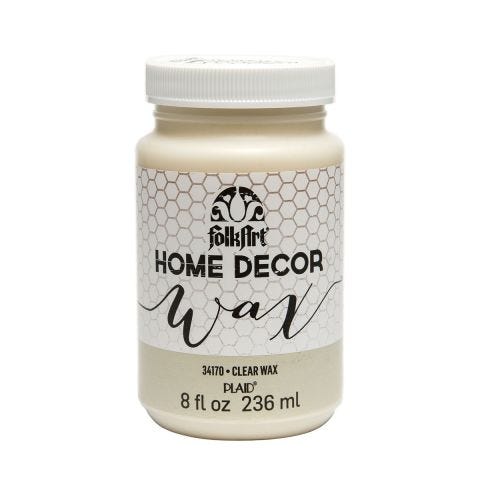
- Allow all painting to dry overnight before applying the FolkArt Home Decor Clear Wax which will provide a lovely finish while sealing and protecting your painted designs.
- Using a FolkArt Home Decor Wax Brush, apply a smooth coat of Clear Wax over the entire table. Allow to dry 24 hours.
- Buff waxed table using a clean, lint-free soft cloth (such as an old cotton t-shirt cut up into smaller sections). The longer an area is buffed or polished, the higher the sheen. Continue buffing until desired sheen is achieved.


