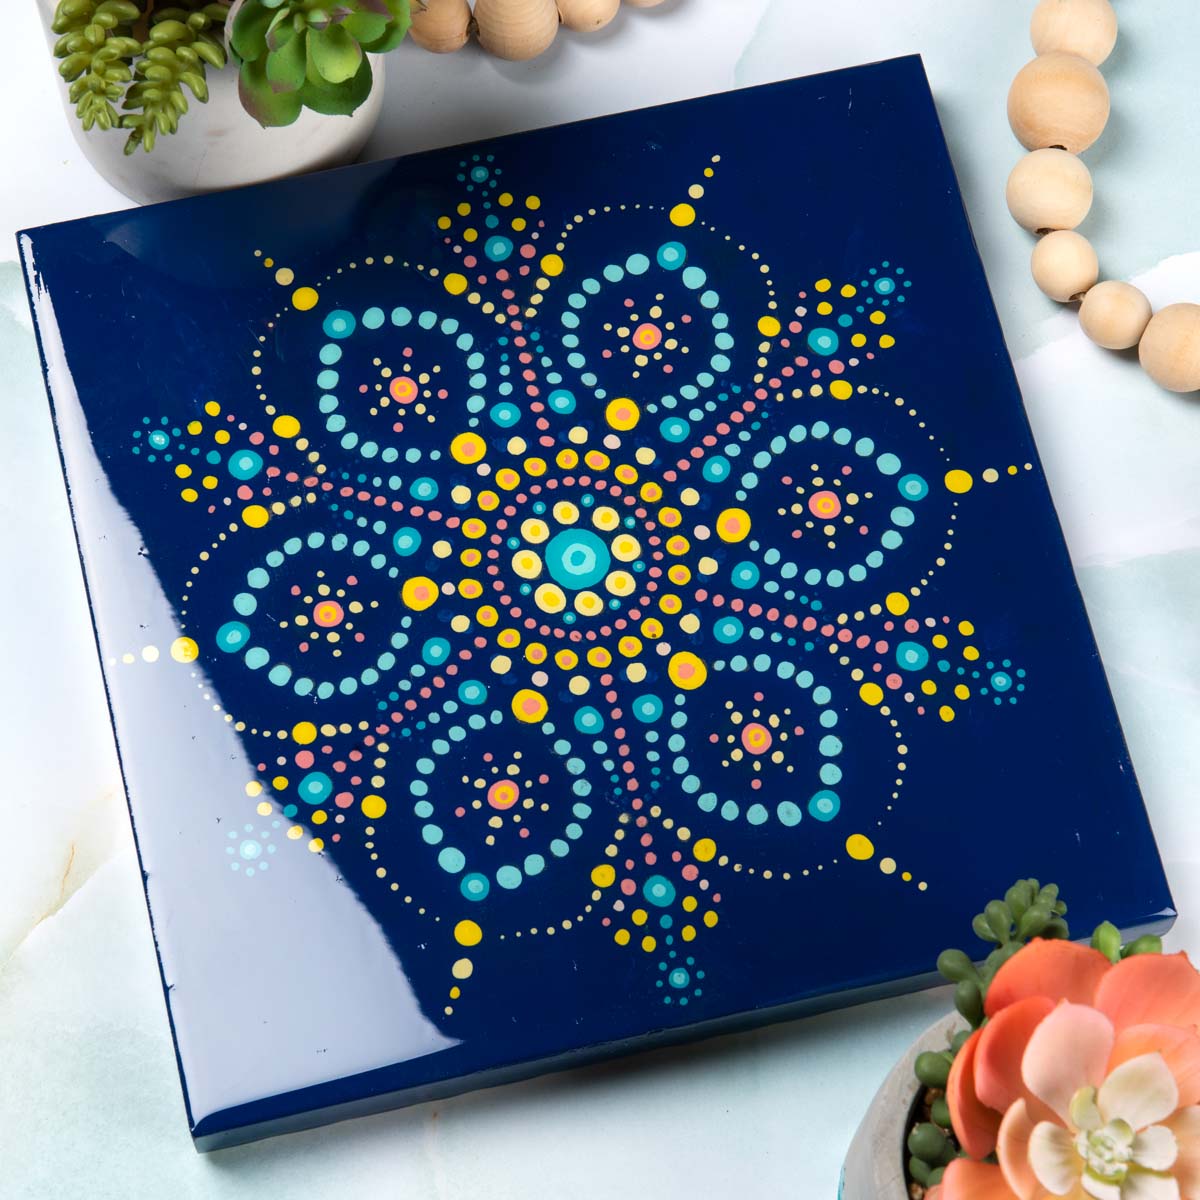
Take your mandala art to the next level by preserving your design in Mod Podge Resin. This method of sealing will give your finished piece a beautiful high gloss finish that will elevate your art work.

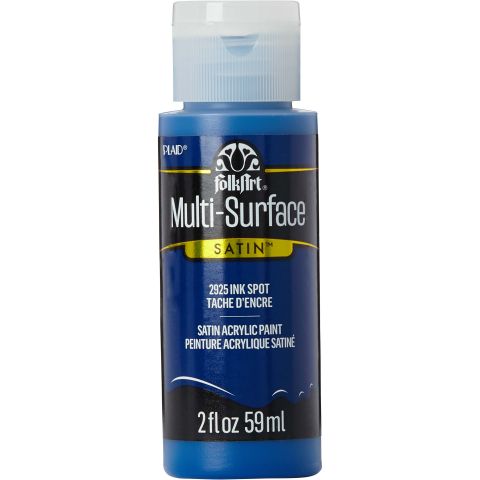
FolkArt ® Multi-Surface Satin Acrylic Paints - Ink Spot, 2 oz. - 2925
FolkArt
2 oz
+ 73 colors
$1.99
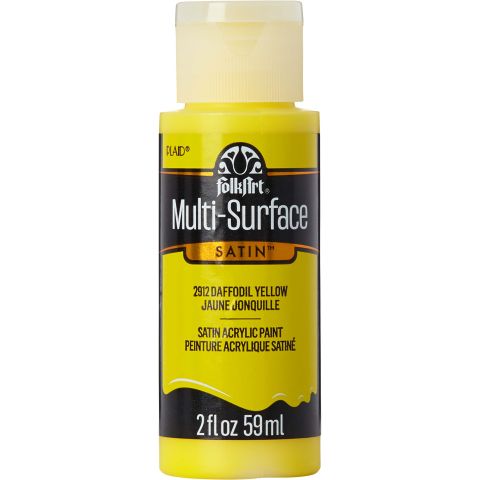
FolkArt ® Multi-Surface Satin Acrylic Paints - Daffodil Yellow, 2 oz. - 2912
FolkArt
2 oz
+ 73 colors
$1.99
FolkArt ® Multi-Surface Satin Acrylic Paints - Daybreak, 2 oz. - 7275
FolkArt
2 oz
+ 73 colors
$1.99
FolkArt ® Multi-Surface Satin Acrylic Paints - Cool Bisque, 2 oz. - 2944
FolkArt
2 oz
+ 73 colors
$1.99


FolkArt ® Multi-Surface Satin Acrylic Paints - Fire Coral, 2 oz. - 2740
FolkArt
2 oz
+ 73 colors
Special Price $1.19 Regular Price $1.99
Instructions
- 1. Use your 1” flat brush to paint your entire canvas with Ink Spot. Let dry.
2. Cut out an 11”x11” piece of transfer paper. Tape the transfer paper to the sides of your canvas. Tape the mandala pattern down on the center of your canvas. Make sure the waxy side of your transfer paper is flush to your canvas. Tape the pattern on top of your transfer paper.
3. Use your pencil to trace every dot on your pattern.
4. Remove the pattern and transfer paper from your canvas.
5. Use your dotter tools and FolkArt ® Multi-Surface Satin Acrylic Paints to make dots on your mandala pattern until your pattern is filled in. Use the appropriate sized dotter tool for each dot. Replenish your dotter tool with paint frequently- the more paint on your tool, the bigger the dot. For large dots, swirl your dotter tool in a circle to reach the desired size of the dot. See project photo for reference. Let dry.
6. Mix resin according to instructions on packaging.
7. Tape the bottom of the canvas along the edge to keep the resin from running over onto the back.
8. Pour resin over canvas. Use the torch to remove the bubbles.
8.5.7

