Instructions
1. Use a pencil to trace the shape of the side of the cube onto scrapbook paper. Cut 4 different papers into the cube shape. Working on the top of the cube, coat the top of the cube and the back of the paper with a layer of Mod Podge. Position onto the cube. Smooth with a brayer or your fingers so that you have no air bubbles. Wait 15 min and then top coat with a layer of Mod Podge. Allow to dry for 1 hour. Repeat this step on three sides of the cube. Layer papers as desired.
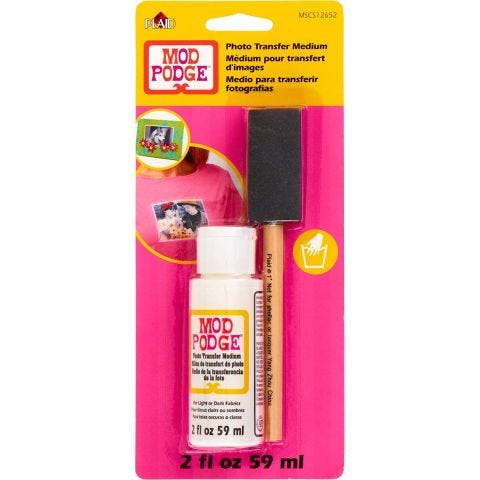
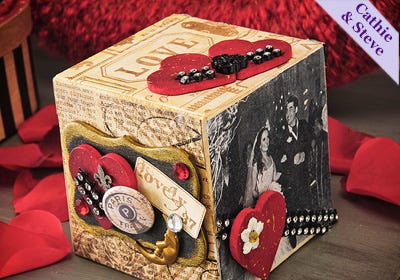
2. Trim the photocopy photo to fit the cube. Apply a thick coat of Photo Transfer to the image side of the photo, position onto the cube transfer side down. Using your fingers from the center-out, smooth the paper. Wipe any extra transfer medium from the edges. Wait 24 hours. Remove the paper and reveal the image by wiping the paper in a circular motion with a damp sponge. Don’t press to hard.
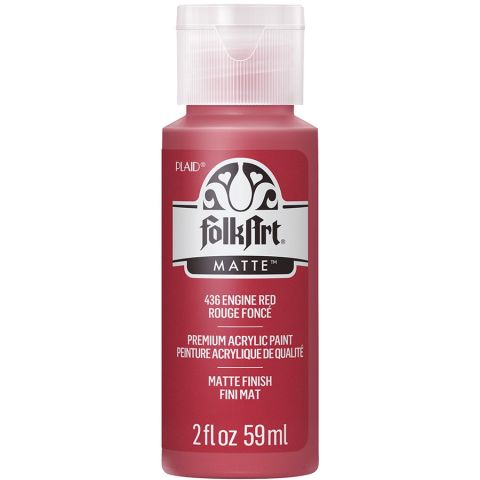
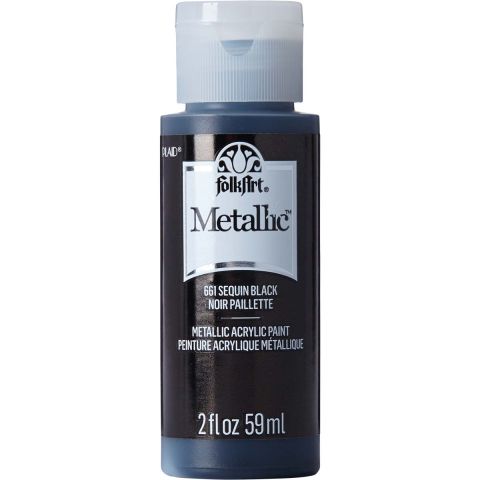
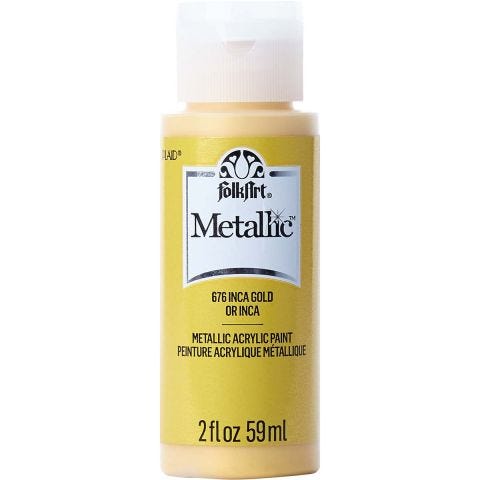
3. Make heart embellishments by painting the wood hearts with Engine Red paint, Drybrush a tiny amount of Sequin Black paint to the hearts and splatter paint with Inca Gold paint.
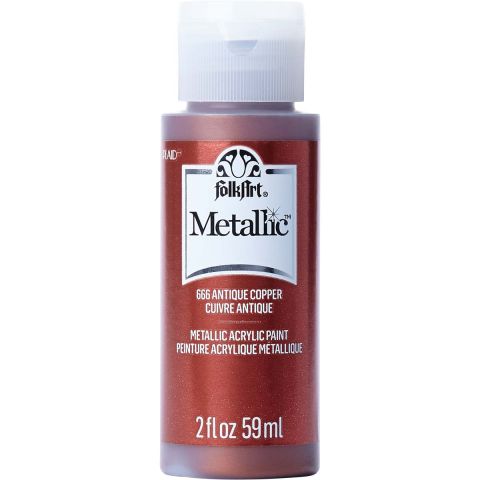
4. Design details. For the top, Hot glue two hearts, some rhinestone trim and a black button. For the front of the cube, glue rhinestone trim, a heart and a flower embellishment. For the right side, glue trim to frame the edges and glue a heart in the center with rhinestones. For the left side, glue a painted wood mini plaque in the center and add a wood heart and embellishments on top. For the backside, using the love stencil, a stencil brush and Metallic Antique Copper paint, stencil the word love across the cube Once dry, glue a heart to the corner and rhinestones to the base.
If your photo you are transferring has text, make sure you reverse the image when making the photocopy.


