Surface Preparation: Sand any surface rough areas with fine grit sandpaper. Wipe with paper towel.
Painting Instructions:
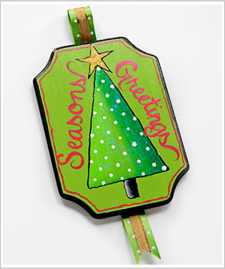
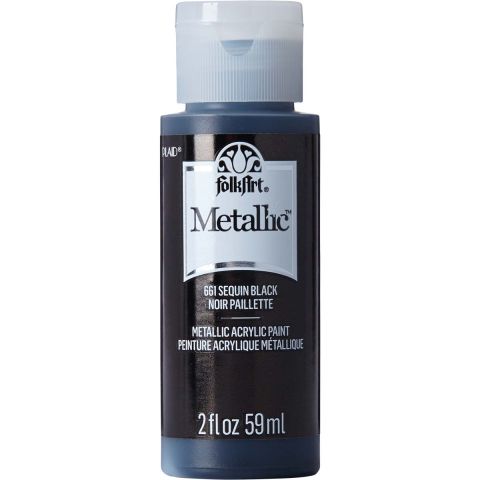
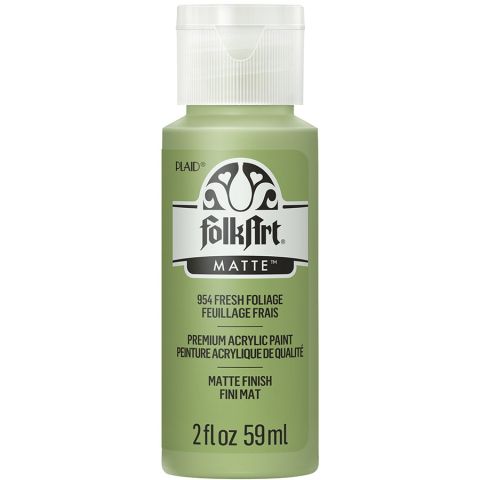
Colorbook paint / basecoat paint the following areas: Surface of Plaque – Fresh Foliage Routed Edge – Metallic Black Sequin
Paint a wiggle outline around the surface edge with thinned Metallic Bright Red using the No. 2 Script Liner.
To create the holiday tree, draw a large triangle in the center of the plaque using a ruler as a straight edge. Draw a star at the top of the tree and a small rectangle at the center bottom of the tree for the trunk.
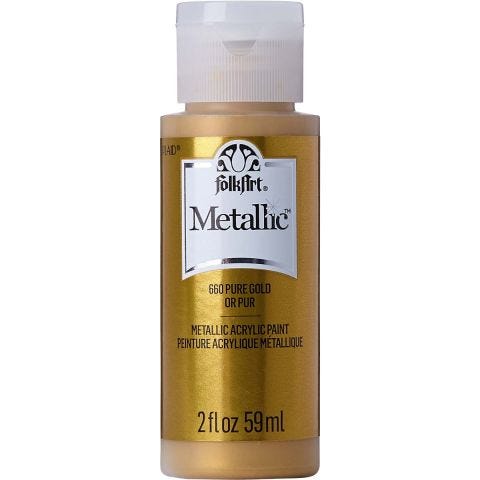
Paint the tree Fresh Foliage, the star Metallic Pure Gold, and the tree trunk Metallic Black Sequin. Let dry.
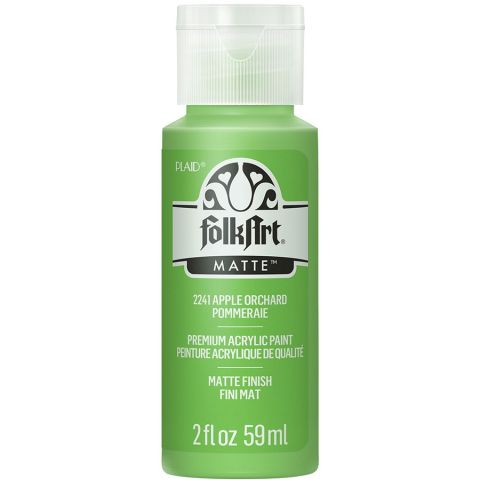
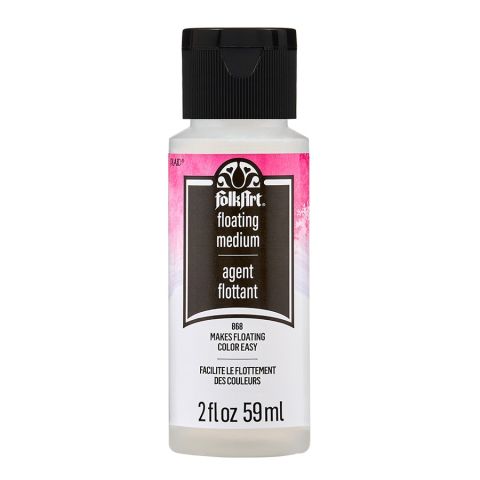
Shade the right side of the tree by floating Metallic Christmas Green and highlight the left side of the tree by floating Apple Orchard. To float, double load the 3/4" Flat Brush with Floating Medium and color. Let dry.
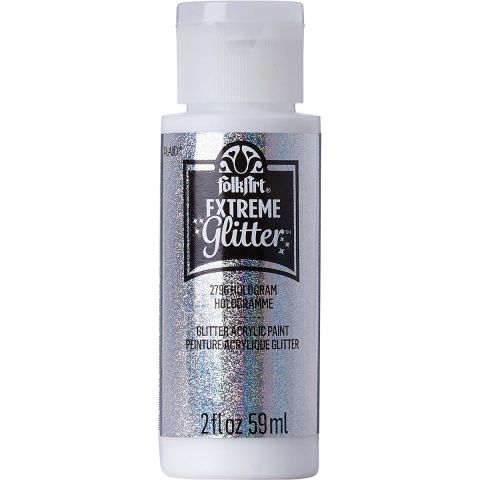
Apply a coat of Diamond Gems paint over the tree and Gold Gems to the star to add sparkle.
Highlight the tree trunk with Metallic Pearl White on the left.
Paint polka dots of Metallic Pearl White on the tree using the handle end of the brush.
Outline the trees and stars using the No. 2 Script Liner with thinned Metallic Black Sequin. The outline is meant to not be perfect. Create a slight wiggle outline.
Paint “Seasons Greeting” on the plaque around the tree using the No. 2 Script Liner with thinned Metallic Bright Red.
Cut lengths of holiday ribbons. Using white craft glue or a hot glue gun, glue the two ribbons together. Fold over to create a loop and glue to the back of the plaque creating the hanger. Enjoy!