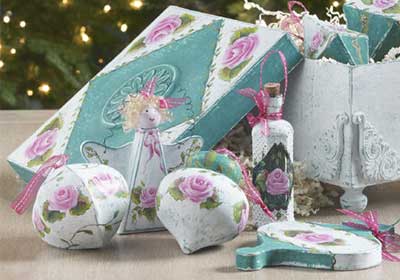
Delight your loved ones with beautiful, elegant hand-painted ornaments and ornament box. Featured in Society of Decorative Painters magazine.
Instructions
- Using a ruler, measure and mark the center of the box lid. Apply E6000 adhesive to the backside of the Medium Rosette wood embellishment. Center wood embellishment directly over box lid and press in place. Allow box lid to lay flat while adhesive is drying.
- Apply the fan wingding wood embellishments to the corners of the box bottom in the same manner. TIP: It may be helpful to work one side of the box at a time giving each side dry time for the adhesive to set before working on the next side.
- Continue using E6000 adhesive to attach the four dowel caps (as feet) to the box bottom corners. Allow to dry.
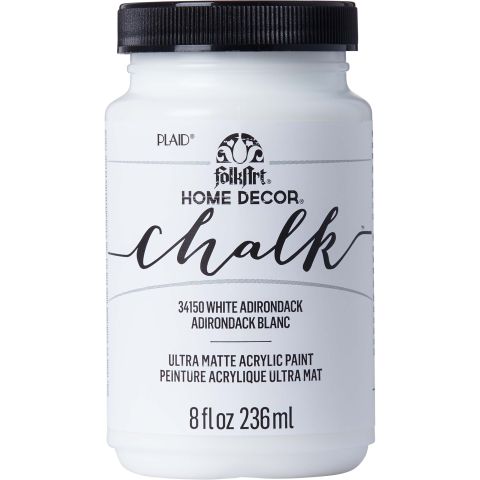
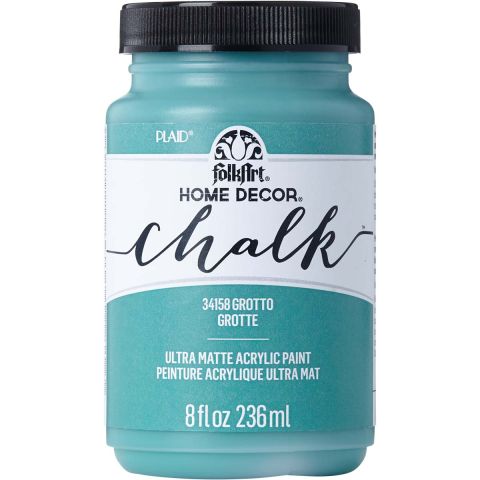
- Once all wood embellishments have been added to the paper mache box, you are ready to mark the inner square pattern on the box lid and begin painting FolkArt Home Décor Chalk paint. I used a two-color distress technique and chose to alternate the White Adirondack and Grotto as the basecoat and top coat. (Refer to photo of finished box) The entire box bottom including wood embellishments and the triangle corners of the box lid were painted Grotto. The remaining areas, center square and band on the box lid were painted White Adirondack. Allow to dry 2 hours and reapply if a second coat is desired although it is not necessary.
- Paint topcoat over the FolkArt Home Décor Chalk basecoats. Reverse the colors painting White Adirondack over Grotto and Grotto over White Adirondack. Allow to dry 2 hours.
- When dry, lightly sand using medium grit sandpaper to distress. TIP: If a more subtle distress look is desired, use fine grit sandpaper and light pressure.
- If desired, complete the interior of the box and lid at this time for a more professional finish! Use color combination of your choice. I basecoated with White Adirondack and top coated with Grotto.
- All ornaments .. (paper mache, wood and glass) were prepared in this same way using a two color distress technique. Be creative; split up the ornament sections and color applications where possible.
Painting Instructions
- If desired, trace and transfer the rose and leaves pattern onto the box and ornament prepared surfaces; or paint freehand.
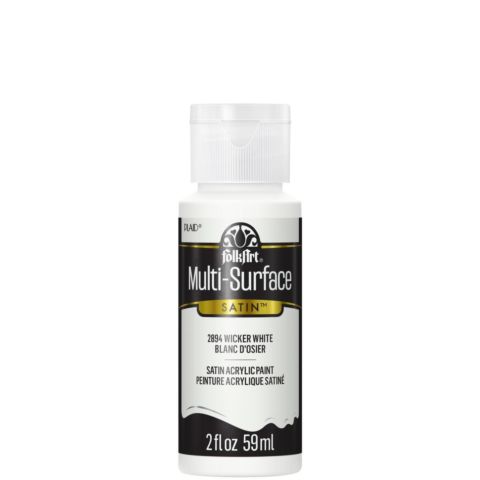
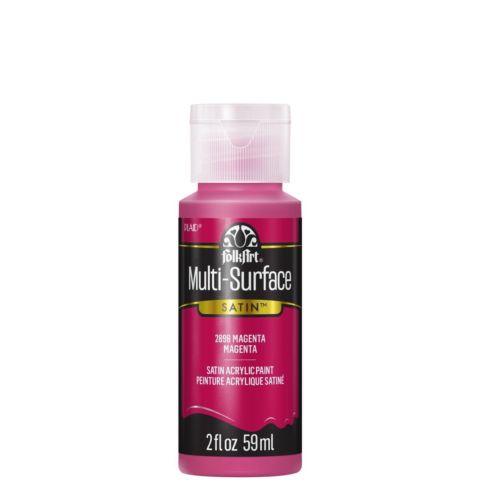
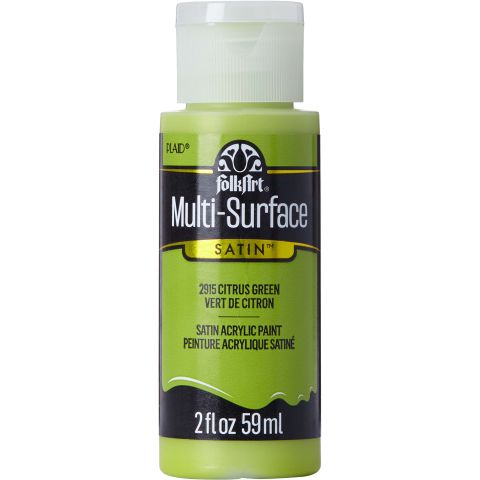
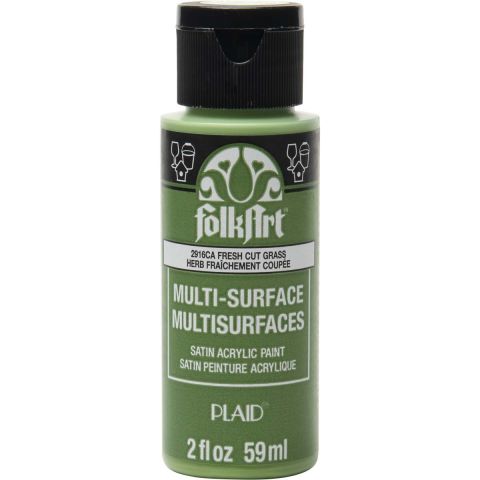
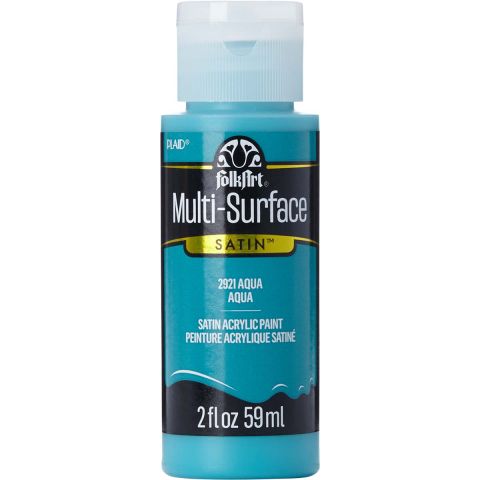
- Leaves – Paint leaves Fresh Cut Grass and allow to dry. Shade base of leaf and add a center vein with Real Brown. Highlight leaf edges with Citrus Green. On light side of leaf add a touch of Wicker White to leaf edges. Paint a Magenta blush on light side of leaf and an Aqua blush on the left side of each leaf. To add a blush, slightly thin the paint with water and lightly pat the thinned paint onto the desired areas. Using a liner brush, outline the left side of each leaf with a squiggly Real Brown line painting from the base of the leaf towards the leaf tip.
- Roses – Mix a small amount of Magenta to Wicker White creating a light to medium value pink. Paint each rose shape roughly using this mixed value. Allow to dry. Using a No. 10 flat brush double loaded with Wicker White and Magenta begin painting the rose at the back of the “bowl” of the rose keeping Wicker White to the top. Reload brush as needed and paint side petals again keeping Wicker White to the outside edge. Next, paint a stroke across the front of the “bowl” of the rose. Continue adding a few strokes on both sides of the rose to fill in. TIP: Remember to reload your brush often keeping it full of paint double loaded Wicker White and Magenta. Using a liner brush loaded with Wicker White, paint a few dots in the center “throat” of the rose.
- Curlicues – Thin Real Brown with a small amount of water and paint curlicues using a liner brush.
- Vines – Paint a curling vine on box lid and ornaments as a separator between sections using a liner brush loaded with thinned Real Brown. Accent vines with small Citrus Green and Fresh Cut Grass leaves. Paint a few Wicker White and Magenta dot cluster flowers using a liner brush where desired.
Finishing Instructions
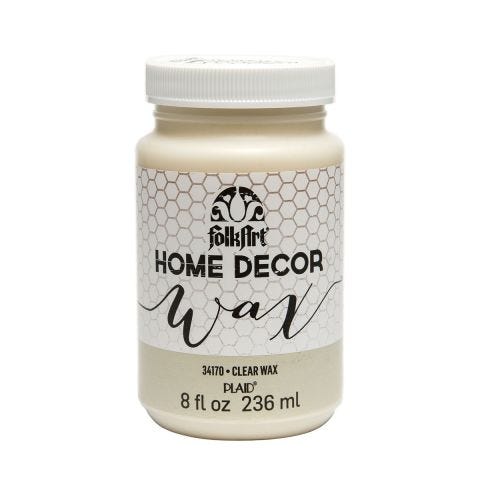
- Apply FolkArt Home Décor Clear Wax evenly over painted surfaces after paint is completely dry. Clear Wax can be applied with a brush or wiped on using a lint-free cloth. Allow wax to thoroughly dry. When dry, use a clean cloth and buff to desired shine. The longer you buff the shinier the finish will become.
- Cut a few random lengths of curly doll hair and glue to the top of the angel’s head.
- If desired, cut and remove gold cord that came with ornaments and replace with sheer magenta organza ribbon ties.


