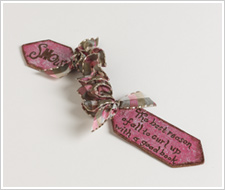
Make these unique bookmarks in bulk in a snap
Instructions
- Transfer template shapes to thin card board and cut out.
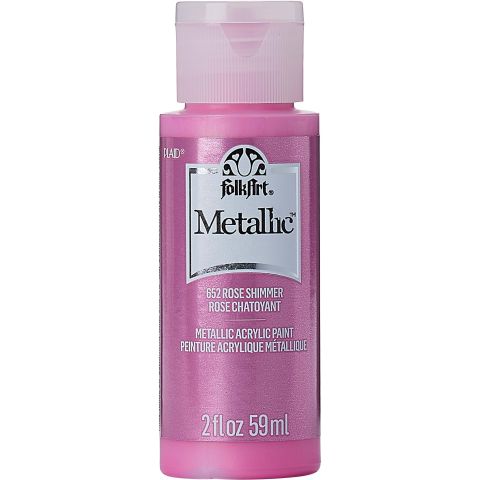
- Paint crinkled scrapbook paper with the metallic rose paint and allow to dry completely. (Note: Depending on the base color of your crinkled scrapbook paper, two coats of paint may be necessary.)
- To assemble the ribbon connector, cut a piece of ribbon approximately 24” long. Hold the wire or thread running along the edge of one side of the ribbon with one hand and push the ribbon down to have enough wire to wrap around itself, or; if the ribbon has a running stitch, enough to make a knot for an anchor to gather the ribbon on itself. (Note: This technique is used on only one edge of the ribbon.) Start gathering the ribbon by grasping the ribbon on the opposite end of anchored end. While holding the wire or thread in one hand, pull downward on the ribbon. The ribbon will begin gathering onto itself immediately. Continue this method until you have tightly gathered all the ribbon onto itself. Anchor this end of the ribbon and cut off the excess wire or thread. The ribbon connector is complete.
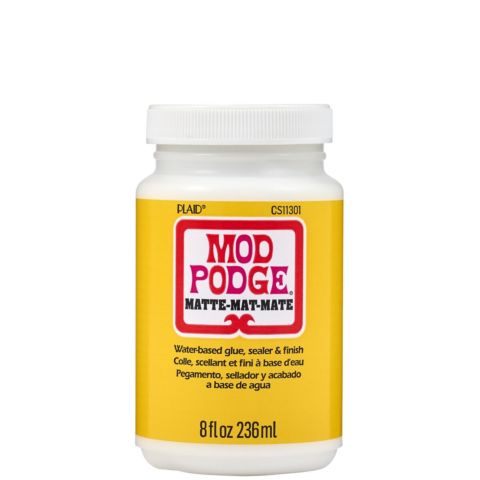
- Using Mod Podge, adhere templates to the back of the painted scrapbook paper and allow to dry. Cut out.
- Transfer lettering from the templates to the painted scrapbook paper side of the cardboard shapes, or if you prefer, you may hand letter your pieces.
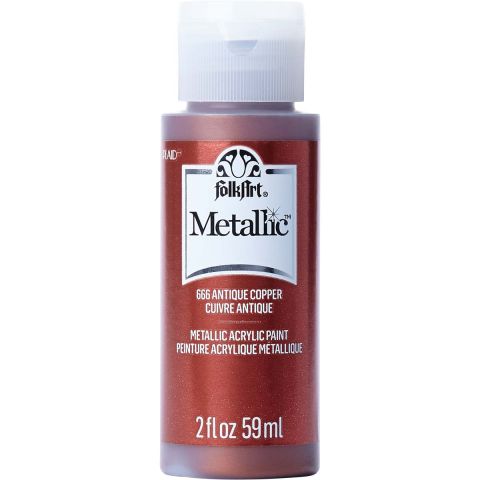
- Using the liner brush, paint over the lettering using Antique Copper and allow to dry.
- Apply E-6000 glue to the ends of the ribbon connector and adhere to the unfinished side of the cardboard templates. Allow to dry.
- Using Mod Podge, adhere templates and ribbon ends to the back of the painted scrapbook paper. Allow to dry and trim along the edges.
- Using the ½” angle paint brush, lightly stipple Antique Copper along the edges and the seams of both templates and allow to dry.
- Cut two 5” pieces of ribbon and tie a knot around the base of the ribbon connector at both templates. Apply ribbon fray check to ends of knot.


