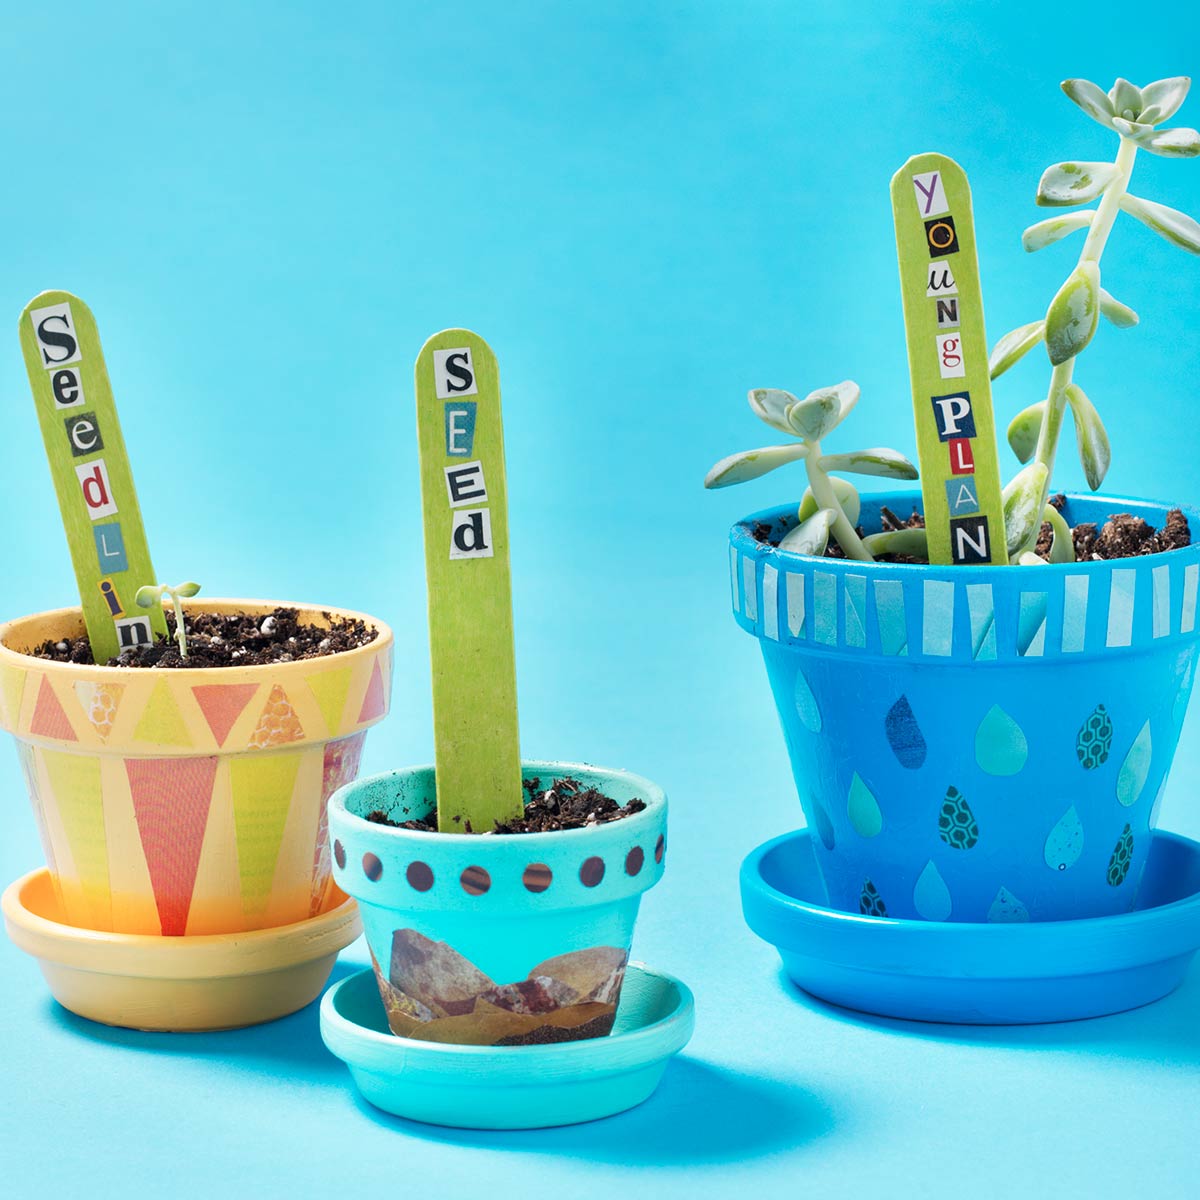
Watch your plants come to life with this craft to track the stages of your plants! Teach your kids about how a plant grows this summer by decorating terracotta flower pots to spark their interest. Perfect summer project for kids!
Instructions
- Paint the craft sticks Caterpillar and allow to dry. The large fl ower pot and saucer is painted Cool Blue. Paint the medium size pot and saucer Yellow and the small terra cotta pot and saucer is painted Key West. let dry completely.
- Using old magazines as collage material, cut out letters to spell – “seed”, “seedling” and “young plant.”
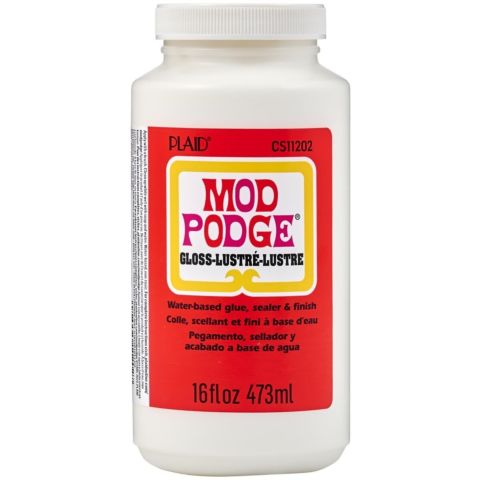
- Brush one side of a painted craft stick with Mod Podge Gloss. While the Mod Podge is wet, position the prepared letters on the craft stick, stacked down. Apply a topcoat of Mod Podge Gloss over the letters. Set aside and let dry completely.
- NOTE: The flower pots are collaged with items that represent the needs of plants – soil, sunshine and water. Cut out sections of color from magazines representing those plant needs to use as collage papers.
- Prepare the collected magazine pages to represent soil, sunshine and water for soil – cut rounded dirt mounds and hole punch bits for around the top edge, for sunshine – cut triangles and for water – cut raindrop shapes and rain lines.
- Working one terracotta flower pot at a time, lay out the shapes face down on a piece of wax paper. Apply a coat of Mod Podge Gloss on a section of the fl ower pot. Also apply Mod Podge to the backside of the cut collage shapes. Flip the shapes over, apply to the prepared surface and then topcoat with Mod Podge the Gloss. Allow to dry 20 minutes.
- To seal and protect with a consistent finish, topcoat the entire surface of each terra cotta fl ower pot and saucer with Mod Podge Gloss. Let dry 24 hours.
- To complete this project, fill each flower pot with potting soil, plant a seed then add the appropriately named craft stick. As the plant grows, transfer it to a larger pot and change the craft stick tag to follow the stages of the plant.
6.9.1


