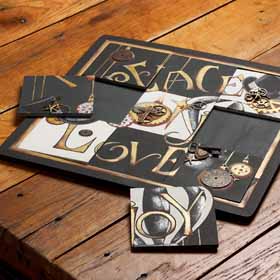
Give this steampunk puzzle to a dear friend to celebrate the holidays.
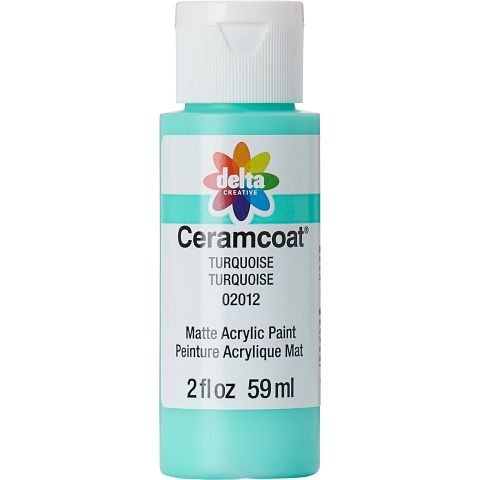
Delta Ceramcoat Acrylic Paint - Turquoise, 2 oz. - 020120202W
Delta Ceramcoat
2 oz
+ 95 colors
$1.29
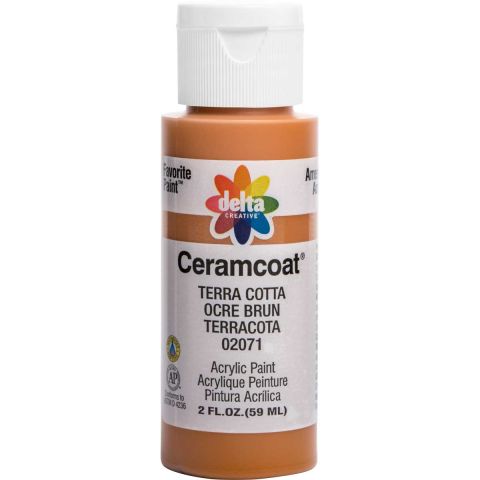
Delta Ceramcoat Acrylic Paint - Terra Cotta, 2 oz. - 020710202W
Delta Ceramcoat
2 oz
+ 95 colors
$1.59
Delta Ceramcoat ® Acrylic Paint - Metallic Silver, 2 oz. - 026030202W
Delta Ceramcoat
2 oz
+ 95 colors
$2.49

Instructions
Preparation Instructions
- Apply an even coat of All Purpose Sealer to all wood surfaces. Allow to dry.
- Sand wood surfaces with fine grit (150-200) sandpaper.
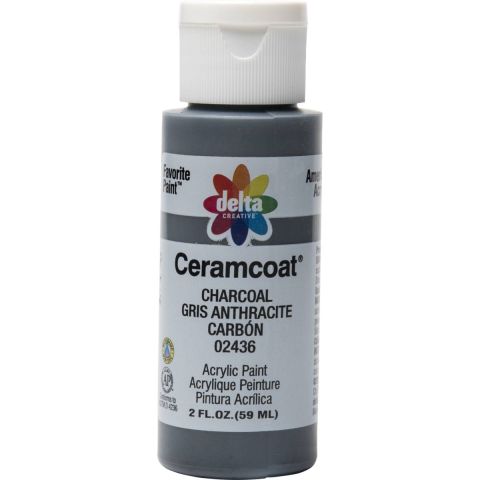
- Tiles- Using a large brush, basecoat three tiles each: Black, Charcoal and White. Allow to dry.
- Frame – Using the same large brush, basecoat the inset and backside of the frame Black. Paint the frame molding Metallic 14K Gold. Allow to dry.
- TIP: Place the dry tiles back inside the frame for easier pattern transfer and painting.
Painting Instructions
- Trace and Transfer - Trace the entire steampunk pattern onto tracing paper. Sections of the pattern will be transferred then painted a little at a time layering the artwork.
- TIP: When transferring the pattern sections, it is best to hold the tracing paper pattern in place by taping it to the top of the frame.
- Using the white or black transfer paper as needed transfer the pattern for the hot air balloon only.
- Hot Air Balloon – Using the No. 8 flat brush, basecoat the basket and alternating balloon stripes Black.
- Paint the remaining balloon stripes White. Allow to dry.
- Create a mix of equal parts Charcoal and White. Paint a highlight to the black balloon stripes using a No. 14 flat brush.
- Pattern Transfer – Transfer all remaining pattern areas with the exception of the gear shapes resting on the ornaments.
- Aged Ornaments – Basecoat Terra Cotta using appropriate sized brush. Allow to dry.
- Float a highlight on all of these areas using the No. 8 flat with a mix of equal parts Terra Cotta and White.
- Paint ornament caps Metallic 14 K Gold.
- Float Turquoise on all of these areas randomly for interest and age using the No. 8 flat brush.
- Letters – Peace, Joy, Love and Cross – Basecoat all letters and cross Metallic 14K Gold.
- Age each of the letters and cross with a float of Terra Cotta – refer to photo for placement.
- Highlight each letter and the cross with a float of Turquoise.
- Add Candy Bar Brown shadows around each shape.
- Outline each letter and the cross with Black using a No. 1 script liner.
- Accent each shape with a swipe of Glitter Gold.
- Gears– Transfer all the gear shapes on top of the ornaments.
- Basecoat all gears either Metallic 14K Gold or Metallic Silver (refer to photo for placement)
- Float Candy Bar Brown shadows around the gears.
- Accent each gear with Glitter Silver and/or Glitter Gold.
- Top Hats – Basecoat the top hats Black using the No. 14 flat brush.
- Highlight with a float of the mixture of Charcoal and White.
- Frame- Remove the tiles from inside the frame. Apply painters or stencil tape around 3/8" from the inside edge of the frame. Paint exactly as the letters were painted.
Finishing Instructions
- Varnish - Apply as many even coats of Satin Varnish as desired using a large brush.
- Embellishments – Using E6000 strong bonding adhesive, attach all found items such as gems, metal charms, metal gears and small steam-punk style embellishments.

