
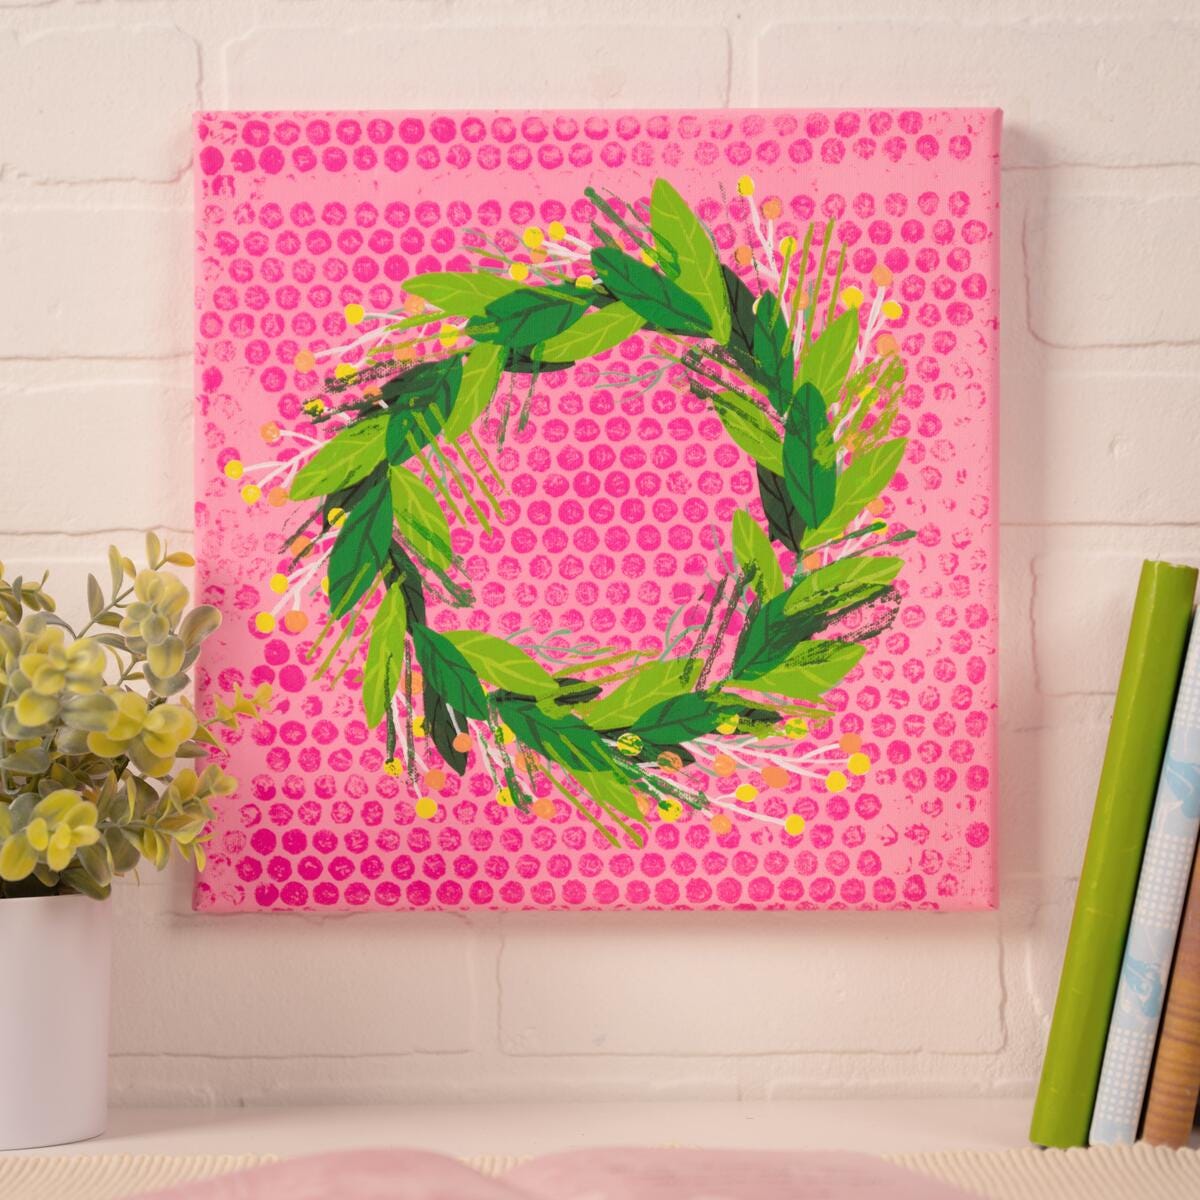
Transform your canvas into a masterpiece with this step-by-step guide on painting a beautiful wreath with a bubble wrap background using FolkArt Acrylic Paint. Perfect for DIY home decor projects, this technique adds texture and charm to your artwork. Discover the joy of crafting with our easy-to-follow instructions and tips.

Other Supplies
- Bubble wrap
- Canvas
- Pencil
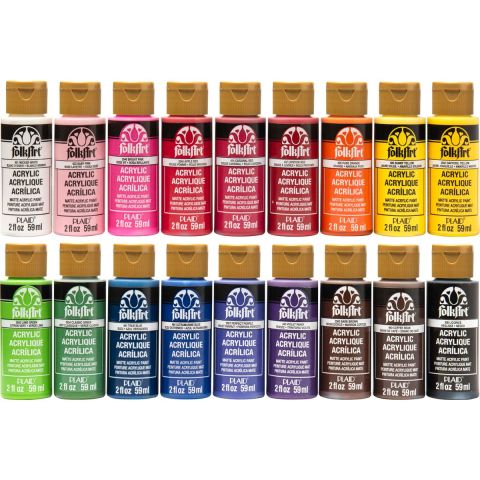
- Palette or paper plate for mixing paint
- Paper towels or rags for cleanup
- Water cup for rinsing brushes
Instructions:
- Basecoat your canvas in Baby Pink. Let dry.
- Cut a piece of bubble wrap slightly larger than your canvas.
- Pour some Bright Pink paint onto your palette.
- Using a brush or sponge, apply the paint evenly onto the bubble side of the bubble wrap.
- Carefully press the painted side of the bubble wrap onto your canvas, making sure to cover the entire surface.
- Gently lift the bubble wrap off the canvas to reveal the bubble pattern. Let it dry completely.
- Using the photo as a guide, lightly sketch the outline of your wreath on the canvas.
- Use a combination of greens for the leaves and various yellows for berries.
- Start by painting the leaves and branches of the wreath. Use different shades of green to add depth and dimension.
- Add flowers, berries, or other decorative elements to your wreath. Use a smaller brush for details.
- Let each layer of paint dry before adding more details to avoid smudging.
- Once your wreath is complete and dry, you can add any final touches or highlights to make it pop.
