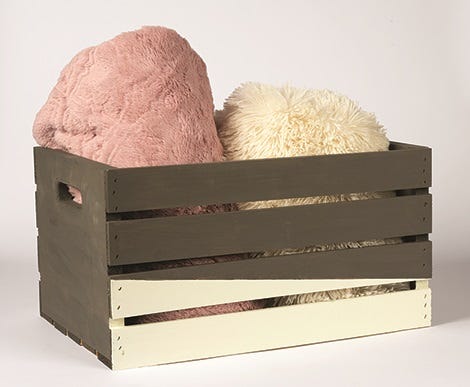
Using wooden crates for storage is a great way to gather up and organize extra lap blankets in the living room! And when decorated to color coordinate with your room’s décor, they are even more special. This very simple wooden crate can be professionally painted in a couple short hours using Waverly inspirations Chalk Paints and tools.
Instructions
- Lightly sand the unfinished wood surface to remove rough wood grain. Using painters tape, create a diagonal division across the front of the wood crate, as shown in the photo (NOTE: The back and sides of the crate can also be divided diagonally, if desired.) Press tape in place along the tape edges. Below the tape line, paint a smooth application of Waverly Inspirations Chalk – Plaster using the Waverly Inspirations Chalk Paintbrush. Remove the tape line and allow to dry.
- Once completely dry, reapply the tape line directly over the previously painted Plaster section. Apply Waverly inspirations Chalk - Elephant on the top portion of the wood crate. Remove tape and allow to dry.
- Lightly sand smooth if desired.
- For added protection, apply Waverly Inspirations Clear Wax over the painted frame using the Waverly Inspirations Wax Brush. When dry, buff to desired sheen.

