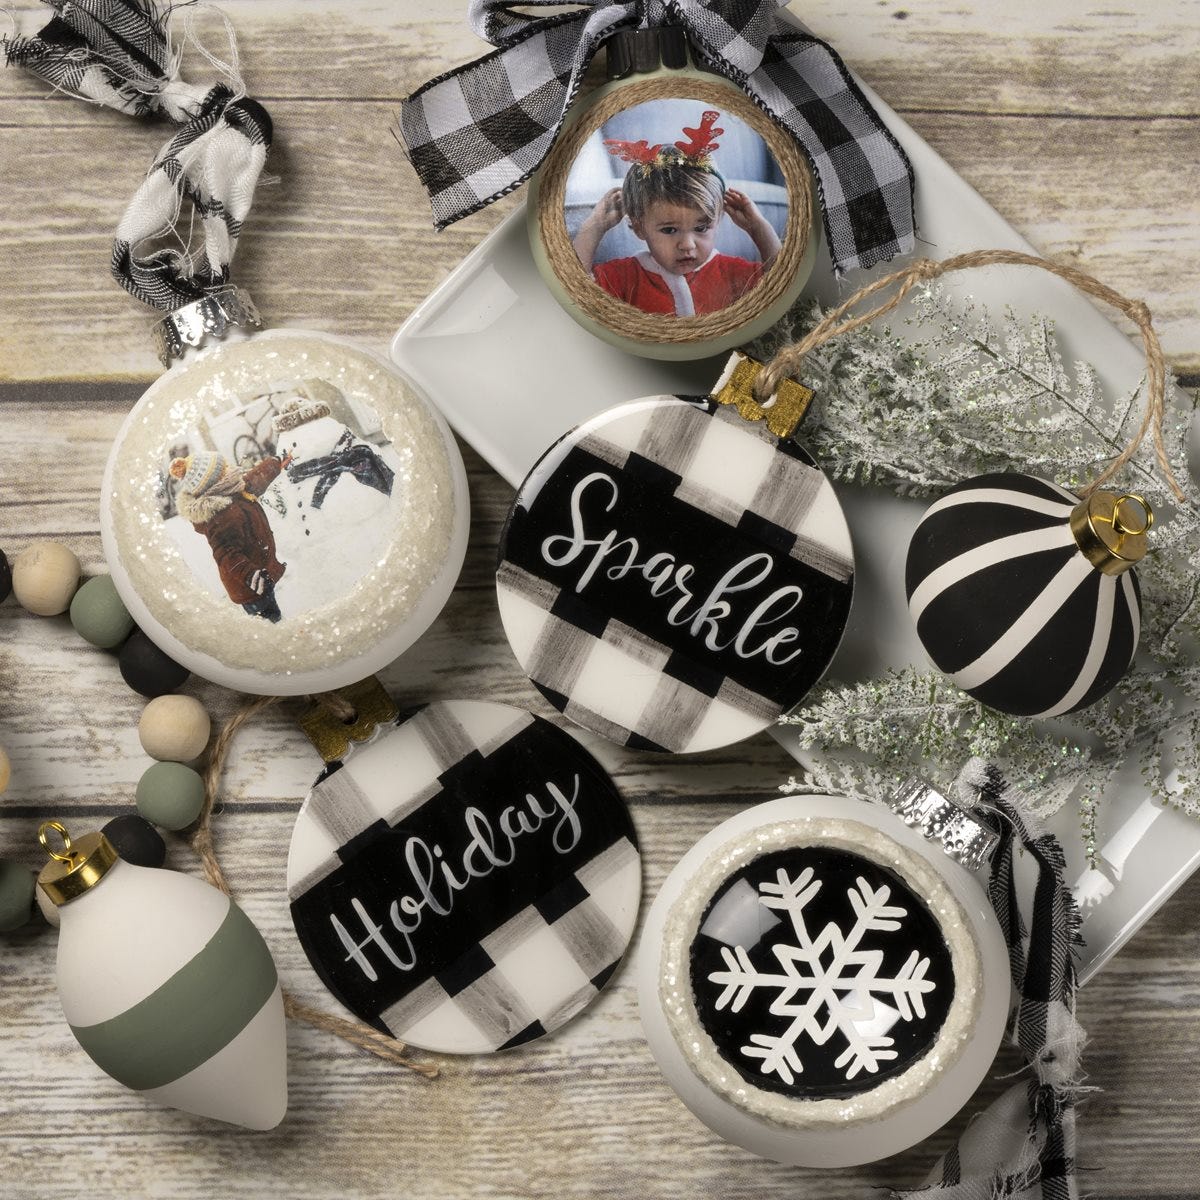
Make your Christmas Tree a winter wonderland with this easy DIY ornament. This is an easy and fun craft to do with your family as you gather together this holiday season.
Instructions
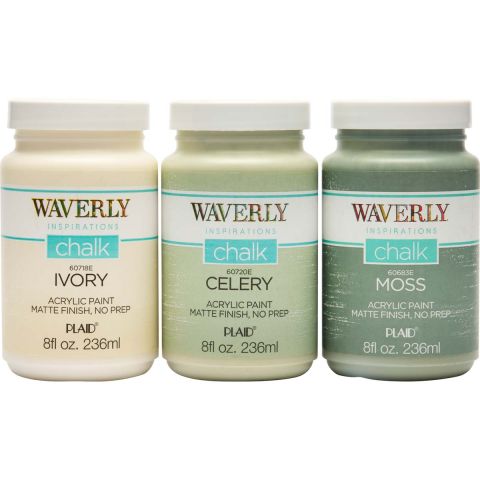
Snowcapped:- Basecoat the ornament with Ivory. Allow to dry.
- Apply Snowbank to the top of ornament. Continue to add layers of Snowbank to build up the snow. Allow to dry completely.
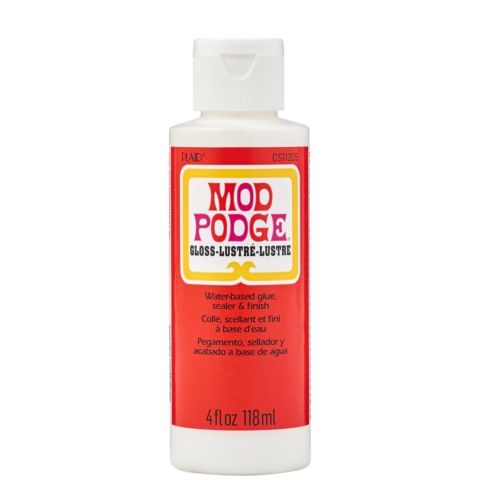
- Brush Mod Podge Gloss onto Snowbank and add glitter.
- Cut a piece of the plaid fabric and tie to the ornament.
- Begin by watching this awesome video about photo transfer and how to use it. Andy from our Let Paint Live goes through every step with lots of detail. https://youtu.be/Eub8LFuQ0MQ
- Once the image is on the ornament, paint the rest of the ornament with Ivory. Allow the paint to dry.
- Brush on Snowbank around the image to make a “snow” frame. Continue to add layers of Snowbank to build up the snow. Allow the Snowbank to dry completely.
- Brush Mod Podge Gloss onto Snowbank and add glitter.
- Cut a piece of the plaid fabric and tie to the ornament.


