
Use this mini wood crate to store all sorts of things, including toys and books.
Instructions
- Paint your small wood crate with FolkArt Multi-Surface in Parchment. Give your crate several coats and let dry. Don’t forget the inside and bottom of the crate as well.
- Measure the wood slats on the side of your crate using a ruler. Use the paper cutter to cut the scrapbook paper to fit the slats. Alternatively you can use a pencil with a ruler to measure and then scissors to cut the paper.
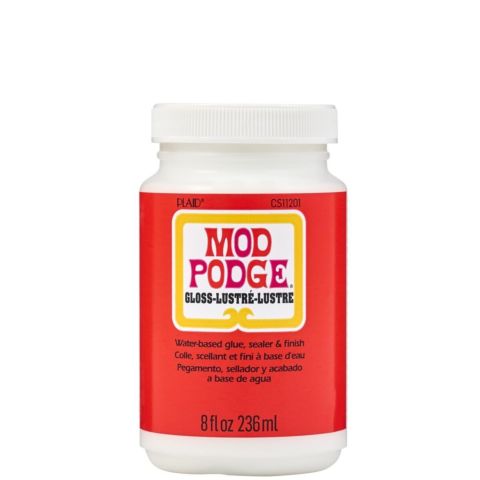
- Working one at a time, add Mod Podge to the wood slats. Paint a medium layer of Mod Podge over the entire slat and smooth your scrapbook paper down. Repeat. Let dry for 15 – 20 minutes.
- Apply a top coat over each wood slat and let dry.
- Now you’ll decorate the ends with the peel n’ stick stencil. Starting from the middle where the handle of the crate is, peel the stencil from the backer sheet (carefully) and smooth down flat on the surface.
- Use the Spouncer to add Mod Podge to the stencil. Use a medium layer of Mod Podge and work quickly, since Mod Podge dries quickly. Completely cover the area you would like the design in.
- Peel up the stencil and pour the sand on top right away. Tip: pour the sand on top of the crate over a piece of paper so that you can pour the excess back into the original container.
- Let your design dry before repeating with the stencil again. You’ll do this three times on each side to cover (possibly more depending on the size of your crate).
- Once your design is complete on both sides of the crate, let it dry completely. Then sweep off the excess sand using a paintbrush. Tip: if you need to touch up some areas of your design, you can use a small paintbrush with Mod Podge and sprinkle sand just in those areas. Let dry and then brush again.
- To finish your crate, use Mod Podge to glue the wood letters down on one side.
- Let your crate dry for 24 hours before using.

