In 2021, the PlaidFX team is excited to bring you a year filled with new techniques, inspiration, and a variety of fun how-tos. Make sure to tune in each month as we dive deep into a specific cosplay technique that is sure to be a help to you when you are building. All month long we will be going live on Facebook, providing project tutorials, and bringing in new areas of fandom to the PlaidFX community.
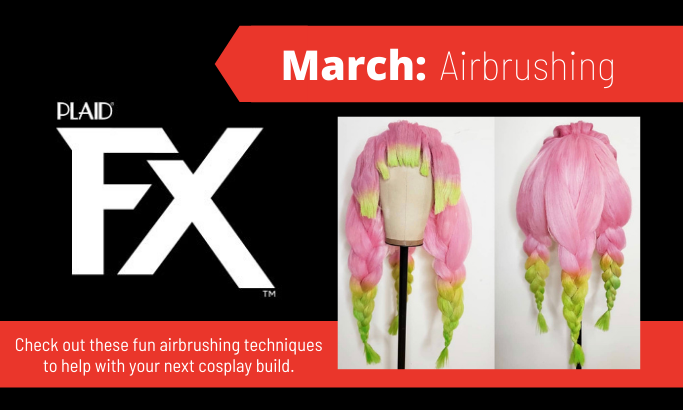
We are kicking off March with a month-long focus on airbrushing.
Throughout the month of March, we are going to be focusing on a variety of airbrushing techniques as well as offer up some fun project inspiration to get you in the mood to create. We are going to highlight some of these techniques in this blog, but make sure you are following PlaidFX on Facebook as well as our PlaidFX Instagram and TikTok for more in-depth airbrushing fun.
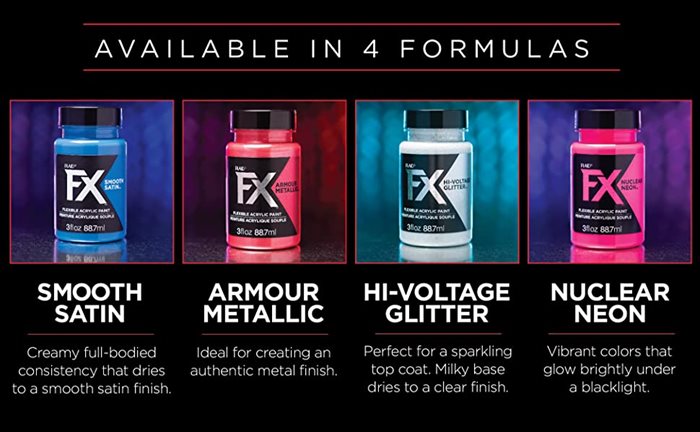
To create some uniquely detailed and colorful builds you'll need some durable acrylic paint made by cosplayers, for cosplayers! Don't forget to pick up PlaidFX Flexible Acrylic Paint for all your fandom creations. We've got a color and a finish for every prop and costume.


To Start
Never airbrushed before? Check out this simple 101 video on how to use PlaidFX flexible acrylic paint through an airbrush.
First, we want to touch on some questions you may have about how to airbrush with PlaidFX paints as well as what can you do with this unique line of colors.
Preparing to Airbrush
Did you know that you can use a simple 1:1 ratio of PlaidFX and window cleaner to thin down paint for use in an airbrush? Your thinned-down mixture should be the consistency of whole milk. It is important to thin down PlaidFX because it helps the paint flow through the tip of the airbrush gun much easier. Be sure to mix your paint thoroughly to ensure there are no clumps before putting it into your airbrush.
Painting with an Airbrush
Before applying paint to your project, offload onto a scrap piece of cardboard or scrap material to make sure your airbrush is working properly and is spraying smoothly. It is always recommended to practice your airbrushing skills before applying paint directly to your project. This will ensure that you have control over how much paint you are applying. A general technique for airbrush users is smaller, finer lines are achieved by holding the airbrush closer to your project with less air being released, and larger gradients are achieved by holding the airbrush further away from your project with more air being released.
We recommend the air compressor PSI be between 20-30, however, this varies from model to model. Some air compressors work better with a range of 50-60 PSI. It is best to see what your air compressor model recommends.
As you airbrush if you want to get a deeper color gradually build up the pigment by applying thin coats of paint. If you want to airbrush a light color, it is best to apply over a white base. If you want to airbrush a metallic color, it is best to apply over a black base.
Post Airbrushing
Always make sure to clean your airbrush thoroughly after each use. You can run window cleaner or distilled water through your airbrush to help clean the tool after each use. It is important to make sure there is no paint residue around the needle tip, nor in the paint chamber. If needed, users can disassemble their airbrush and clean each piece more thoroughly.
Craft Break Livestreams
Stay tuned this month on our PlaidFX Facebook Page as we do 2 Craft Break live streams with airbrushing. Follow us now!
Our first Craft Break featured the technique of creating a gradient with an airbrush. This livestream orginially aired on March 9, 2021 - Watch NOW!

In our second Craft Break, we showed you how to add a really cool chipped painting effect to your cosplay builds with an airbrush. This livestream orginially aired on March 30, 2021 - Watch NOW!

Fun Tips, Tricks, and How-tos
We also are excited to give you 3 awesome tutorials involving airbrushing.
Our resident Cosplay expert Jessie Jennings has got some awesome tips to share with you on shading and highlighting. Stay tuned to TikTok later in the month for full video instructions to see how we made this beautiful shimmering beetle.

In reference to the project above, here are some things to remember as you are shading and highlighting with an airbrush.
- Start by applying a mid-tone base color.
- Add darker colors around edges for shading.
- Add lighter colors in center or around peaks for highlights.
- Airbrushing is a great way to apply PlaidFX Mutant Shift and get a beautiful, smooth, shiny finish.
All of these techniques and more will be covered in detail on TikTok, follow us now so you don't miss a thing.
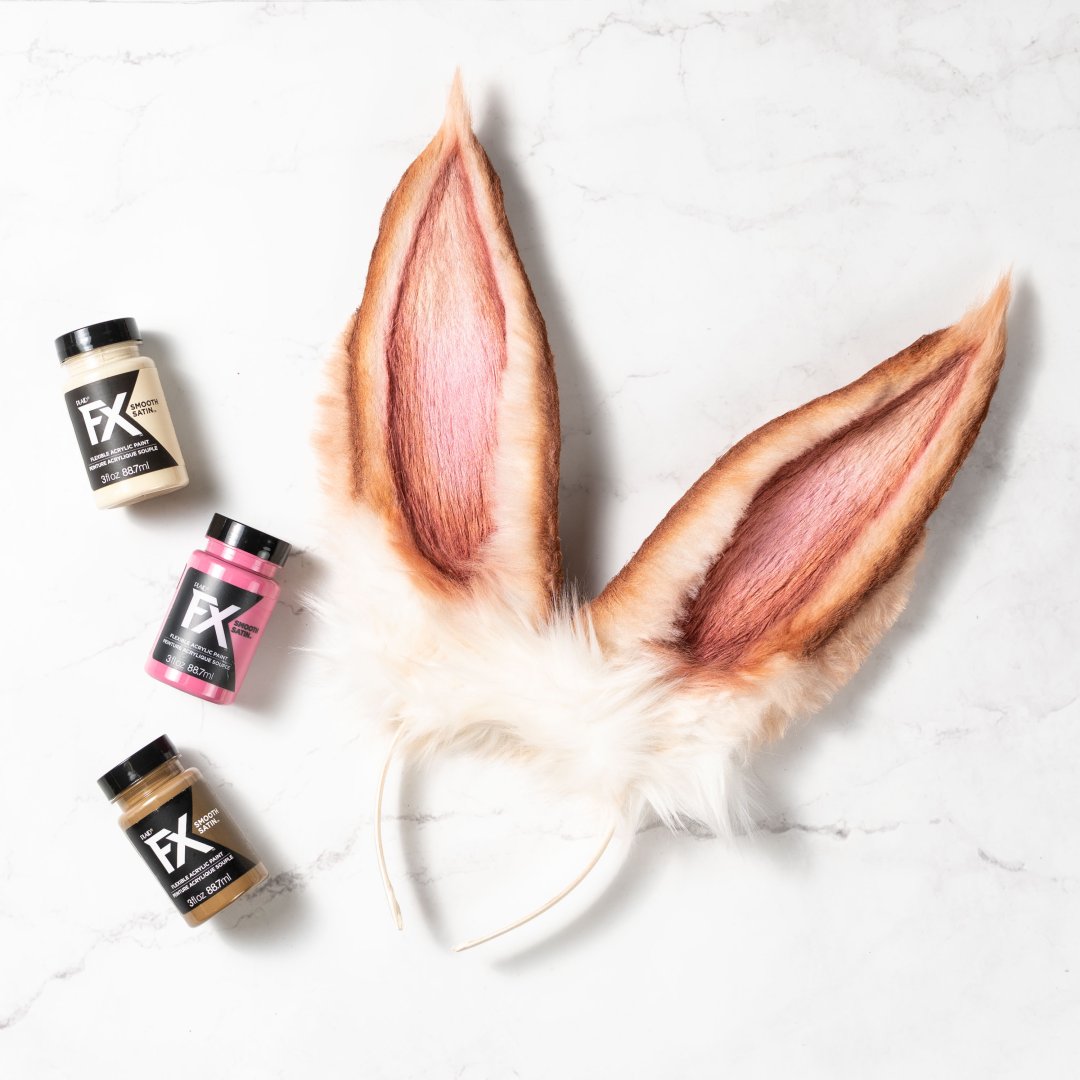
We will also be painting the fur on bunny ears this March. These realistic Easter bunny ears were made by Emily Schmidt of Go Big or Go Home Cosplay. Emily will be sharing her tips and tricks for adding highlights, discussing color pigmentation with an airbrush, and so much more. If you are nervous to get started airbrushing this is a fun project to get your feet wet.
Click the tag in the lower left hand corner for the instructions and supply list needed for this unique pair of bunny ears. THEN watch the detailed how-to videos on TikTok later this month.
In reference to the project above, here are some things to remember when airbrushing fur.
- When working with fur, mark the direction your fur lays.
- Leave about a 5mm of seam allowance when cutting out your patterns.
- Use a hobby knife to cut out from behind to prevent fur from getting everywhere, don’t use scissors.
- Aluminum wire allows the ears to be flexible and allows a connection point to attach them to a headband later.
- When shaving, trim going the direction the fur lays and work slowly.
- Practice using different trimmer attachments to take off various lengths of fur.
- Start by adding lighter colors and gradually add darker colors.
- Work slow to not over-saturate the fur with paint too quickly.
- Use a hairdryer to help expedite drying time when needed.
- A toothbrush is great to help blended colors for touch up.
- Can add more realism by using eye shadow over airbrushed fur.
- Work around the edges and gradually add pigment.
- Practice adding darker lines to the outer edge and lighter shades in the center.
We are also super excited to have Allie of AllieCat Cosplay create a beautiful ombre effect on a wig using airbrushing. Watch her easy-to-follow tutorial below. Check out the full project instructions and supply list HERE.
In reference to the video above, here are some things to remember when airbrushing a wig.
- PlaidFX is perfect for this because it is made of plastic materials.
- Paints are transfer-proof, so once dry they will not bleed onto your clothing (rub-resistant).
- When you are wearing your wig you can be confident that in humidity the paint will not come off of the wig.
- Best to apply this technique to sculpted wigs because this technique will reduce how soft the wig’s fibers are.
- Great for adding gradients or a pop of color to a purchased wig for cosplay.
- Remember to protect your wig head before applying the airbrushed paint, a plastic bag works great.
- For wigs, it is recommended to thin PlaidFX paints down with water in a 1:1 ratio.
- Using this technique is great because it offers a wide range of colors that are not available in traditional dyes.
- Allow your wig to dry at least 24 hours before wear.
Table Top DIY
We are also very excited to introduce to you Elizabeth Beckley! She is an award winning miniature painter and teacher. She has been working professionally in the hobby for almost ten years as a freelance studio artist for such companies as Panda Cult Games, Kingdom Death and CMON. Elizabeth has worked on many projects, including officially licensed properties from Marvel, Sony and Disney. She is one of the teachers from Miniature Monthly, a successful Patreon that offers a wide range of tutorials on painting and sculpting. Elizabeth enjoys traveling around the world to teach and attend conventions.
Make sure to check her out on social media:
- https://www.patreon.com/miniaturemonthly
- https://www.instagram.com/miniature_mistress/
- https://twitter.com/minimistres
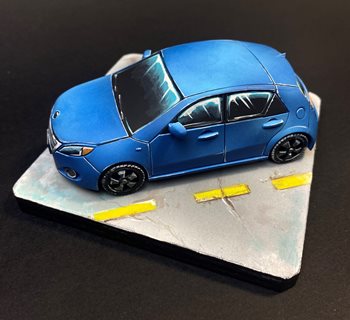
This month she created a super cool miniature car using some very interesting airbrushing techniques. Check out the video below!
What's coming up...
Make sure to stay tuned for next month's theme where we are painting with PlaidFX on Fabric!
Share your airbrushing creations with us using #PlaidFX!
Happy Crafting!
