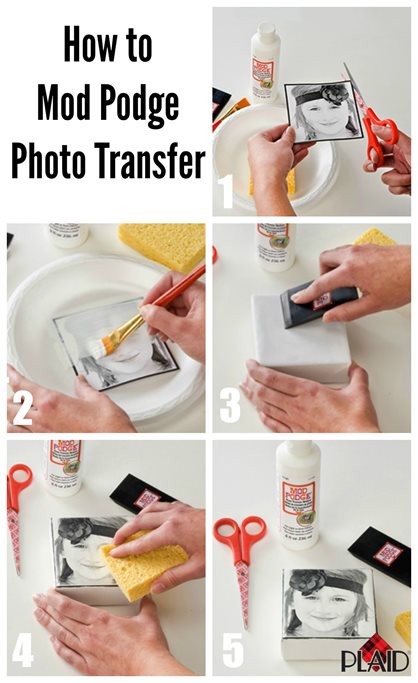

Are you going to take on your first Mod Podge Photo Transfer project? First, take a look at how to use Mod Podge Photo Transfer how-to article to make sure you have everything you need. While photo transfer projects can look overwhelming, we have a few tips to make sure your project turns out great! Here are 5 tips from our craft experts!
5 Tips for Successful Mod Podge Photo Transfer Projects
- Use regular copy paper - Regular copy paper gives you the best results. Thicker paper is much harder to remove during the photo transfer process. We, also, don’t recommend using photo paper or actual photos.
- Prep the paper for removal - Wet the paper and let the water seep into the paper. Let it sit for 2 minutes before removing the paper
- Removing the paper - The best way to remove the paper is in slow circular motions using a sponge or fingertips. It may take multiple times to remove the paper Best surfaces to photo transfer on for a beginner - Best surfaces for a beginner are a rigid surface such as wood or canvas.
- Best Photo type - Dry toner image. Most important use a dry toner image (color or black & white).
- Reverse the image - If you have an image with words, reverse the image on your computer or on the copier so the words will show correctly on your finished piece


