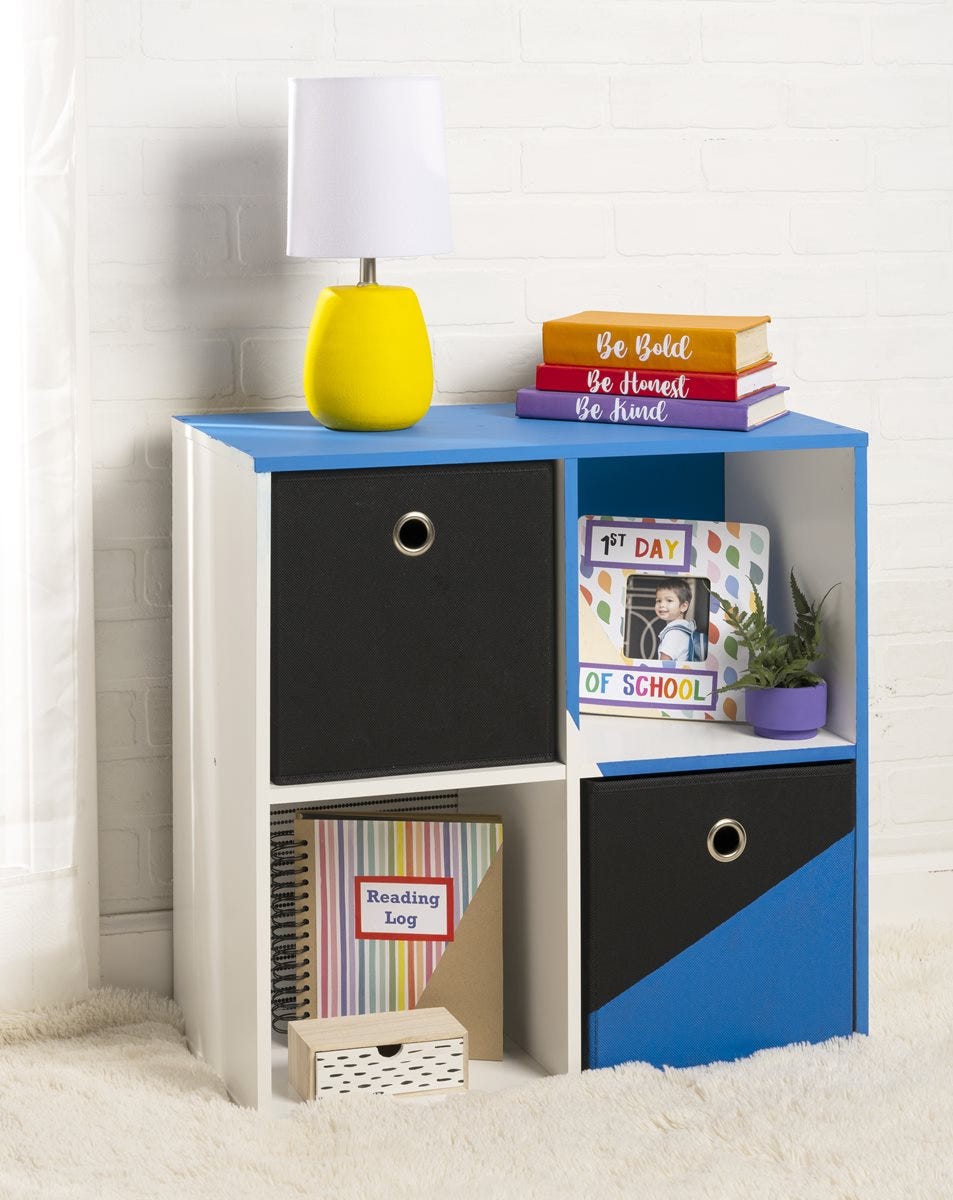
Easy and fun to create, these colorful cubes will organize your student supplies and brighten any corner of the room with colorful notebooks and framed photos!
Instructions
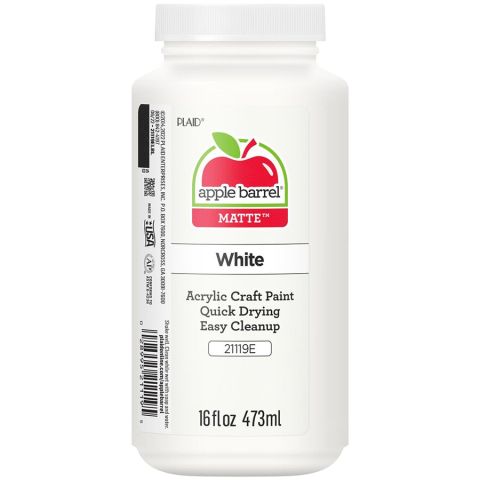
Cube Instructions- Using a 1” Foam brush, neatly base coat the entire cube organizing unit with White. Allow to dry. Next, sand smooth and then reapply White for opaque coverage. Allow to dry.
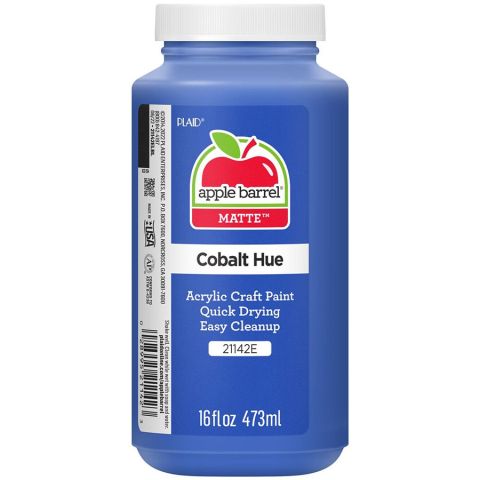
- Select accent color, ours is Cobalt Hue. Brush accent color onto desired areas of the cube organizer, refer to photograph. Allow to dry, then reapply for opaque coverage.
- Accent a black fabric storage bin with a diagonal strip of Cobalt Hue. Allow to dry and then reapply. Let dry.
Frame Instructions
- Using a 1” Foam brush, brush a coat of White onto the entire frame. Let dry. Sand smooth and reapply White. Allow to dry.
- Cut desired scrapbook paper the size of the frame using scissors.
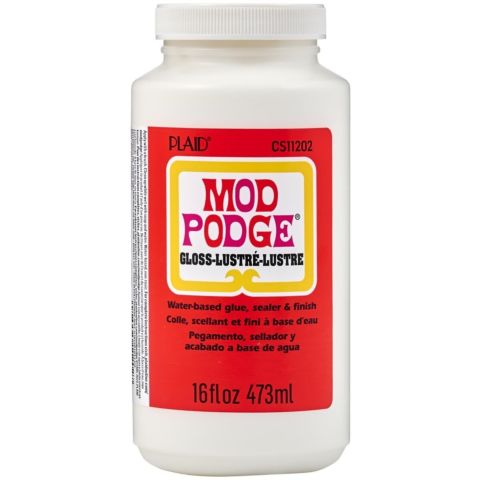
- Adhere paper to the prepared wood frame using Mod Podge in the sheen of your choice, Matte or Gloss. Using a clean 1” foam brush, brush a liberal amount of Mod Podge onto the frame surface as well as the backside of the scrapbook paper piece. Next position the paper onto the surface and smooth in place. Press firmly to remove any possible air bubbles or paper wrinkles. If desired, add layers of paper designs, such as “1st Day of School.” Allow to dry a minimum of 15 minutes and then brush a coat of Mod Podge over the paper strips to seal and protect. Allow to dry.
Notebook Instructions
- Select desired scrapbook paper large enough to fit the cover of a notebook. Trim with scissors if needed.
- Adhere paper to the notebook using Mod Podge in the sheen of your choice, Matte or Gloss. Using a clean 1” foam brush, brush a liberal amount of Mod Podge onto the surface as well as the backside of the scrapbook paper piece. Next position the paper onto the surface and smooth in place. Press firmly to remove any possible air bubbles or paper wrinkles. Allow to dry a minimum of 15 minutes and then brush a coat of Mod Podge over the paper strips to seal and protect. Allow to dry.
Pencil Box Instructions
- Allow the base of the pencil box to stay unpainted allowing the natural wood to be displayed.
- Select desired scrapbook paper to fit the front drawer of the pencil box. Trim with scissors to fit.
- Adhere paper to surface using Mod Podge in the sheen of your choice, Matte or Gloss. Using a clean 1” foam brush, brush a liberal amount of Mod Podge onto the surface as well as the backside of the scrapbook paper piece. Next position the paper onto the surface and smooth in place. Press firmly to remove any possible air bubbles or paper wrinkles. Allow to dry a minimum of 15 minutes and then brush a coat of Mod Podge over the paper strips to seal and protect. Allow to dry.


