Email Signup

Subscribe to the Plaid Crafts Newsletter for craft project ideas, product news, our live events, and more!

25% Bucilla Spring Sale

Save 25% on orders of $60 or more and get free U.S. shipping! Shop new arrivals from Bucilla - Seasonal Felt Stockings & Ornaments! This promotion cannot be combined with other promos. See shipping details. for inspirational ideas. Get free U.S. ground shipping on orders $60+! This promotion cannot be combined with other promos. See shipping details.

Use Code

Sale Ends 4/20/24

Apple Barrel Pouring Pumpkins

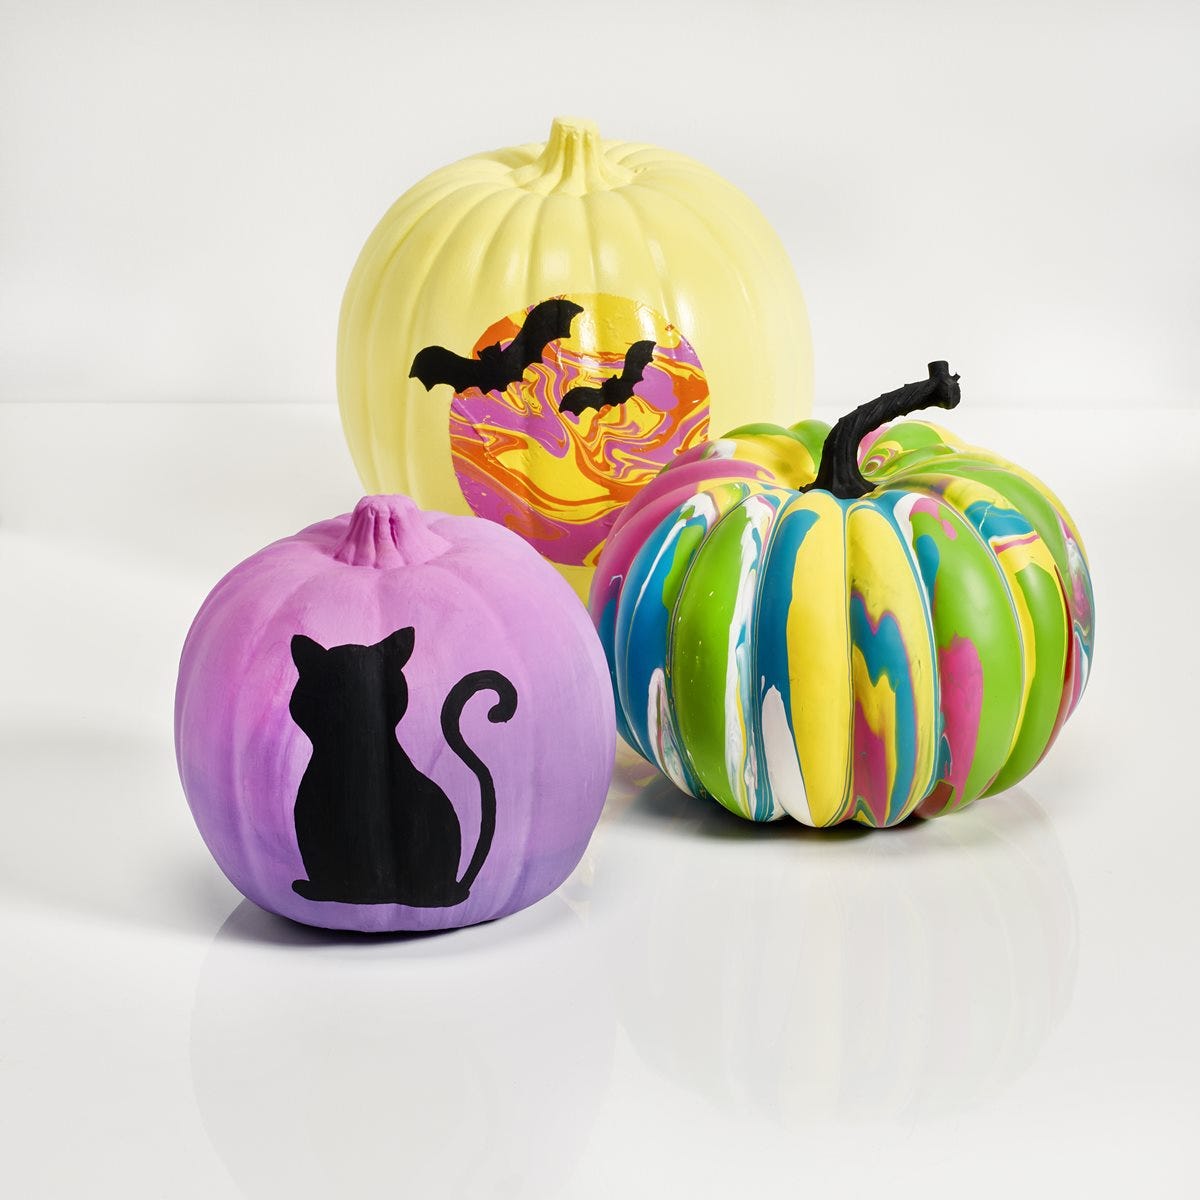
Create fun and funky paint poured pumpkins with Apple Barrel Acrylic Paint and Pouring Medium! Craft Halloween icon silhouettes to contrast the bright colors of your pumpkins with these unique designs.

This project features these great brands:

  • Mod Podge Decoupage Finishes and Formulas Logo

At a Glance:

Project #16191 Skill Level: Intermediate
supplies

Plaid Supplies

Apple Barrel ® Colors Acrylic Paint 18 Color Set - PROMOABI

Number Needed: 1 $18.99
Item not for sale on Plaid Online.

FolkArt ® Brush Sets - Soft Grip - Wash Brush Set - 50603E

Number Needed: 1 $5.99
Item not for sale on Plaid Online.

Apple Barrel ® Pouring Medium, 16 oz. - 44840E

Number Needed: 1 $12.99
Item not for sale on Plaid Online.

Mod Podge ® Gloss, 8 oz. - CS11201

Number Needed: 1 $7.49
Item not for sale on Plaid Online.

Other Supplies

  • Scissors
  • Faux Pumpkins
  • Non-stick Pan/ Wax Paper
  • Pencil
  • Printer Paper (optional)
  • Push Pins/ Thumbtacks
  • Plastic/ Silicone Cups
  • Craft Sticks/ Disposable Knives or Forks

instructions


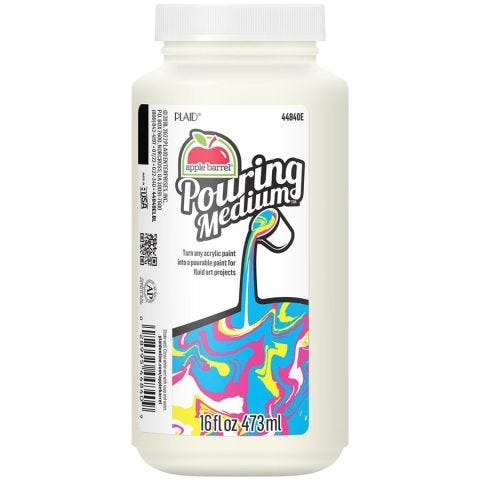
  1. Mix a 2:1 ratio of Bimini Blue with Apple Barrel Pouring Medium. Make sure the mixture is well combined. Repeat this step with White, Bright Yellow, Jack-o-Lantern, and Fuchsia in separate cups.
  2. Stick your thumbtacks into the back side of one faux pumpkin. Place the thumbtacks at all four corners of your pumpkin so that the pumpkin is level when you place it on its backside.
  3. Pour your Bimini Blue and White mixture onto your pumpkin and swirl it to create a marble pattern. Set it aside and let it dry.
  4. Basecoat your biggest pumpkin with Yellow Flame and let dry.
  5. Pour your Bright Yellow, Jack-o-Lantern, and Fuschia mixture onto your non-stick pan. Swirl the paint to create a marble pattern. Pour just enough paint so that it creates a thin coat onto your pan. Set aside and let dry.
  6. Create an ombre effect on a separate faux pumpkin with Bright Magenta and Purple Iris. To do this, paint the top half with Bright Magenta and the bottom half with Purple Iris. While the paint is still wet, start to brush the two colors into each other. Dampen your paint brush with clean water to help with blending if needed. Let dry.
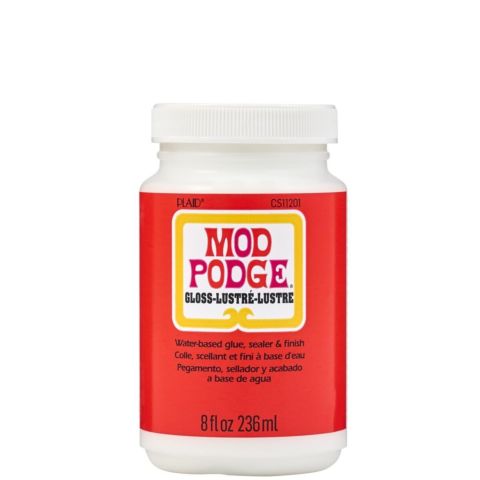
  7. Once your pan of marbled paint (or paint skin) is dry, draw a circle onto the dried paint and cut it out with scissors. Apply Mod Podge to the back side of your circle then adhere it to your Yellow Flame pumpkin. Smooth it out with your fingers and let dry.
  8. Once your blue marbled pumpkin is dry, use your pencil to draw a ghost shape onto the pumpkin then paint your drawing with Black. Tip: print out a ghost shape from your computer then cut out and trace onto your pumpkin.
  9. Repeat step 8 onto your pink and purple ombre pumpkin, but this time with a cat shape.
  10. Draw and paint bat shapes onto your yellow pumpkin with Black and let dry.

resources

Related Videos

Mod Podge Tips and Tricks for No Wrinkles

Learn how to get perfect Mod Podge projects everytime!

Watch this Video

Learn how to get perfect Mod Podge projects everytime!

How Mod Podge is Made

Get a behind-the-scenes look at how Mod Podge is made, bottled and shipped to you!

Watch this Video

Get a behind-the-scenes look at how Mod Podge is made, bottled and shipped to you!

Applying Paper to Wood Using Mod Podge

Learn basic steps of applying paper to wood using Mod Podge.

Watch this Video

Learn basic steps of applying paper to wood using Mod Podge.

Related Resources

Free Lesson Plans featuring Mod Podge

Free Lesson Plans featuring Mod Podge

Use these free lesson plans to craft an unforgettable experience in the classroom with one of these

View PDF
Mod Podge Clear Image Transfer FAQs

Mod Podge Clear Image Transfer FAQs

Learn more about Mod Podge Clear Image Transfer Medium by reading the FAQ. 

View PDF
Mod Podge Ultra Frequently Asked Questions

Mod Podge Ultra Frequently Asked Questions

Learn more about Mod Podge Ultra by reading the frequently asked questions. 

View PDF

Related FAQs

Decorated candles using Mod Podge ® or Royal Coat ® Decoupage Finish are meant for decorative purposes and not for illumination. Many of the decorations would catch fire and be hazardous if the candle were burned. However, if you are using a wide pillar candle and the decorations do not go to the top of the candle, it can be burned down slightly to create a well, then a votive candle inserted into the well. A new votive candle can be inserted when the old one is finished. Use extreme caution and good judgment when burning candles that have been decorated.
First check to see if the napkin is 2 ply. If so, separate and lay aside. Brush Mod Podge directly on the your surface. Carefully place the printed napkin on the surface and lightly blot down with a dampened sponge. Start blotting in the center and work to the edge. Once it is in place, let dry. After about 30 minutes lightly apply a top coat of Mod Podge.
  1. Apply a coat of Mod Podge® to the inside of the form and allow to dry slightly. Place the Napkin design where desired and gently rub it flat with your thumb.
  2. Cover the image with a second very thin coat of Mod Podge®, beginning in the center and brushing out. Allow to dry thoroughly.
  3. Add special sponging or spouncing effects, as desired, around the design and let dry.
  4. Paint the whole inside with a light color of FolkArt® Acrylic Colors. If you want to use a darker color inside, first paint around the Napkin design with a light color, let dry and then add the darker color.

Acrylic Paint Pouring 101 Guide

Acrylic Paint Pouring 101 Guide

Find More Paint Pouring Ideas

Acrylic Paint Pouring Idea Center
Pink and Gold Poured Acrylic Art Canvas
New!
Pink and Gold Poured Acrylic Art Canvas
Marbled Jewelry Holders
New!
Marbled Jewelry Holders
Paint Poured Ornaments
New!
Paint Poured Ornaments
Blue Glitterific Canvas
New!
Blue Glitterific Canvas

Disclaimer: The information found in each project is presented in good faith, but no warranty is given, nor results guaranteed, nor is freedom from any patent to be inferred. Since we have no control over physical conditions surrounding the application of information herein contained, Plaid Enterprises, Inc. disclaims any liability for untoward results.

Important: Please be sure to thoroughly read the instructions for all products, paying particular attention to all cautions and warnings shown to ensure the proper and safe use of the product.

Copyright: All Rights Reserved. No part of this Project may be reproduced in any form without permission in writing, except for your personal use, except by reviewer, who may in reviewing this project, quote brief passages in a magazine or newspaper.