Email Signup

Subscribe to the Plaid Crafts Newsletter for craft project ideas, product news, our live events, and more!

25% Bucilla Spring Sale

Save 25% on orders of $60 or more and get free U.S. shipping! Shop new arrivals from Bucilla - Seasonal Felt Stockings & Ornaments! This promotion cannot be combined with other promos. See shipping details. for inspirational ideas. Get free U.S. ground shipping on orders $60+! This promotion cannot be combined with other promos. See shipping details.

Use Code

Sale Ends 4/20/24

Crushed Glass Ornaments

Add some shimmer to your tree this year by using crushed glass and Mod Podge. Give your tree a beautiful reflective quality with this unique craft. Please wear gloves to keep your hands safe as you craft.

This project features these great brands:

  • Mod Podge Decoupage Finishes and Formulas Logo
  • Mod Podge Tools and Accessories  Logo

At a Glance:

Project #15642 Skill Level: Beginner
supplies

Plaid Supplies

Mod Podge ® Gloss, 8 oz. - CS11201

Number Needed: 1 $7.49
Item not for sale on Plaid Online.

Mod Podge ® Decoupage Brushes 1" & 2” 2pc - 24780

Number Needed: 1 $12.99
Item not for sale on Plaid Online.

FolkArt ® Acrylic Colors - Wicker White, 2 oz. - 901

Number Needed: 1 $1.69
Item not for sale on Plaid Online.

Other Supplies

  • Decorative Mirror Glass Filler
  • Paper Mache Ornaments
  • 1" Flatbrush
  • Decorative String
  • Hot Glue Gun
 

instructions

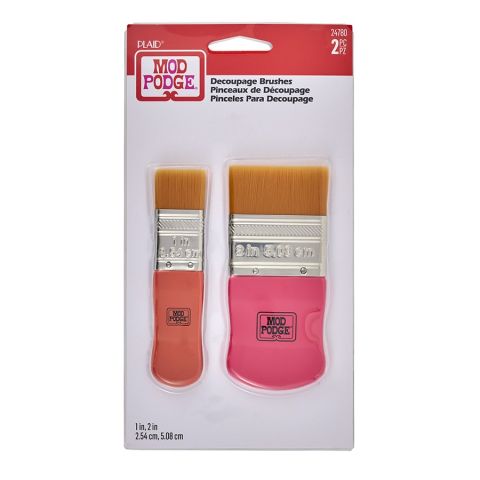
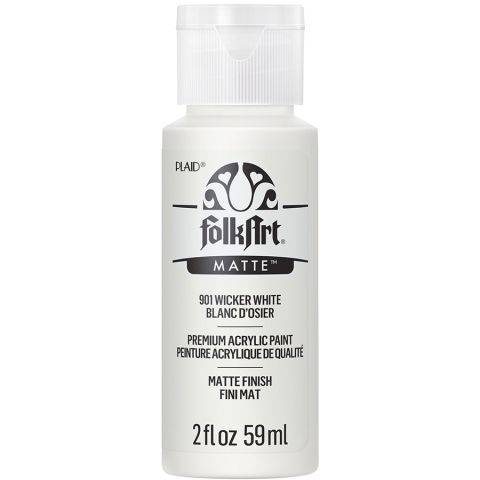
  1. Basecoat Paper Mache ornaments using a 1" flatbrush and Folkart Wicker White. Allow to dry.
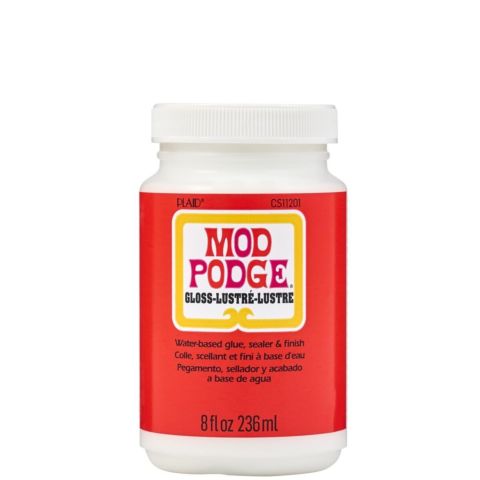
  2. Apply a thick coating of Mod Podge Gloss onto the white ornament and sprinkle on glass chips.
  3. Allow sections to dry or use a hair dryer to expedite curing. Re-apply Mod Podge and chips as needed.
  4. Cut a piece of decorative string and attach to top of ornament using hot glue.

resources

Related Videos

Mod Podge Tips and Tricks for No Wrinkles

Learn how to get perfect Mod Podge projects everytime!

Watch this Video

Learn how to get perfect Mod Podge projects everytime!

How Mod Podge is Made

Get a behind-the-scenes look at how Mod Podge is made, bottled and shipped to you!

Watch this Video

Get a behind-the-scenes look at how Mod Podge is made, bottled and shipped to you!

Applying Paper to Wood Using Mod Podge

Learn basic steps of applying paper to wood using Mod Podge.

Watch this Video

Learn basic steps of applying paper to wood using Mod Podge.

Related Resources

Free Lesson Plans featuring Mod Podge

Free Lesson Plans featuring Mod Podge

Use these free lesson plans to craft an unforgettable experience in the classroom with one of these

View PDF
Mod Podge Clear Image Transfer FAQs

Mod Podge Clear Image Transfer FAQs

Learn more about Mod Podge Clear Image Transfer Medium by reading the FAQ. 

View PDF
Mod Podge Ultra Frequently Asked Questions

Mod Podge Ultra Frequently Asked Questions

Learn more about Mod Podge Ultra by reading the frequently asked questions. 

View PDF

Related FAQs

Decorated candles using Mod Podge ® or Royal Coat ® Decoupage Finish are meant for decorative purposes and not for illumination. Many of the decorations would catch fire and be hazardous if the candle were burned. However, if you are using a wide pillar candle and the decorations do not go to the top of the candle, it can be burned down slightly to create a well, then a votive candle inserted into the well. A new votive candle can be inserted when the old one is finished. Use extreme caution and good judgment when burning candles that have been decorated.
First check to see if the napkin is 2 ply. If so, separate and lay aside. Brush Mod Podge directly on the your surface. Carefully place the printed napkin on the surface and lightly blot down with a dampened sponge. Start blotting in the center and work to the edge. Once it is in place, let dry. After about 30 minutes lightly apply a top coat of Mod Podge.
  1. Apply a coat of Mod Podge® to the inside of the form and allow to dry slightly. Place the Napkin design where desired and gently rub it flat with your thumb.
  2. Cover the image with a second very thin coat of Mod Podge®, beginning in the center and brushing out. Allow to dry thoroughly.
  3. Add special sponging or spouncing effects, as desired, around the design and let dry.
  4. Paint the whole inside with a light color of FolkArt® Acrylic Colors. If you want to use a darker color inside, first paint around the Napkin design with a light color, let dry and then add the darker color.
Traditional Hand-Painted Christmas Village
New!
Traditional Hand-Painted Christmas Village
Hand-Painted Nordic Ornaments
New!
Hand-Painted Nordic Ornaments
DIY Dipped Glitter Ornaments
New!
DIY Dipped Glitter Ornaments
Blue Poured Ornaments
New!
Blue Poured Ornaments

Disclaimer: The information found in each project is presented in good faith, but no warranty is given, nor results guaranteed, nor is freedom from any patent to be inferred. Since we have no control over physical conditions surrounding the application of information herein contained, Plaid Enterprises, Inc. disclaims any liability for untoward results.

Important: Please be sure to thoroughly read the instructions for all products, paying particular attention to all cautions and warnings shown to ensure the proper and safe use of the product.

Copyright: All Rights Reserved. No part of this Project may be reproduced in any form without permission in writing, except for your personal use, except by reviewer, who may in reviewing this project, quote brief passages in a magazine or newspaper.