Email Signup

Subscribe to the Plaid Crafts Newsletter for craft project ideas, product news, our live events, and more!

Upcycle Your Glassware! Save 25%

Save 25% on orders $60+ and get free U.S. ground shipping! Explore the NEW! FolkArt Murano Glass Paint! This promotion cannot be combined with other promos. See shipping details.

Use Code

Sale Ends 3/23/24

DIY Pumpkin Decor with Waverly Inspirations Fabrics

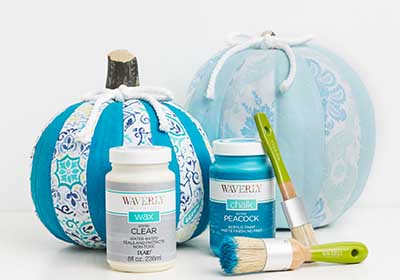
Create your own DIY pumpkin decor using Waverly Inspirations Chalk, Mod Podge, and coordinating Waverly Inspirations fabrics! Your harvest decor will have new life with these uniquely decorated pumpkins.

At a Glance:

#6154 Skill Level: Intermediate Time:
  • Clock active
  • Clock active
  • Clock active
  • Clock active

This project features these great brands:

supplies

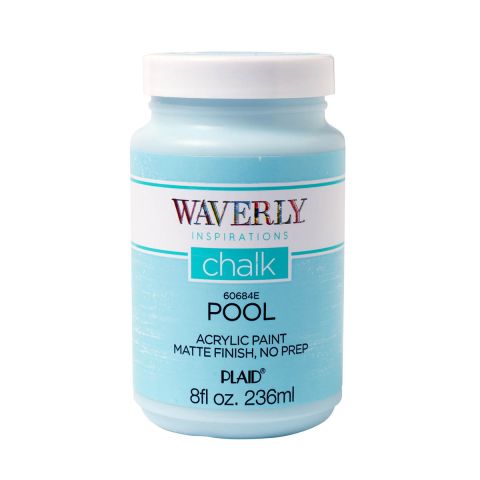
Waverly ® Inspirations Chalk Acrylic Paint - Pool, 8 oz. - 60684E

Number Needed: 1 $0.00
Item not for sale on Plaid Online.

Waverly ® Inspirations Chalk Acrylic Paint - White, 8 oz. - 60699E

Number Needed: 1 $0.00
Item not for sale on Plaid Online.

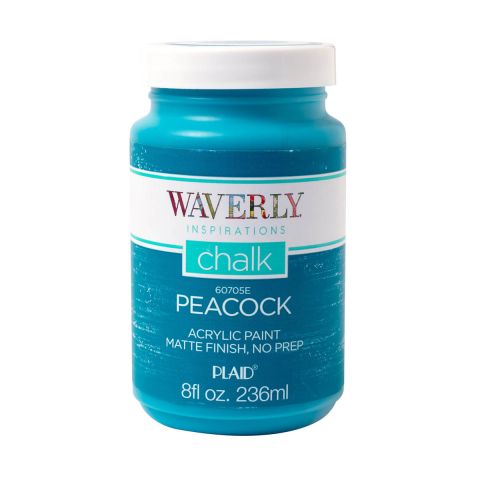
Waverly ® Inspirations Chalk Acrylic Paint - Peacock, 8 oz. - 60705E

Number Needed: 1 $0.00
Item not for sale on Plaid Online.

Waverly ® Inspirations Brushes - Chalk & Wax Combo - 60732E

Number Needed: 1 $0.00
Item not for sale on Plaid Online.

Mod Podge ® Satin, 8 oz. - CS11272

Number Needed: 1 $8.49
Item not for sale on Plaid Online.
instructions

Other Supplies

Coordinating Waverly Inspirations fabrics with paint colors (½ yard of 3 different), Flat paintbrush, Scissors, Pencil, Ruler, Kraft paper

Instructions

  1. Paint one pumpkin with Waverly Inspirations Chalk Peacock, one with Pool and one with Snow White.  Let paint dry.
  2. Apply backside of fabrics with Mod Podge.  Let dry.
  3. Decide if you want to do every other rib on the pumpkin or 2 ribs and skip 2 ribs.   Measure widest part of the rib.  Add 1/2” to the measurement and cut out enough strips to finish pumpkin.
  4. Place strip onto pumpkin rib and feel for the depression, holding in place with your hand.  Use pencil to lightly mark the depression on both sides of the rib.
  5. Cut out strip along penciled lines.  Coat backside of strip with Mod Podge and press in place.  Continue in this manner until all ribs are done. Let dry.

Disclaimer: The information found in each project is presented in good faith, but no warranty is given, nor results guaranteed, nor is freedom from any patent to be inferred. Since we have no control over physical conditions surrounding the application of information herein contained, Plaid Enterprises, Inc. disclaims any liability for untoward results.

Important: Please be sure to thoroughly read the instructions for all products, paying particular attention to all cautions and warnings shown to ensure the proper and safe use of the product.

Copyright: All Rights Reserved. No part of this Project may be reproduced in any form without permission in writing, except for your personal use, except by reviewer, who may in reviewing this project, quote brief passages in a magazine or newspaper.