Email Signup

Subscribe to the Plaid Crafts Newsletter for craft project ideas, product news, our live events, and more!

Make To Give Sale - 20% Off!

Spread the holiday cheer with personalized, hand-made gifts this Christmas! Save 20% during our Make To Give Sale on orders $60+ and get free U.S. ground shipping! This promotion cannot be combined with other promos. See shipping details.

Use Code

Sale Ends 12/9/23

FolkArt Dots Mushroom and Gnome

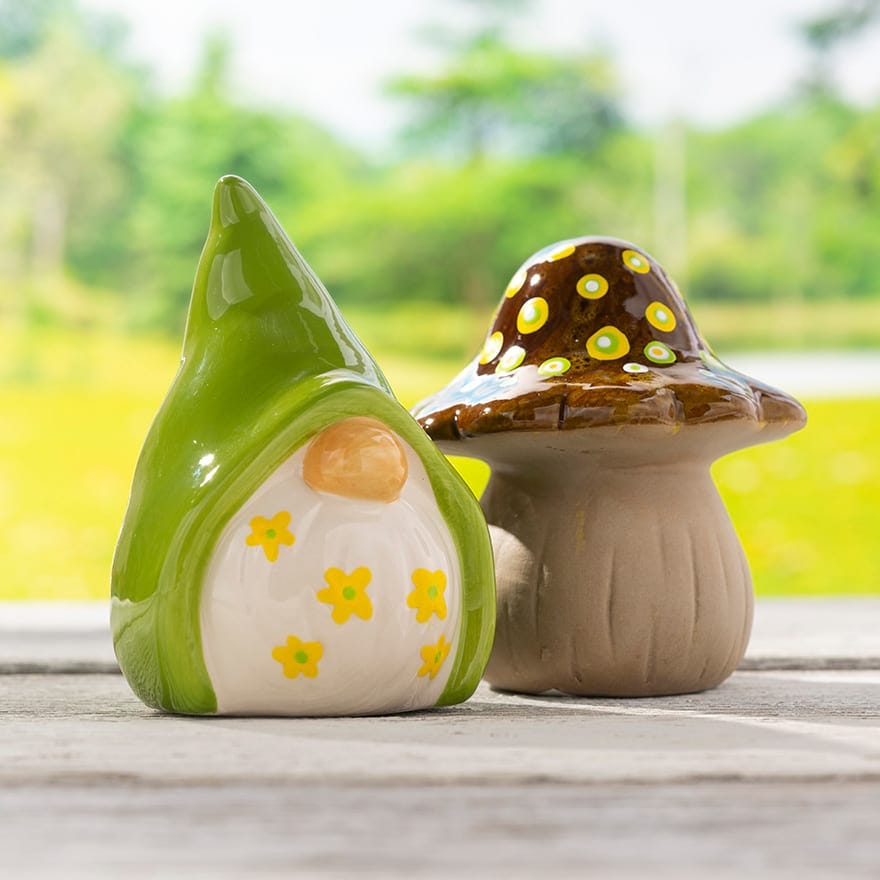
Learn how to paint a unique mandala art-inspired Gnome and Mushroom set embellished with painted dots.

This project features these great brands:

At a Glance:

Project #16551 Skill Level: Intermediate
supplies

Plaid Supplies

FolkArt ® Dots™ Acrylic Dotting Paint Set, 6 pc. - 49904

Number Needed: 1 $19.99
Item not for sale on Plaid Online.

FolkArt® Dots™ Acrylic Paint - Whisper White, 2 oz. - 12037

Number Needed: 1 $3.99
Item not for sale on Plaid Online.

FolkArt® Dots™ Acrylic Paint - Summer Sun, 2 oz. - 12043

Number Needed: 1 $3.99
Item not for sale on Plaid Online.

FolkArt® Dots™ Acrylic Paint - Grassy Meadow, 2 oz. - 12045

Number Needed: 1 $3.99
Item not for sale on Plaid Online.

Other Supplies

  • Ceramic Gnome
  • Ceramic Mushroom
  • (Optional) Q-tips
  • (Optional) Baby Wipes

instructions

  1. Start by working from the center of the mushroom and making a pattern outward.
  2. Apply slight pressure with fingers onto the sides of the bottle and fill in your first layer of dots using the script tip.
  3. Once you finish the first layer of dots, allow to dry completely.
  4. Once dry, you can go in with smaller dots added onto your larger dots to create a layered effect.
  5. If you need to, prime your paint bottle by squirting out a little bit of paint onto a paper towel before applying your paint to the surface.
  6. If you have any bubbles, you can use a sewing needle to pop them while the paint is still wet.
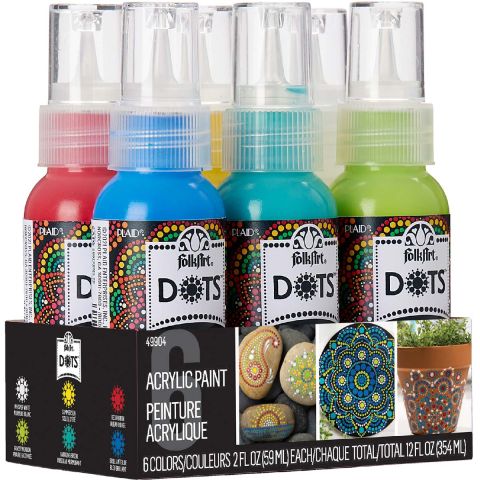
  7. Complete your pattern by alternating different colors from the FolkArt Dots kit and have fun.
  8. To create a fun floral pattern, start off by creating simple dots in a circle, allow to dry and then add the center dot.

resources

Related Videos

Learn about FolkArt Dots

Find out more about FolkArt Dots by watching this video.

Watch this Video

Find out more about FolkArt Dots by watching this video.
Neon Easter Eggs
New!
Neon Easter Eggs
"Hello Love" Stenciled Sign
New!
"Hello Love" Stenciled Sign
Bunny Pick in Clay Pot
New!
Bunny Pick in Clay Pot
Ghost Jar
New!
Ghost Jar

Disclaimer: The information found in each project is presented in good faith, but no warranty is given, nor results guaranteed, nor is freedom from any patent to be inferred. Since we have no control over physical conditions surrounding the application of information herein contained, Plaid Enterprises, Inc. disclaims any liability for untoward results.

Important: Please be sure to thoroughly read the instructions for all products, paying particular attention to all cautions and warnings shown to ensure the proper and safe use of the product.

Copyright: All Rights Reserved. No part of this Project may be reproduced in any form without permission in writing, except for your personal use, except by reviewer, who may in reviewing this project, quote brief passages in a magazine or newspaper.