Email Signup

Subscribe to the Plaid Crafts Newsletter for craft project ideas, product news, our live events, and more!

25% Bucilla Spring Sale

Save 25% on orders of $60 or more and get free U.S. shipping! Shop new arrivals from Bucilla - Seasonal Felt Stockings & Ornaments! This promotion cannot be combined with other promos. See shipping details. for inspirational ideas. Get free U.S. ground shipping on orders $60+! This promotion cannot be combined with other promos. See shipping details.

Use Code

Sale Ends 4/20/24

Glow In The Dark Mod Podge Moon Canvas

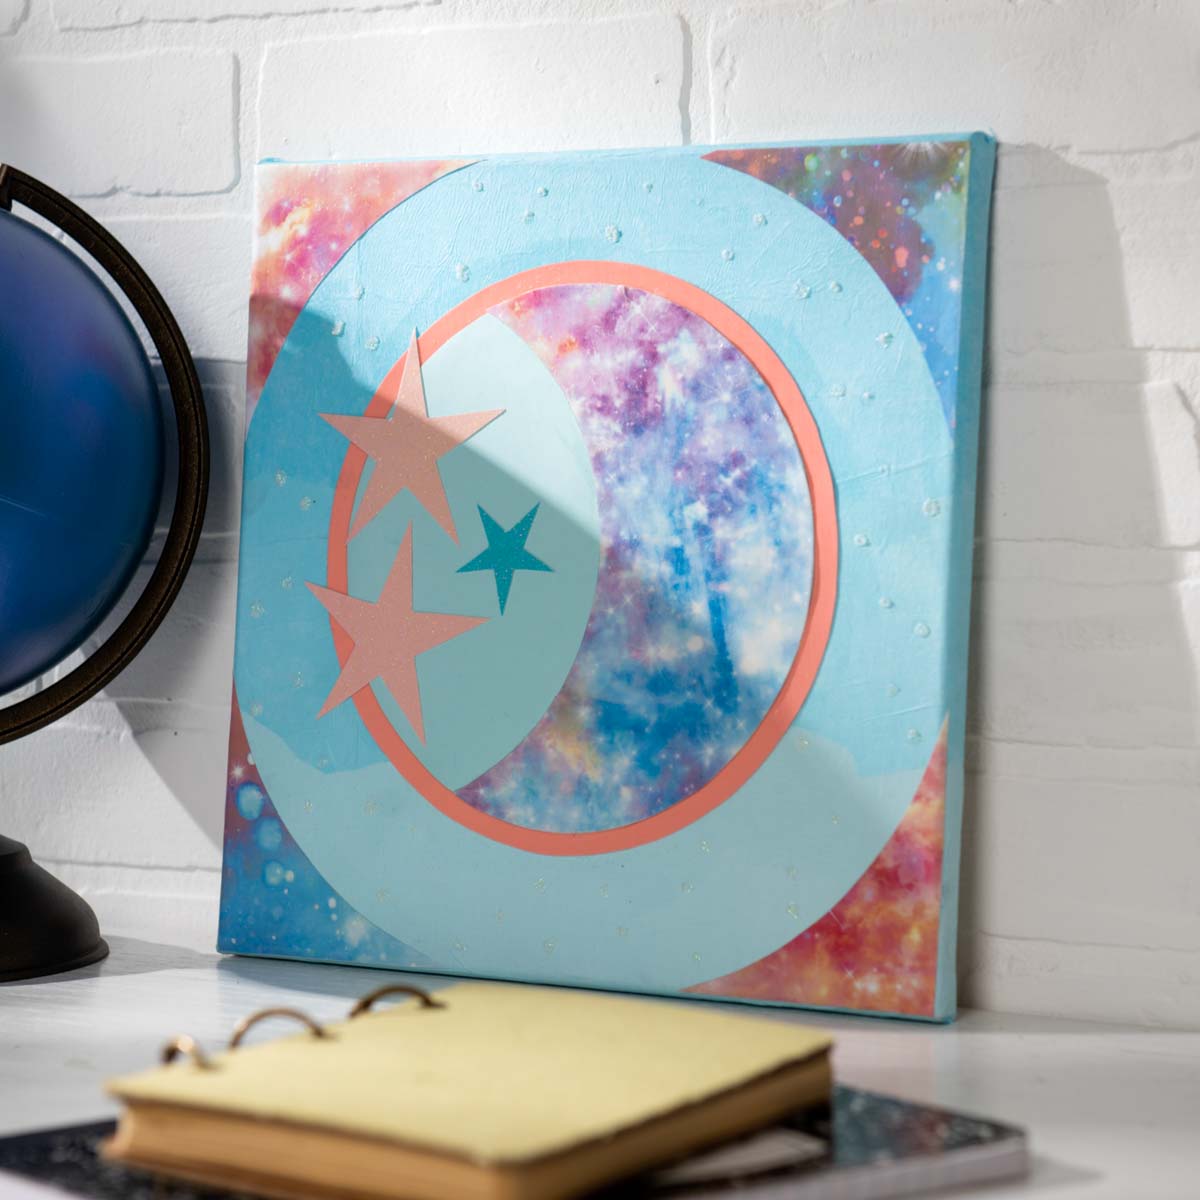
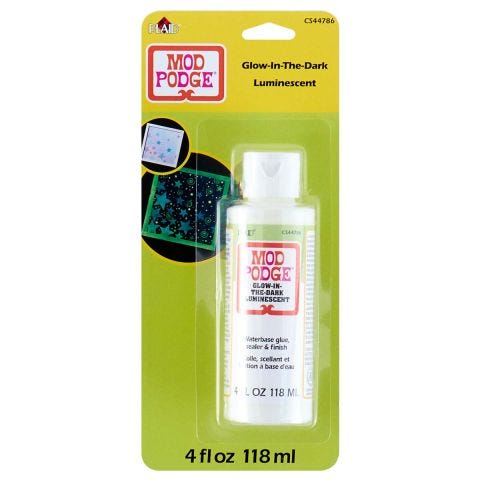
Add a glowing touch to your next space-themed creation with Mod Podge Glow-in-the-Dark. This simple moon canvas project is great for kids and will light up their space with color and joy.

This project features these great brands:

  • Mod Podge Decoupage Finishes and Formulas Logo

At a Glance:

Project #15875 Skill Level: Intermediate
supplies

Plaid Supplies

Mod Podge Glow-In-The-Dark, 4 oz. - CS44786

Number Needed: 1 $7.99
Item not for sale on Plaid Online.

Mod Podge ® Satin, 8 oz. - CS11272

Number Needed: 1 $8.49
Item not for sale on Plaid Online.

Mod Podge ® Decoupage Brushes 1" & 2” 2pc - 24780

Number Needed: 1 $12.99
Item not for sale on Plaid Online.

FolkArt ® Acrylic Colors - Calypso Sky, 2 oz. - 524

Number Needed: 1 $1.69
Item not for sale on Plaid Online.

Other Supplies

  • Scrapbook papers
  • 10” x 10” canvas
  • Large mixing bowl
  • Pencil
  • Scissors

instructions

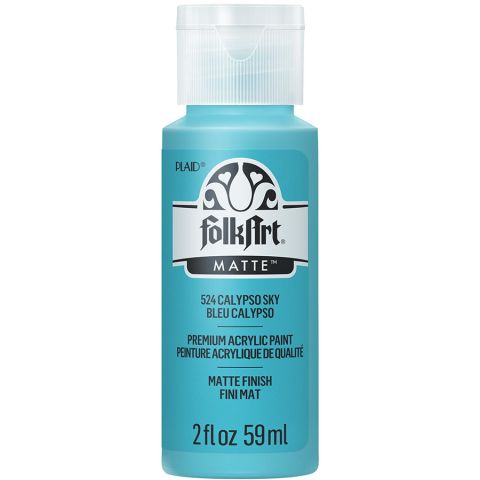
  1. Using a flat brush, base coat the canvas in Calypso Sky. Let dry and apply a second coat if needed.
  2. Turn the mixing bowl upside down onto scrapbook paper and trace the edge with a pencil. Cut out the perfect circle shape using scissors.
  3. Brush a coat of Mod Podge onto the back of the circle and place it gently in the center of the canvas. Smooth the paper down gently with your fingers to remove any air bubbles.
  4. To make the moon, trace the bowl onto a coordinating piece of scrapbook paper. Using a smaller bowl, trace a circle over the same circle but offset it. This will create a crescent moon shape between the two circles. Use scissors to cut out the crescent moon shape.
  5. Apply a thin layer of Mod Podge Satin to the back of the crescent moon and apply it to the canvas over the original paper circle. Use your fingers to smooth out the paper and remove any air bubbles.
  6. Cut out other shapes (like stars) from coordinating papers to compliment the moon and adhere them to the canvas in the same way using Mod Podge Satin.
  7. Using a flat brush, apply Mod Podge Glow to the moon shape. Add Mod Podge Glow to the stars and any other papers you would like to glow in the dark.
  8. Using the end of a paint brush, dip it in Mod Podge glow and make small dots all around the moon to look like distant stars.

resources

Related Videos

Mod Podge Tips and Tricks for No Wrinkles

Learn how to get perfect Mod Podge projects everytime!

Watch this Video

Learn how to get perfect Mod Podge projects everytime!

How Mod Podge is Made

Get a behind-the-scenes look at how Mod Podge is made, bottled and shipped to you!

Watch this Video

Get a behind-the-scenes look at how Mod Podge is made, bottled and shipped to you!

Applying Paper to Wood Using Mod Podge

Learn basic steps of applying paper to wood using Mod Podge.

Watch this Video

Learn basic steps of applying paper to wood using Mod Podge.

Related Resources

Free Lesson Plans featuring Mod Podge

Free Lesson Plans featuring Mod Podge

Use these free lesson plans to craft an unforgettable experience in the classroom with one of these

View PDF
Mod Podge Clear Image Transfer FAQs

Mod Podge Clear Image Transfer FAQs

Learn more about Mod Podge Clear Image Transfer Medium by reading the FAQ. 

View PDF
Mod Podge Ultra Frequently Asked Questions

Mod Podge Ultra Frequently Asked Questions

Learn more about Mod Podge Ultra by reading the frequently asked questions. 

View PDF

Related FAQs

Decorated candles using Mod Podge ® or Royal Coat ® Decoupage Finish are meant for decorative purposes and not for illumination. Many of the decorations would catch fire and be hazardous if the candle were burned. However, if you are using a wide pillar candle and the decorations do not go to the top of the candle, it can be burned down slightly to create a well, then a votive candle inserted into the well. A new votive candle can be inserted when the old one is finished. Use extreme caution and good judgment when burning candles that have been decorated.
First check to see if the napkin is 2 ply. If so, separate and lay aside. Brush Mod Podge directly on the your surface. Carefully place the printed napkin on the surface and lightly blot down with a dampened sponge. Start blotting in the center and work to the edge. Once it is in place, let dry. After about 30 minutes lightly apply a top coat of Mod Podge.
  1. Apply a coat of Mod Podge® to the inside of the form and allow to dry slightly. Place the Napkin design where desired and gently rub it flat with your thumb.
  2. Cover the image with a second very thin coat of Mod Podge®, beginning in the center and brushing out. Allow to dry thoroughly.
  3. Add special sponging or spouncing effects, as desired, around the design and let dry.
  4. Paint the whole inside with a light color of FolkArt® Acrylic Colors. If you want to use a darker color inside, first paint around the Napkin design with a light color, let dry and then add the darker color.
Colorful Stiffy Ghosts
New!
Colorful Stiffy Ghosts
Fabric Covered Planter Box
New!
Fabric Covered Planter Box
Zipper Flower Bouquet
New!
Zipper Flower Bouquet
Family Love Frame
New!
Family Love Frame

Disclaimer: The information found in each project is presented in good faith, but no warranty is given, nor results guaranteed, nor is freedom from any patent to be inferred. Since we have no control over physical conditions surrounding the application of information herein contained, Plaid Enterprises, Inc. disclaims any liability for untoward results.

Important: Please be sure to thoroughly read the instructions for all products, paying particular attention to all cautions and warnings shown to ensure the proper and safe use of the product.

Copyright: All Rights Reserved. No part of this Project may be reproduced in any form without permission in writing, except for your personal use, except by reviewer, who may in reviewing this project, quote brief passages in a magazine or newspaper.