Email Signup

Subscribe to the Plaid Crafts Newsletter for craft project ideas, product news, our live events, and more!

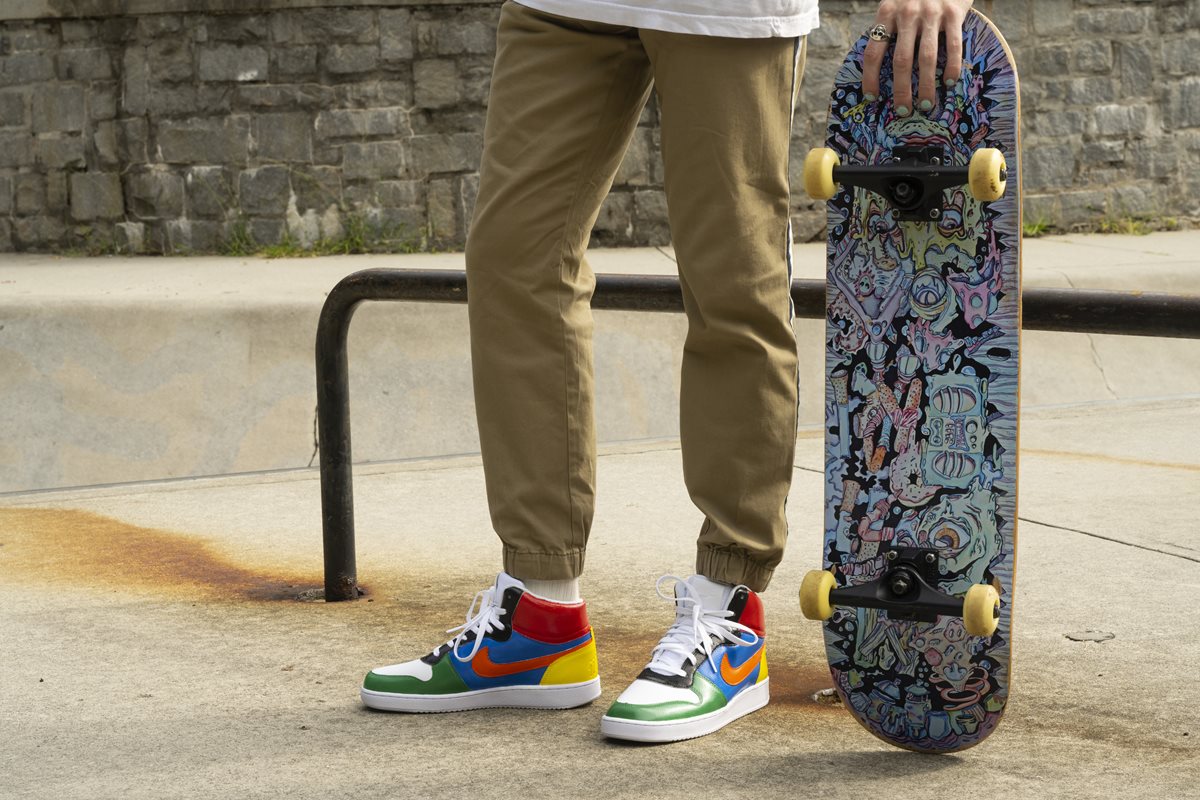
Kicks Studio Color Blocked Skate Shoes

Skate and show off your colorful Kicks!

This project features these great brands:

At a Glance:

Project #16557 Skill Level: Intermediate
supplies

Plaid Supplies

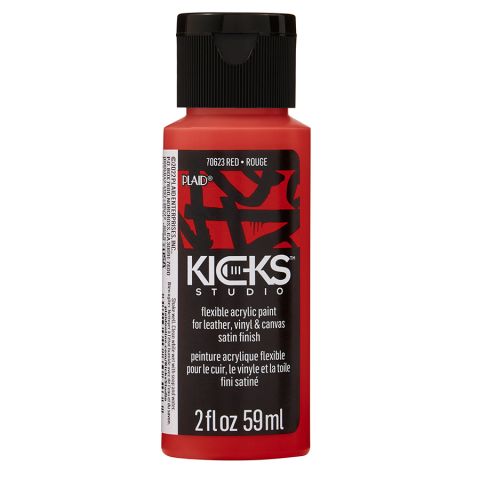
KICKS STUDIO SHOE PAINT RED 2 OZ.

Number Needed: 1 $2.99
Item not for sale on Plaid Online.

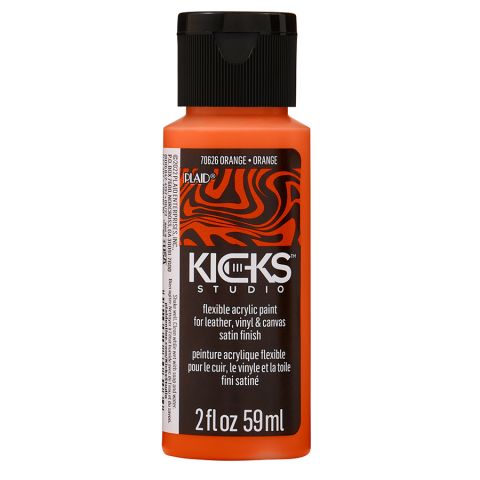
KICKS STUDIO SHOE PAINT ORANGE 2 OZ.

Number Needed: 1 $2.99
Item not for sale on Plaid Online.

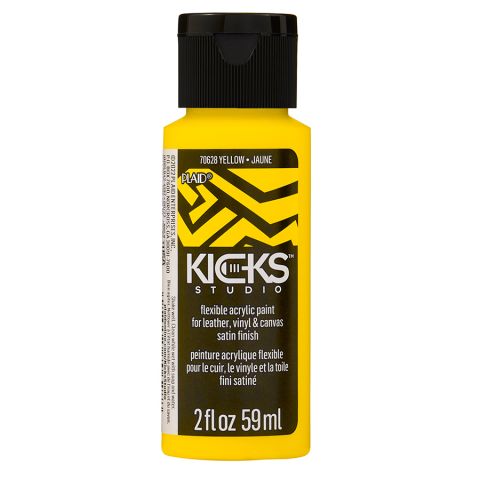
KICKS STUDIO SHOE PAINT YELLOW 2 OZ.

Number Needed: 1 $2.99
Item not for sale on Plaid Online.

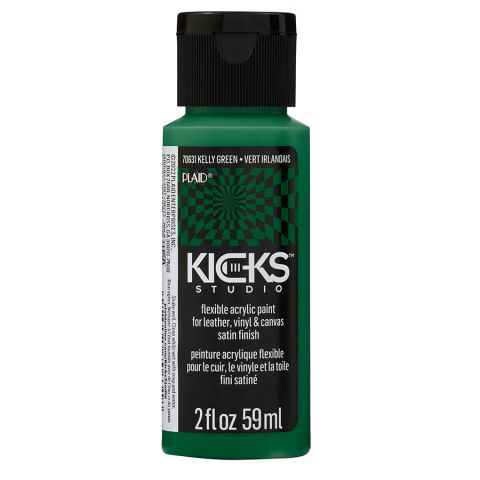
KICKS STUDIO SHOE PAINT KELLY GREEN 2 OZ.

Number Needed: 1 $2.99
Item not for sale on Plaid Online.

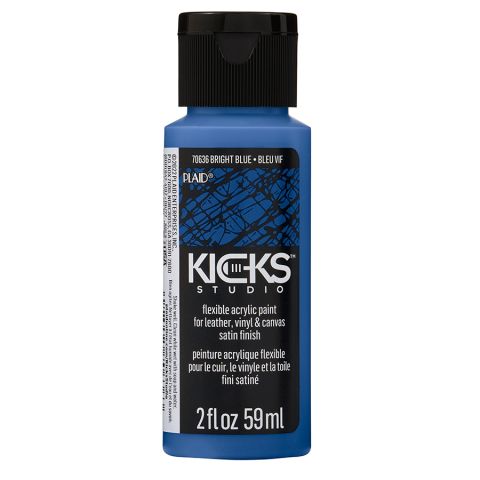
KICKS STUDIO SHOE PAINT BRIGHT BLUE 2 OZ.

Number Needed: 1 $2.99
Item not for sale on Plaid Online.

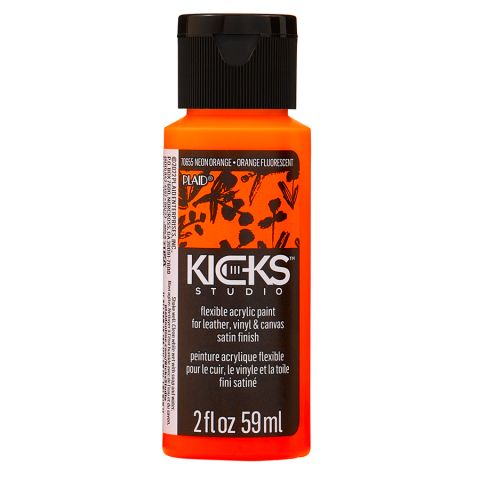
KICKS STUDIO SHOE PAINT NEON ORANGE 2 OZ.

Number Needed: 1 $3.49
Item not for sale on Plaid Online.

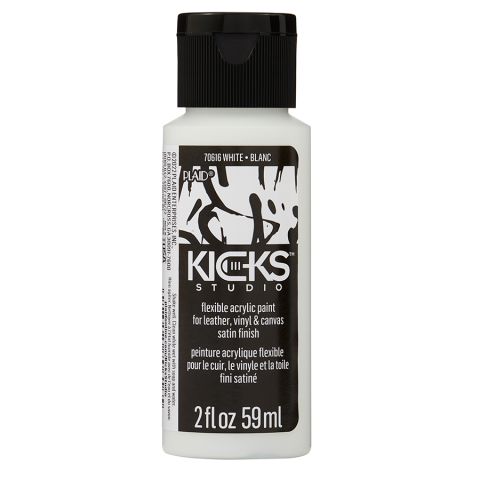
KICKS STUDIO SHOE PAINT WHITE 2 OZ.

Number Needed: 1 $2.99
Item not for sale on Plaid Online.

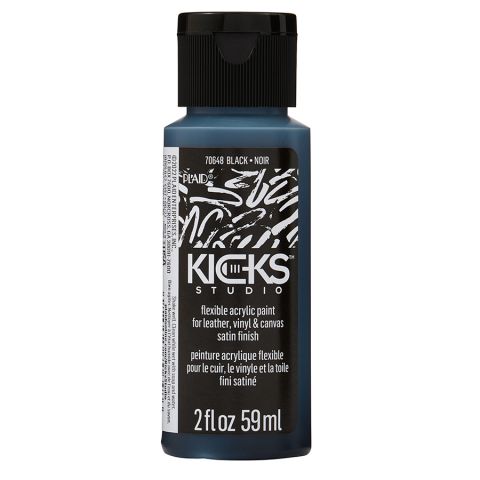
KICKS STUDIO SHOE PAINT BLACK 2 OZ.

Number Needed: 1 $2.99
Item not for sale on Plaid Online.

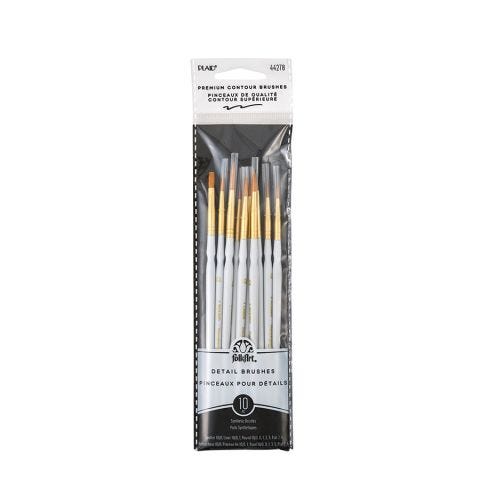
Folkart ® Brush Sets - Detail Brush Set, 10 pc. - 44278

Number Needed: 1 $4.99
Item not for sale on Plaid Online.

F/A PAINTING TOOL - SOFT GRIP ANGULAR BRUSH SET

Number Needed: 1 $5.99
Item not for sale on Plaid Online.

Other Supplies

White skate shoes
Painters Tape
 

instructions

  1. Surface Prep: For leather surfaces – gently wipe with alcohol to clean and remove debris. Let dry
  2. before painting. For vinyl – wash gently with soap and water, rinse well and let dry. For canvas – wash and dry according to care tag instructions before painting.
  3. Remove laces and tape off any areas of the project surface you do not want to paint with masking tape including the inside of the shoe and the sole.
  4. Using the project photo as inspiration, sketch out your design using a pencil directly onto the shoe.
  5. Fill in your design with the colors listed or the colors of your choice. Allow to dry and add a second
  6. coat.
  7. Blend your colors where they meet using your favorite ombre technique. This may take many
  8. coats and a good amount of fussing. Stick with it!
  9. Brush on small amounts of white in the yellow areas to create the “hottest” spots.
  10. Using black, outline your flames to create a crisp edge.
  11. Allow 24 hours to dry, and 30 days to fully cure.
  12. Optional: For best results, seal with Kicks Studio Matte or High Gloss Finish.
  13. Allow 24 hours to dry, and 30 days to fully cure. Allow the paint to fully cure before cleaning.

resources

Related Videos

Learn to Paint Flowers with Donna Dewberry, Pt. 1

Learn to how paint flowers with Donna Dewberry, creator of the One Stroke painting technique.

Watch this Video

Learn to how paint flowers with Donna Dewberry, creator of the One Stroke painting technique.

Learn to Paint Flowers with Donna Dewberry, Pt. 2

Learn to Paint Flowers with Donna Dewberry, creator of the One Stroke technique.

Watch this Video

Learn to Paint Flowers with Donna Dewberry, creator of the One Stroke technique.

Painting Poppies with Donna Dewberry Pt. 1

Paint these lively poppies! Donna Dewberry shows you how.

Watch this Video

Paint these lively poppies! Donna Dewberry shows you how.

Related Resources

Fabric Creations Soft Fabric Inks FAQ

Fabric Creations Soft Fabric Inks FAQ

Learn how to use the Fabric Creations fabric ink by reading the FAQ.

View PDF
Fabric Creations Fantasy Glitter FAQ

Fabric Creations Fantasy Glitter FAQ

Learn more about the Fabric Creations Fantasy Glitter paint by reading the FAQ.

View PDF
Fabric Creations Plush FAQ

Fabric Creations Plush FAQ

Learn more about Fabric Creations Plush by reading the FAQ. 

View PDF

Related FAQs

Decorated candles using Mod Podge ® or Royal Coat ® Decoupage Finish are meant for decorative purposes and not for illumination. Many of the decorations would catch fire and be hazardous if the candle were burned. However, if you are using a wide pillar candle and the decorations do not go to the top of the candle, it can be burned down slightly to create a well, then a votive candle inserted into the well. A new votive candle can be inserted when the old one is finished. Use extreme caution and good judgment when burning candles that have been decorated.
Yes, simply use stencil or painter’s tape to mask off a border. Load a Fabric Creations™ Sponge Cube with Soft Fabric Ink and pounce the color onto the masked area.
Be sure to allow the painted background area to dry thoroughly before stamping over it with a design.
Separate the strands of floss
Take one strand and double it (most cross stitches require 2 strands, while back stitches require just one.)
Thread the looped end of the strand through the eye of the needle
Pull the loop to the bottom
NEVER make knots in your floss, so as to ensure a smooth finished back.
Blue Waves Tie-Dye Look Suncatcher
New!
Blue Waves Tie-Dye Look Suncatcher
Garden Gnome & Mushroom
New!
Garden Gnome & Mushroom
FolkArt Glitterific Fine Canvas, Candlestick, & Planter
New!
FolkArt Glitterific Fine Canvas, Candlestick, & Planter
Watercolor Easter Eggs
New!
Watercolor Easter Eggs

Disclaimer: The information found in each project is presented in good faith, but no warranty is given, nor results guaranteed, nor is freedom from any patent to be inferred. Since we have no control over physical conditions surrounding the application of information herein contained, Plaid Enterprises, Inc. disclaims any liability for untoward results.

Important: Please be sure to thoroughly read the instructions for all products, paying particular attention to all cautions and warnings shown to ensure the proper and safe use of the product.

Copyright: All Rights Reserved. No part of this Project may be reproduced in any form without permission in writing, except for your personal use, except by reviewer, who may in reviewing this project, quote brief passages in a magazine or newspaper.