Email Signup

Subscribe to the Plaid Crafts Newsletter for craft project ideas, product news, our live events, and more!

Upcycle Your Glassware! Save 25%

Save 25% on orders $60+ and get free U.S. ground shipping! Explore the NEW! FolkArt Murano Glass Paint! This promotion cannot be combined with other promos. See shipping details.

Use Code

Sale Ends 3/23/24

Mason Jar Supply Container

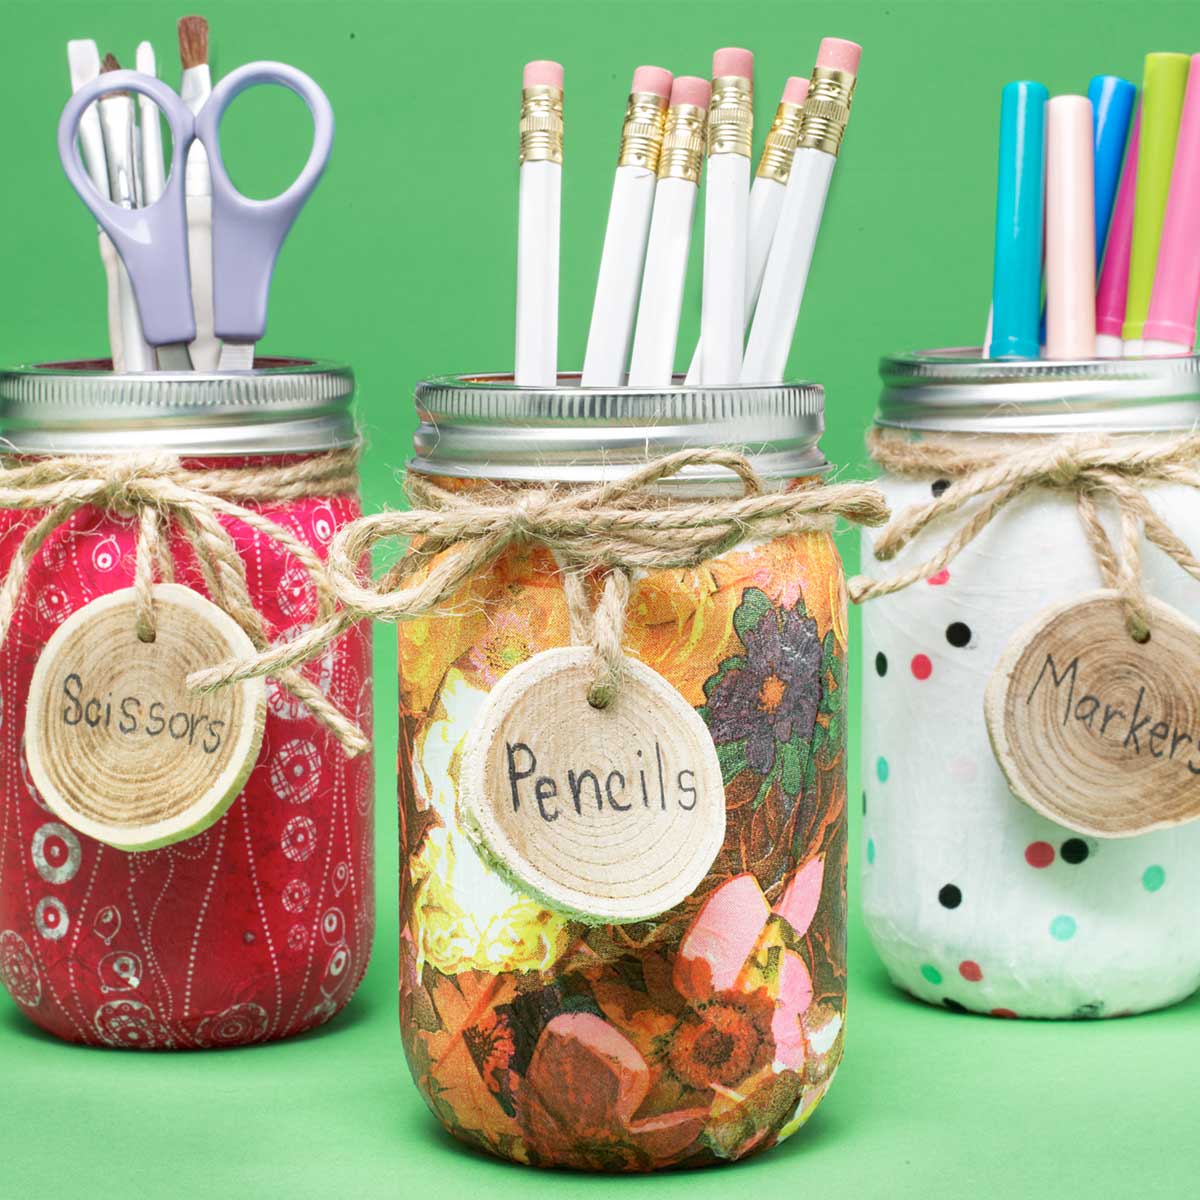
Use napkins and Mod Podge to make colorful and stylish mason jar containers for all your kids craft supplies. Your kids will love applying funky napkin patterns to jars for a completely personalized work space.

At a Glance:

Project #15439 Skill Level: Intermediate Time:
  • Clock active
  • Clock active
  • Clock active
  • Clock active

This project features these great brands:

supplies

Mod Podge ® Matte, 16 oz. - CS11302

Number Needed: 1 $10.99
Item not for sale on Plaid Online.

Apple Barrel ® Colors - White, 8 oz. - 20403

Number Needed: 1 $3.99
Item not for sale on Plaid Online.
instructions

Other Supplies

  • Mason jars
  • Printed napkins
  • Felt
  • Small round wood slices
  • Jute or ribbon
  • Fine point permanent black marker
  • Paintbrush (for Acrylic paint)
  • Paintbrush or foam applicator (for Mod Podge)
  • Foam plate or palette
  • Scissors
  • Wax paper
  • Water Basin or container for water
  • Paper towels
  • Drill
  • Rubbing alcohol

Instructions

  1. Prepare the Mason jars by removing the lids and cleaning the glass with rubbing alcohol. When dry, paint the jars with two coats of White Multi-Surface acrylic paint. Let dry in between coats.
  2. Place the napkin around the jar and trim using scissors to the correct height.
  3. Separate the napkin ply keeping only the top printed layer.
  4. Apply a coat of Mod Podge Matte to the painted canning jar. Lay the top layer of napkin over the wet Mod Podge and gently smooth in place by tapping with your fi nger.
  5. Seal the napkin with a topcoat of the Mod Podge Matte. Let dry completely.
  6. Repeat the same steps for each jar.
  7. Drill a small hole at the edge of the wood slices. Using a fi ne point permanent black marker, label the wood slice with each jar’s contents. Add a 12” piece of twine or ribbon to the wood slice.
  8. Replace the outer lid ring to each jar. NOTE: Do not incorporate the metal disc. Tie the label wood slices onto each jar.
  9. As a sound barrier, cut a round piece of felt to place inside the jar. This will not only protect the glass, it will also lessen the sound when replacing items.

Disclaimer: The information found in each project is presented in good faith, but no warranty is given, nor results guaranteed, nor is freedom from any patent to be inferred. Since we have no control over physical conditions surrounding the application of information herein contained, Plaid Enterprises, Inc. disclaims any liability for untoward results.

Important: Please be sure to thoroughly read the instructions for all products, paying particular attention to all cautions and warnings shown to ensure the proper and safe use of the product.

Copyright: All Rights Reserved. No part of this Project may be reproduced in any form without permission in writing, except for your personal use, except by reviewer, who may in reviewing this project, quote brief passages in a magazine or newspaper.

FolkArt Multi-Surface Jar of Jack-O-Lanterns
New!
FolkArt Multi-Surface Jar of Jack-O-Lanterns
Photo Transfer Pop Star Tote
New!
Photo Transfer Pop Star Tote
Ombre Beaded Easter Egg with Mod Podge
New!
Ombre Beaded Easter Egg with Mod Podge
Dipped Ceramic Birdhouse
New!
Dipped Ceramic Birdhouse