Email Signup

Subscribe to the Plaid Crafts Newsletter for craft project ideas, product news, our live events, and more!

Mod Podge Clear Image Transfer Gift Ideas

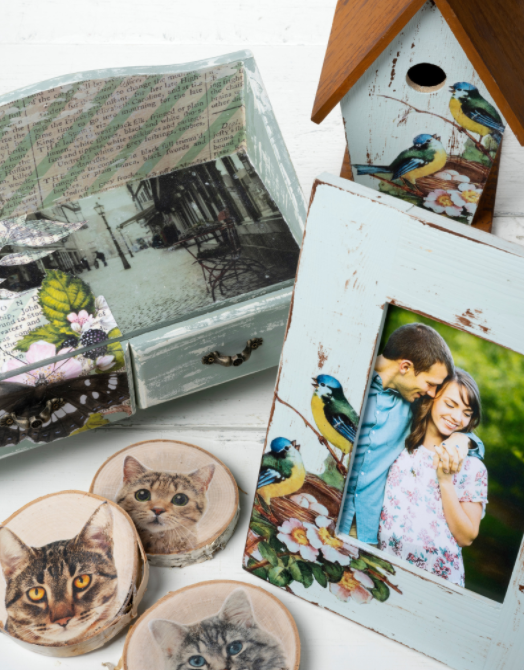
Create personalized gifts with a unique touch when you use Mod Podge Clear Image Transfer medium. Add photos of your family, kids, pets, and more with these one-of-a-kind gift ideas.

This project features these great brands:

At a Glance:

Project #15981 Skill Level: Intermediate
supplies

Plaid Supplies

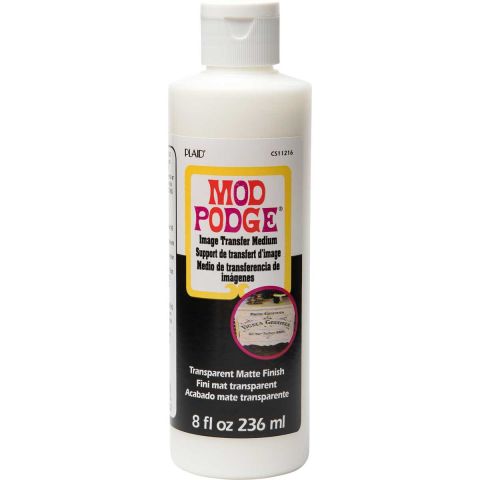
Mod Podge ® Image Transfer Medium Clear, 8 oz. - CS11216

Number Needed: 1 $9.99
Item not for sale on Plaid Online.

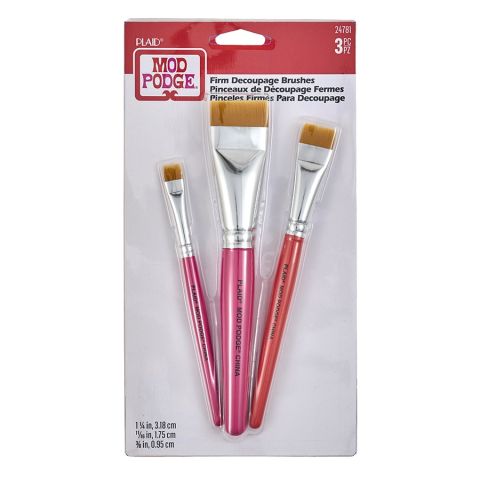
Mod Podge ® Firm Decoupage Brushes 3pc - 24781

Number Needed: 1 $16.99
Item not for sale on Plaid Online.

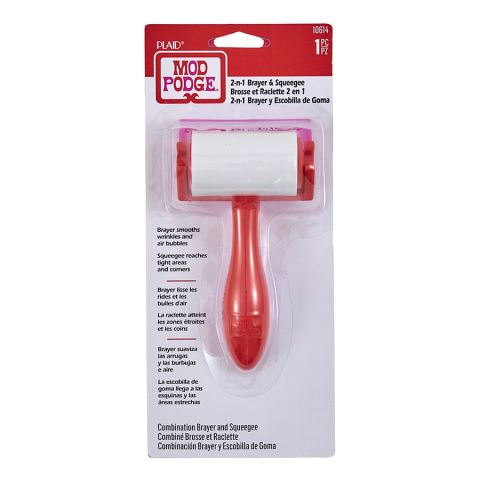
Mod Podge ® 2-n-1 Brayer & Squeegee - 10614

Number Needed: 1 $8.99
Item not for sale on Plaid Online.

Other Supplies

  • Various surfaces

instructions

The best method for applying Mod Podge Image Transfer Clear Medium to a photocopied image is to first protect your work surface with either waxed paper, parchment paper or a Mod Podge Silicone Craft Mat.  

  1. Using scissors, trim the excess paper edges from the photocopied image.  
  2. Next, position the image face up on the protective surface.  
  3. Using either a 1” foam applicator or a soft bristled, Taklon brush, apply Mod Podge Clear Image Transfer Medium liberally to the front of the image. This medium is clear or see-through, making it possible to still see the image. Check to make sure the entire image is covered with the medium.
  4. While the medium is still wet on the image, immediately lift the image, flip it over and then position it to the project surface image side down.
  5. It is best to smooth the image making sure it is fully making contact with the surface. Using your fingers or a Mod Podge Squeegee and while using light pressure, smooth from the center towards the edges of the image. This will remove any possible wrinkles or captured air pockets and excess medium which can be wiped away.
  6. Allow the transferred image to dry a full 24 hours.
  7. 24 hours later, dab a wet sponge over the transferred image then lightly rub away layers of paper using the wet sponge or your fingers. 
    • ​​NOTE:  A good tip is to work this step in stages remove layers of paper, allow it to dry, then wet it again and remove additional layers. By working in stages and removing a little at a time, the image will not be compromised or damaged by removing too many layers too quickly.

Traditional Hand-Painted Christmas Village
New!
Traditional Hand-Painted Christmas Village
Upcycled Holiday Bells Wreath
New!
Upcycled Holiday Bells Wreath
Icy Pastel Etched Glass Village
New!
Icy Pastel Etched Glass Village
Snowflake Ornaments
New!
Snowflake Ornaments

Disclaimer: The information found in each project is presented in good faith, but no warranty is given, nor results guaranteed, nor is freedom from any patent to be inferred. Since we have no control over physical conditions surrounding the application of information herein contained, Plaid Enterprises, Inc. disclaims any liability for untoward results.

Important: Please be sure to thoroughly read the instructions for all products, paying particular attention to all cautions and warnings shown to ensure the proper and safe use of the product.

Copyright: All Rights Reserved. No part of this Project may be reproduced in any form without permission in writing, except for your personal use, except by reviewer, who may in reviewing this project, quote brief passages in a magazine or newspaper.