Email Signup

Subscribe to the Plaid Crafts Newsletter for craft project ideas, product news, our live events, and more!

Upcycle Your Glassware! Save 25%

Save 25% on orders $60+ and get free U.S. ground shipping! Explore the NEW! FolkArt Murano Glass Paint! This promotion cannot be combined with other promos. See shipping details.

Use Code

Sale Ends 3/23/24

Mod Podge® Mother’s Day Photo Pillows

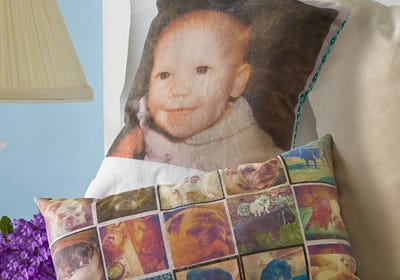
Show your love with a sweet photo pillow, created with Mod Podge!

At a Glance:

#4875 Skill Level: Beginner Time:
  • Clock active
  • Clock active
  • Clock inactive
  • Clock inactive

This project features these great brands:

  • Mod Podge Decoupage Finishes and Formulas Logo
supplies

Mod Podge ® Photo Transfer Medium, 2 oz. - CS12652

Number Needed: 1 $7.49
Item not for sale on Plaid Online.
instructions

Other Supplies

Photos: Use a dry toner computer or copies made on regular paper (not photo paper), Fabric – (shown: white cotton for pillow fronts, patterned scraps for the backs), Pillow fill, Sewing machine with thread, Needle and thread, Foam brush, Sponge and water, Clear silicone mat

Instructions

1.    Use a dry toner computer to generate printouts or have copies made. I recommend testing a copy before beginning the project. Cut images to desired size.

2.    Wash, dry and iron fabric.

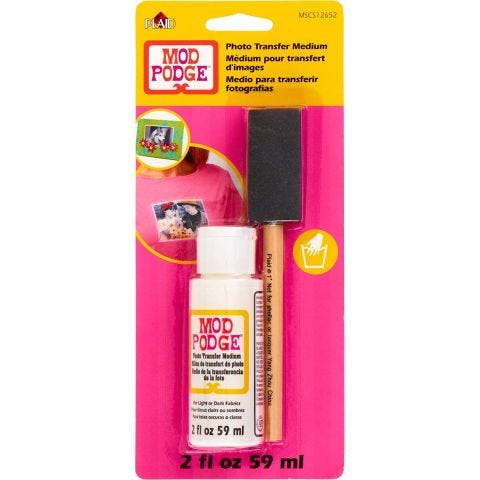
3.    For easiest clean-up, cover work surface with the silicone mat. Apply a medium layer of Photo Transfer Medium to the front of the image to be transferred. Make sure medium completely covers the image.

4.    Quickly put the covered image face down on the white fabric and smooth. Wipe away any photo transfer medium that squeezes out the sides. Repeat for remaining photos.

5.    Let dry for 24 hours.

6.    Rub the paper off of the photo transfer using the sponge and water, following package directions. Let fabric dry.

7.    Place the fabric with the photo transfer face down on the right side of the patterned fabric; sew together, leaving a small hole.

8.    Turn the pillow inside out so that the photo transfer is now on the outside.

9.    Stuff the pillow with the fill. Make sure to stuff into the corners.

10.    Fold the edges of the hole over and use the needle and thread or sewing machine to close.

PROJECT TIP: Be sure to test a photocopy before beginning…..
 

Disclaimer: The information found in each project is presented in good faith, but no warranty is given, nor results guaranteed, nor is freedom from any patent to be inferred. Since we have no control over physical conditions surrounding the application of information herein contained, Plaid Enterprises, Inc. disclaims any liability for untoward results.

Important: Please be sure to thoroughly read the instructions for all products, paying particular attention to all cautions and warnings shown to ensure the proper and safe use of the product.

Copyright: All Rights Reserved. No part of this Project may be reproduced in any form without permission in writing, except for your personal use, except by reviewer, who may in reviewing this project, quote brief passages in a magazine or newspaper.

Jar of Bath Salts
New!
Jar of Bath Salts
Mother's Day Brunch Chalkboard
New!
Mother's Day Brunch Chalkboard
Family Plaque for Home
New!
Family Plaque for Home
Bird House Photo Stands for Mother's Day
New!
Bird House Photo Stands for Mother's Day