Instructions
Surface Preparation:
- Lightly sand rough areas with fine grit sandpaper.
- Measure and mark a 1” border following the shape of the plaque.
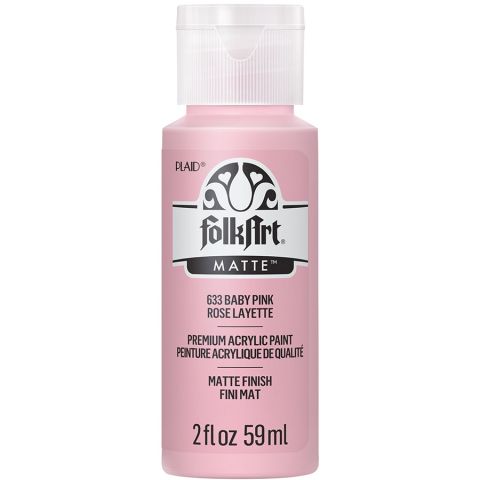
- Basecoat center of board Baby Pink and mat area Maple Syrup.
- When dry, sand if necessary and reapply basecoat colors. Allow to dry.
Tracing and Transferring a Pattern:
- Place the printed pattern face side up before you.
- Lay a sheet of tracing paper on top of the printed pattern. NOTE: you may secure the sheet of tracing paper to your surface with a piece of tape.
- Using a soft lead pencil, or a fine point permanent ink black marker, trace over the main pattern lines. DO NOT worry about tracing over detail lines as they will not be transferred.
Painting Instructions:
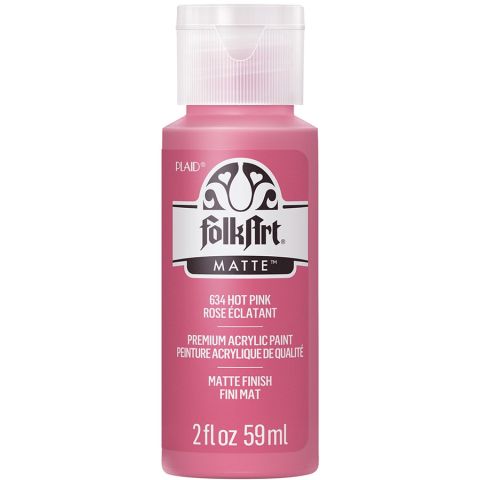
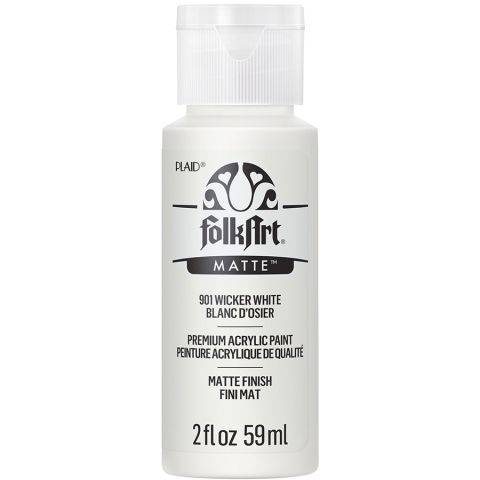
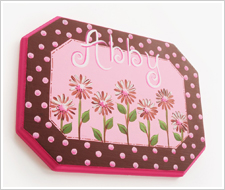
- Daisies – Paint a row of Maple Syrup daisies in a circular pattern alternating the height of each daisy. Paint an accent of Wicker White on a few of the petals at top. Dab Hot Pink in the center of the daisy flower. Paint tiny dots of Maple Syrup around the daisy center and accent the upper right center with tiny dots of Wicker White.
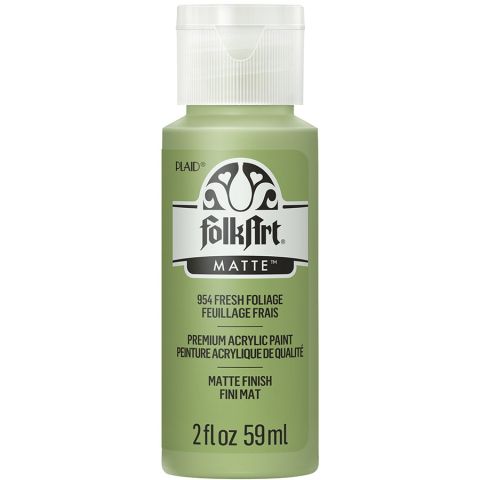
- Daisy Stems and Leaves – Paint a straight stem to each daisy using AP Hauser Medium Green. Accent each stem with a touch of Fresh Foliage. Paint a leaf or two on each stem with AP Hauser Medium Green, accent with Fresh Foliage. NOTE: Refer to photo for placement of leaves.
- Mat – Paint Baby Pink 1/4" circles on the mat randomly using a 1/4" Dauber. When dry, lightly shade the lower part of the circle with a wash of Hot Pink.
Finishing Touches:
- Personalize the plaque with the name of a little girl. “Abby” was painted Wicker White and accented with Hot Pink.
- Accent the edge between the Maple Syrup mat and Baby Pink background with a painted line using a “line – dot – line” pattern painted Maple Syrup.
- When dry, apply a few coats of either waterbase brush-on varnish or spray finish to seal and protect your artwork.


