Instructions
- Select river rocks that are large enough to accommodate the stencils. To prep the rocks for painting, wash with warm soapy water and let dry.
- Make copies of the stencils and cut and arrange the designs on your rocks.
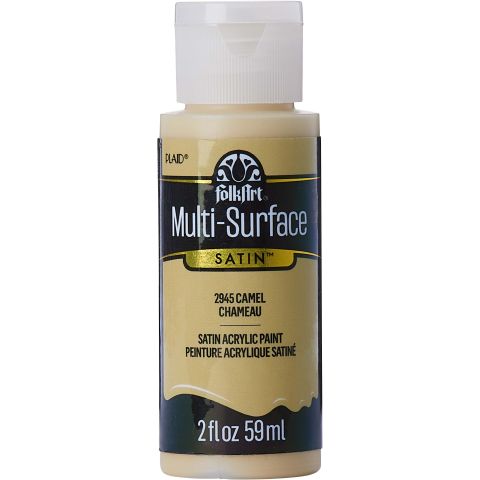
- Paint one roof in a solid brown and let dry. Dry brush thatching in parchment over the brown.
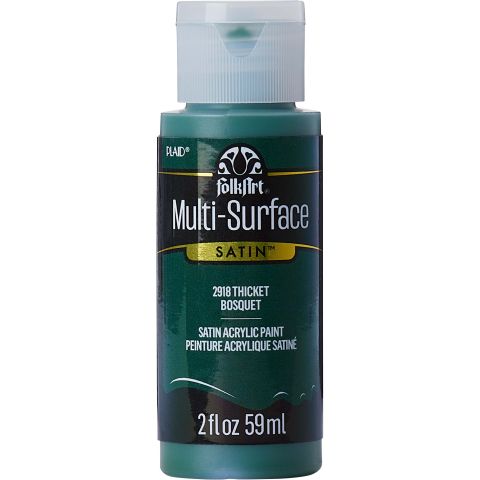
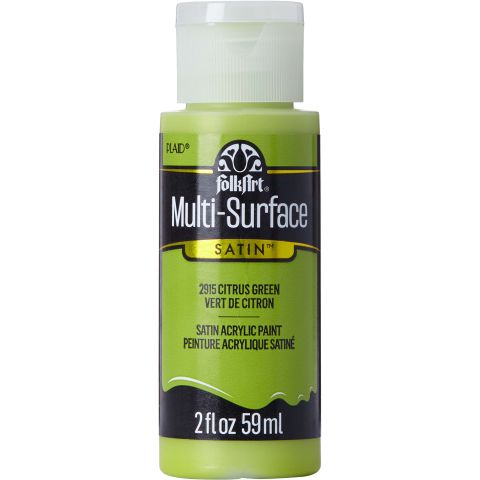
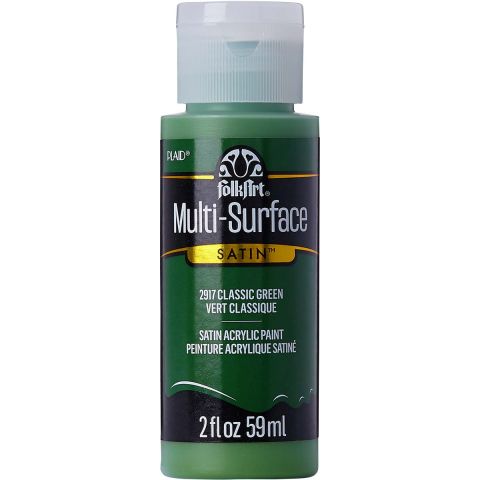
- Create a moss roof effect by layering the three green paints by stippling with the stencil brush. Let dry.
- Tape the stencils in place as you go.
- TIP: To successfully stencil using the 3” x 3” stencils on a texture surface, you will need to offload your stencil brush to almost dry to ensure no paint bleeding. To offload, dab the stencil brush in a puddle of paint, pounce on a paper towel to remove excess paint, then stencil using a tapping motion up and down on the open areas of the stencil. Two coats may be necessary on some rock surfaces. Let dry in between coats.
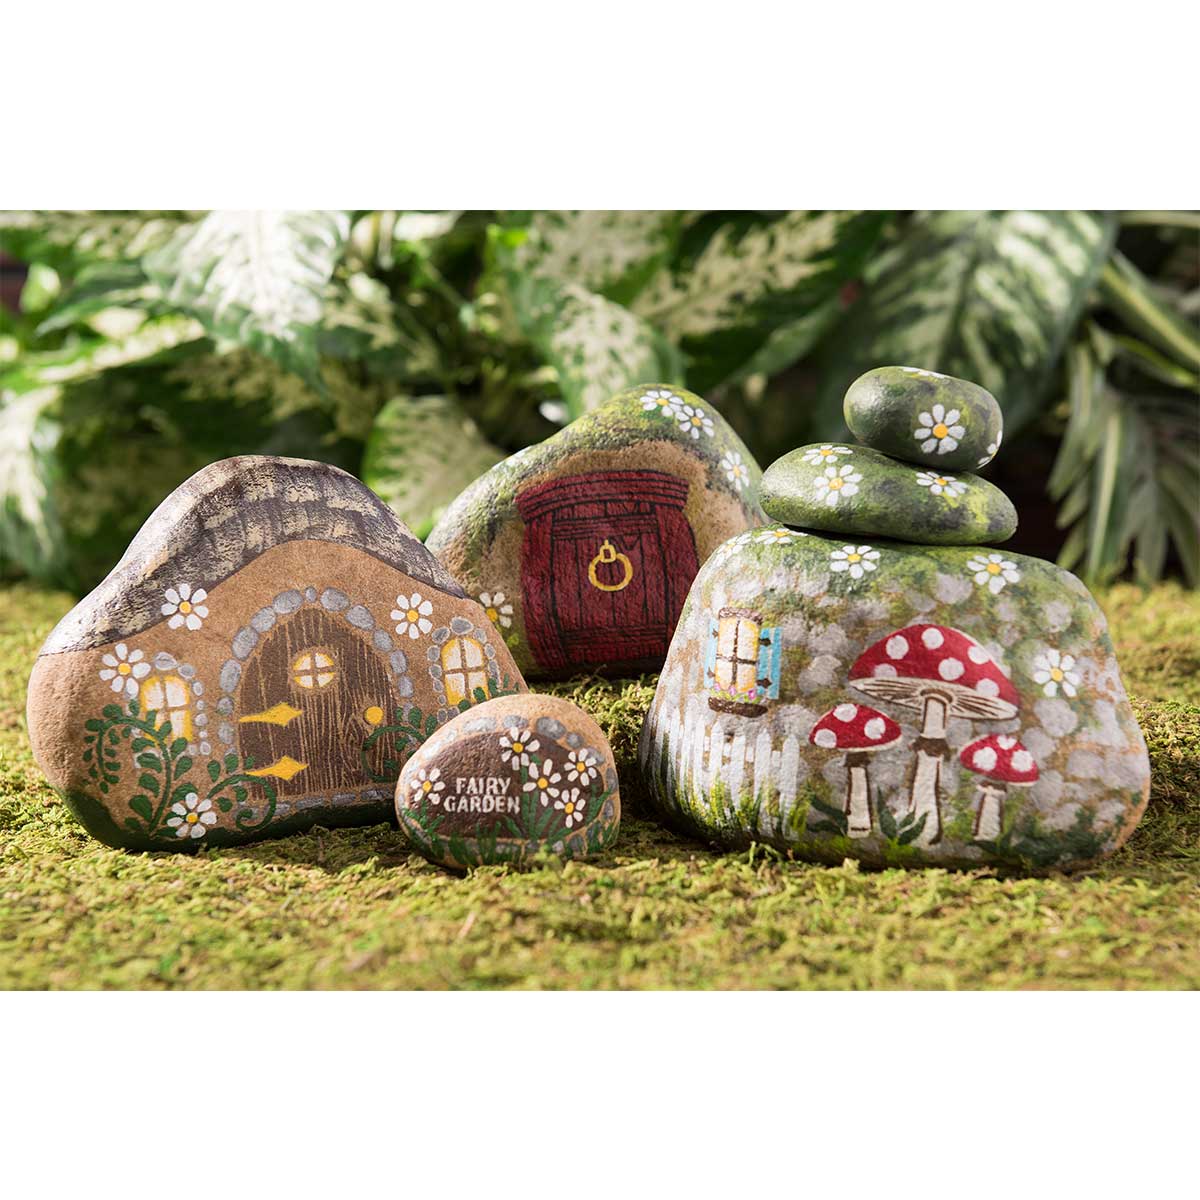
- Stencil on the doors and windows. Let dry.
- Stencil on the fence and mushrooms. Let dry.
- Stencil on the green vines. Let dry.
- Stencil on the white daisy (from the Flower Pot set) on each house in a tossed effect. Let dry.
- Using the detail brush, paint any last details such as grass, light in the windows, door knobs, hinges, flower centers, etc.
- See project photo for inspiration. Share your River Rock Fairy Houses with us at #plaidcrafts!


