Email Signup

Subscribe to the Plaid Crafts Newsletter for craft project ideas, product news, our live events, and more!

25% Bucilla Spring Sale

Save 25% on orders of $60 or more and get free U.S. shipping! Shop new arrivals from Bucilla - Seasonal Felt Stockings & Ornaments! This promotion cannot be combined with other promos. See shipping details. for inspirational ideas. Get free U.S. ground shipping on orders $60+! This promotion cannot be combined with other promos. See shipping details.

Use Code

Sale Ends 4/20/24

Personalized Clipboard Set DIY Dorm Room Project

By: Jessie Pniewski

Keep up with classes and appointments with a set of personalized clipboards—a perfect DIY dorm room project.

At a Glance:

Project #15067 Skill Level: Intermediate Time:
  • Clock active
  • Clock active
  • Clock active
  • Clock active

This project features these great brands:

supplies

Waverly ® Inspirations Brushes - Stencil Set, 3 pc. - 60539E

Number Needed: 1 $0.00
Item not for sale on Plaid Online.

Waverly ® Inspirations Laser Stencils - Accent - Tear Drop, 6" x 6" - 60527E

Number Needed: 1 $0.00
Item not for sale on Plaid Online.

Waverly ® Inspirations Brushes - Wide Set, 4 pc. - 60744E

Number Needed: 1 $0.00
Item not for sale on Plaid Online.

Mod Podge ® Fabric, 8 oz. - CS11218

Number Needed: 1 $8.99
Item not for sale on Plaid Online.
instructions

Other Supplies

Instructions

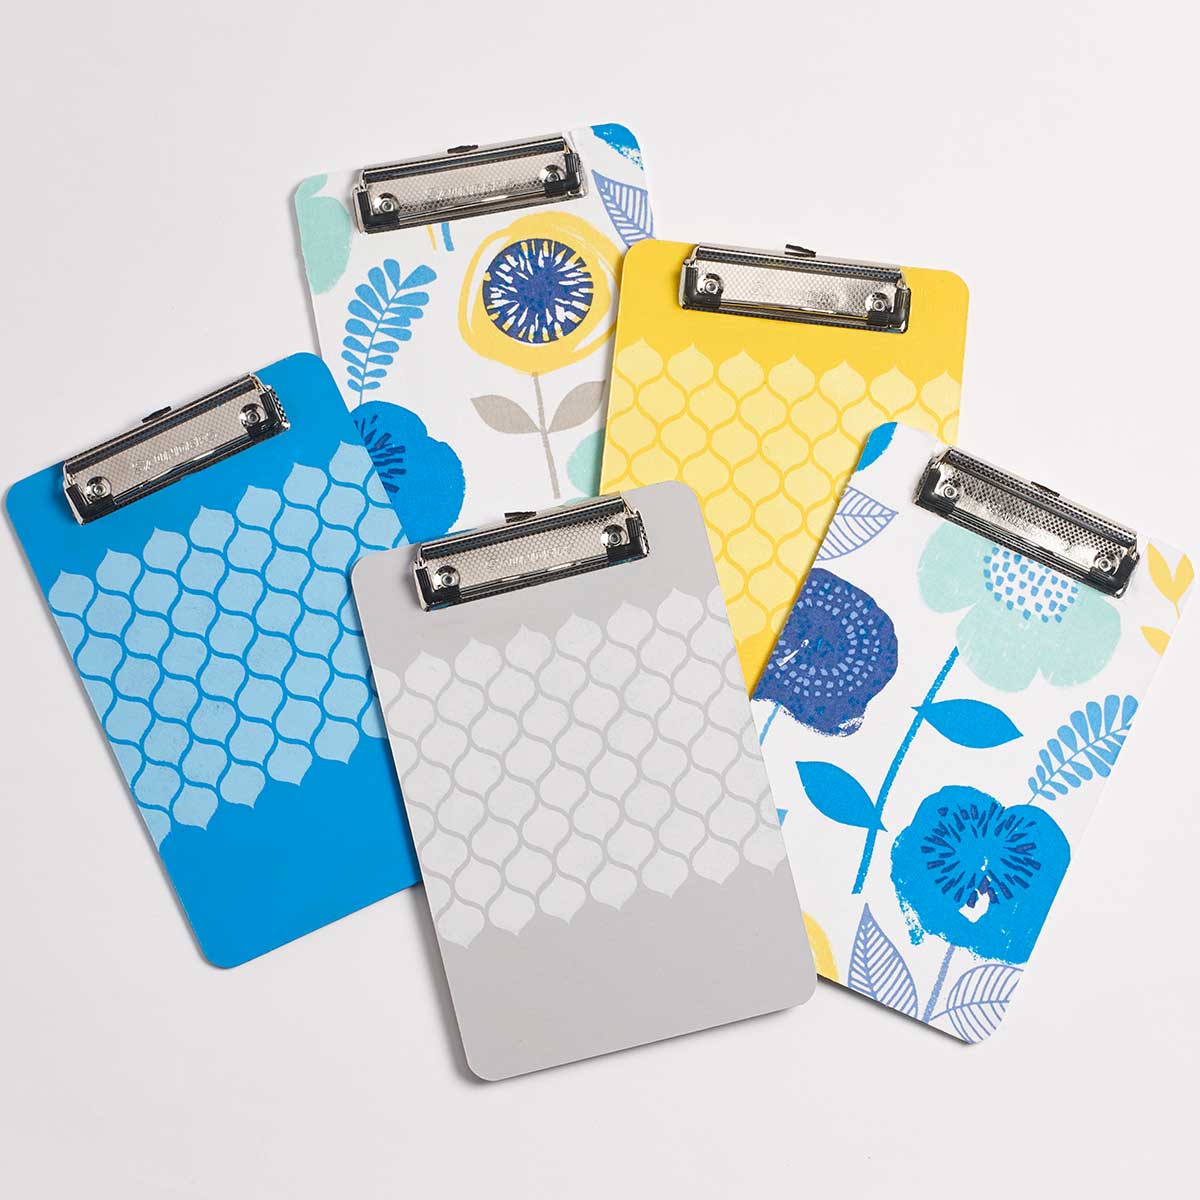
  1. Using a 1” brush, basecoat 3 clipboards using the Bermuda, Lemon Peel and Steel. Let dry.
  2. On a plate, mix each of the colors with Snow White using a 1:1 ratio.
  3. Using a ½” stencil brush, stencil the Tear Drop stencil across the middle of the clip boards using the lighter version of the base-coated color. Let dry.
  4. Using scissors cut out 3 pieces of Waverly Inspirations Bloom Lagoon fabric that are slightly larger than the size of your clipboards. Use the clipboards as a template when measuring.
  5. Using a 1” brush, apply Mod Podge Fabric to one of the bare clipboard, ignoring the metal parts. Lay the cut piece of fabric onto the clipboard and smooth into place. Let dry.
  6. Using a craft knife, trim the excess fabric from the clipboards.
  7. Repeat this for the last two clipboards.

Disclaimer: The information found in each project is presented in good faith, but no warranty is given, nor results guaranteed, nor is freedom from any patent to be inferred. Since we have no control over physical conditions surrounding the application of information herein contained, Plaid Enterprises, Inc. disclaims any liability for untoward results.

Important: Please be sure to thoroughly read the instructions for all products, paying particular attention to all cautions and warnings shown to ensure the proper and safe use of the product.

Copyright: All Rights Reserved. No part of this Project may be reproduced in any form without permission in writing, except for your personal use, except by reviewer, who may in reviewing this project, quote brief passages in a magazine or newspaper.