Email Signup

Subscribe to the Plaid Crafts Newsletter for craft project ideas, product news, our live events, and more!

25% Bucilla Spring Sale

Save 25% on orders of $60 or more and get free U.S. shipping! Shop new arrivals from Bucilla - Seasonal Felt Stockings & Ornaments! This promotion cannot be combined with other promos. See shipping details. for inspirational ideas. Get free U.S. ground shipping on orders $60+! This promotion cannot be combined with other promos. See shipping details.

Use Code

Sale Ends 4/20/24

Upcycled Vintage Vanity, Lamps, and Home Decor

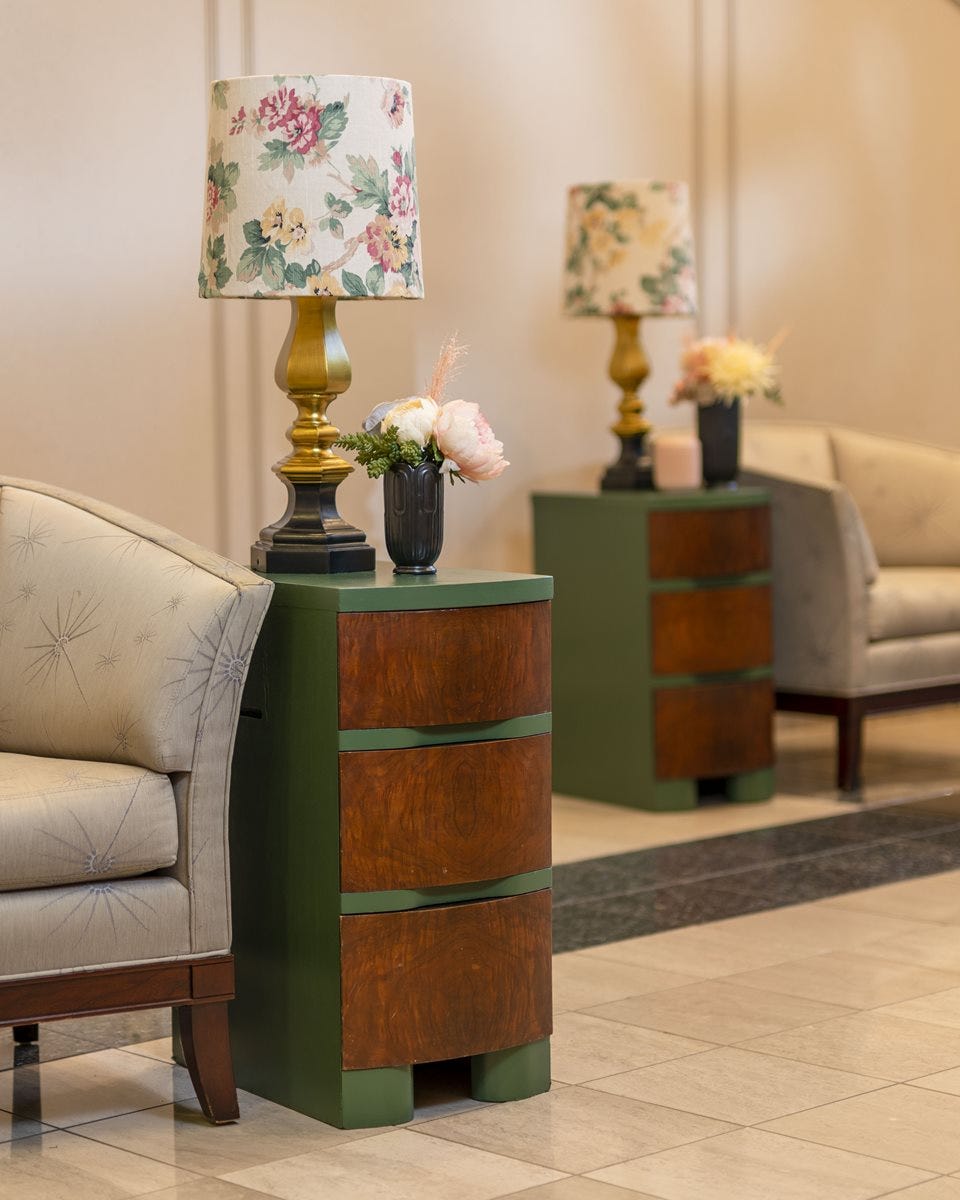
Transform an entire space in your home by upcycling a variety of vintage pieces to create a beautiful, elegant decor theme. Turn a vanity into side tables, give some lamps a fresh coat of paint and fancy florals, and refresh some of your home decor items for added charm to your space.

This project features these great brands:

  • Mod Podge Decoupage Finishes and Formulas Logo

At a Glance:

Project #16023 Skill Level: Intermediate
supplies

Plaid Supplies

Folkart ® Brush Sets - Gold Taklon Set, 3 pc. - 50559

Number Needed: 1 $5.99
Item not for sale on Plaid Online.

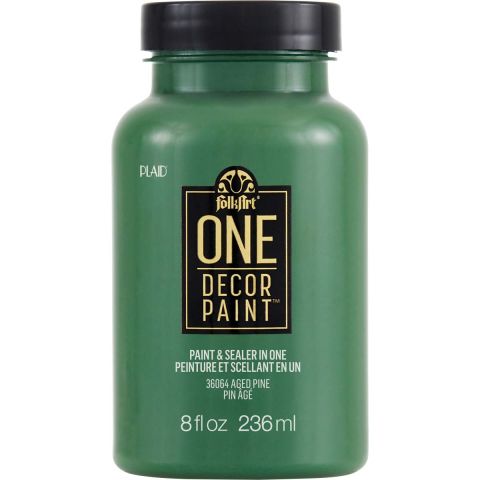
FolkArt ® One Décor Paint™ - Aged Pine, 8 oz. - 36064

Number Needed: 1 $8.99
Item not for sale on Plaid Online.

FolkArt ® One Décor Paint™ - Blossom, 8 oz. - 36061

Number Needed: 1 $8.99
Item not for sale on Plaid Online.

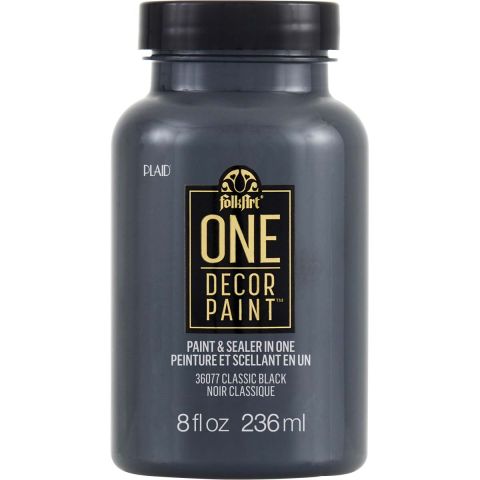
FolkArt ® One Décor Paint™ - Classic Black, 8 oz. - 36077

Number Needed: 1 $8.99
Item not for sale on Plaid Online.

FolkArt ® Treasure Gold™ - Gold, 4 oz. - 5535

Number Needed: 1 $15.99
Item not for sale on Plaid Online.

Mod Podge ® Fabric, 8 oz. - CS11218

Number Needed: 1 $8.99
Item not for sale on Plaid Online.

Other Supplies

  • Assorted tools- saw and belt sander
  • 2 brass lamps
  • 2 drum lampshades
  • Vintage floral fabric
  • 2 vases
  • Small round box
  • Assorted floral stems


instructions

Vintage Vanity Side Tables:

  1. Cut center piece of furniture to create 2 separate sections of drawers only as shown. 
  2. Using sander to smooth and flatten area that was cut.
  3. Dust and clean furniture.
  4. Remove drawers and paint the body of the furniture with Aged Pine.  Let dry.
  5. Apply several coats letting dry between coats.
  6. Insert drawers and enjoy!
Vintage Gold Floral Lamps:
  1. Dust and clean lamp bases.
  2. vases and box.
  3. Paint lamps with Gold.  Apply several coats letting paint dry between coats.
  4. Following line on lamp base, dip with Classic Black.  Paint base solid black on bottom section of lamp as shown.  Apply several coats letting dry between coats.
  5. Cut fabric size of lampshade, cut fabric ½ “ larger on top and bottom to create hem.
  6. Lay fabric on wax paper and fold creating hem.  Brush with Mod Podge fabric and let dry.
  7. Using Mod Podge apply fabric to lampshade as shown.  Let dry and attach to lamp base.
  8. vases with Classic Black and let dry between coats.
  9. Paint box with Blossom and let dry between coats.
  10. Fill vases with floral stems.
Vintage Vases and Small Box:
  1. Dust and clean vases and box.
  2. Paint vases with Classic Black and let dry between coats.
  3. Paint box with Blossom and let dry between coats.
  4. Fill vases with floral stems.


resources

Related Videos

Mod Podge Tips and Tricks for No Wrinkles

Learn how to get perfect Mod Podge projects everytime!

Watch this Video

Learn how to get perfect Mod Podge projects everytime!

How Mod Podge is Made

Get a behind-the-scenes look at how Mod Podge is made, bottled and shipped to you!

Watch this Video

Get a behind-the-scenes look at how Mod Podge is made, bottled and shipped to you!

Applying Paper to Wood Using Mod Podge

Learn basic steps of applying paper to wood using Mod Podge.

Watch this Video

Learn basic steps of applying paper to wood using Mod Podge.

Related Resources

Free Lesson Plans featuring Mod Podge

Free Lesson Plans featuring Mod Podge

Use these free lesson plans to craft an unforgettable experience in the classroom with one of these

View PDF
Mod Podge Clear Image Transfer FAQs

Mod Podge Clear Image Transfer FAQs

Learn more about Mod Podge Clear Image Transfer Medium by reading the FAQ. 

View PDF
Mod Podge Ultra Frequently Asked Questions

Mod Podge Ultra Frequently Asked Questions

Learn more about Mod Podge Ultra by reading the frequently asked questions. 

View PDF

Related FAQs

Decorated candles using Mod Podge ® or Royal Coat ® Decoupage Finish are meant for decorative purposes and not for illumination. Many of the decorations would catch fire and be hazardous if the candle were burned. However, if you are using a wide pillar candle and the decorations do not go to the top of the candle, it can be burned down slightly to create a well, then a votive candle inserted into the well. A new votive candle can be inserted when the old one is finished. Use extreme caution and good judgment when burning candles that have been decorated.
First check to see if the napkin is 2 ply. If so, separate and lay aside. Brush Mod Podge directly on the your surface. Carefully place the printed napkin on the surface and lightly blot down with a dampened sponge. Start blotting in the center and work to the edge. Once it is in place, let dry. After about 30 minutes lightly apply a top coat of Mod Podge.
  1. Apply a coat of Mod Podge® to the inside of the form and allow to dry slightly. Place the Napkin design where desired and gently rub it flat with your thumb.
  2. Cover the image with a second very thin coat of Mod Podge®, beginning in the center and brushing out. Allow to dry thoroughly.
  3. Add special sponging or spouncing effects, as desired, around the design and let dry.
  4. Paint the whole inside with a light color of FolkArt® Acrylic Colors. If you want to use a darker color inside, first paint around the Napkin design with a light color, let dry and then add the darker color.
Painted Ceramic Espresso Set
New!
Painted Ceramic Espresso Set
Bright Palette Sign with Birdhouse Plaques
New!
Bright Palette Sign with Birdhouse Plaques
Floral Starburst Wood Burned Frame
New!
Floral Starburst Wood Burned Frame
Planters and Painted Rocks with FolkArt Dots
New!
Planters and Painted Rocks with FolkArt Dots

Disclaimer: The information found in each project is presented in good faith, but no warranty is given, nor results guaranteed, nor is freedom from any patent to be inferred. Since we have no control over physical conditions surrounding the application of information herein contained, Plaid Enterprises, Inc. disclaims any liability for untoward results.

Important: Please be sure to thoroughly read the instructions for all products, paying particular attention to all cautions and warnings shown to ensure the proper and safe use of the product.

Copyright: All Rights Reserved. No part of this Project may be reproduced in any form without permission in writing, except for your personal use, except by reviewer, who may in reviewing this project, quote brief passages in a magazine or newspaper.