.jpg.aspx)
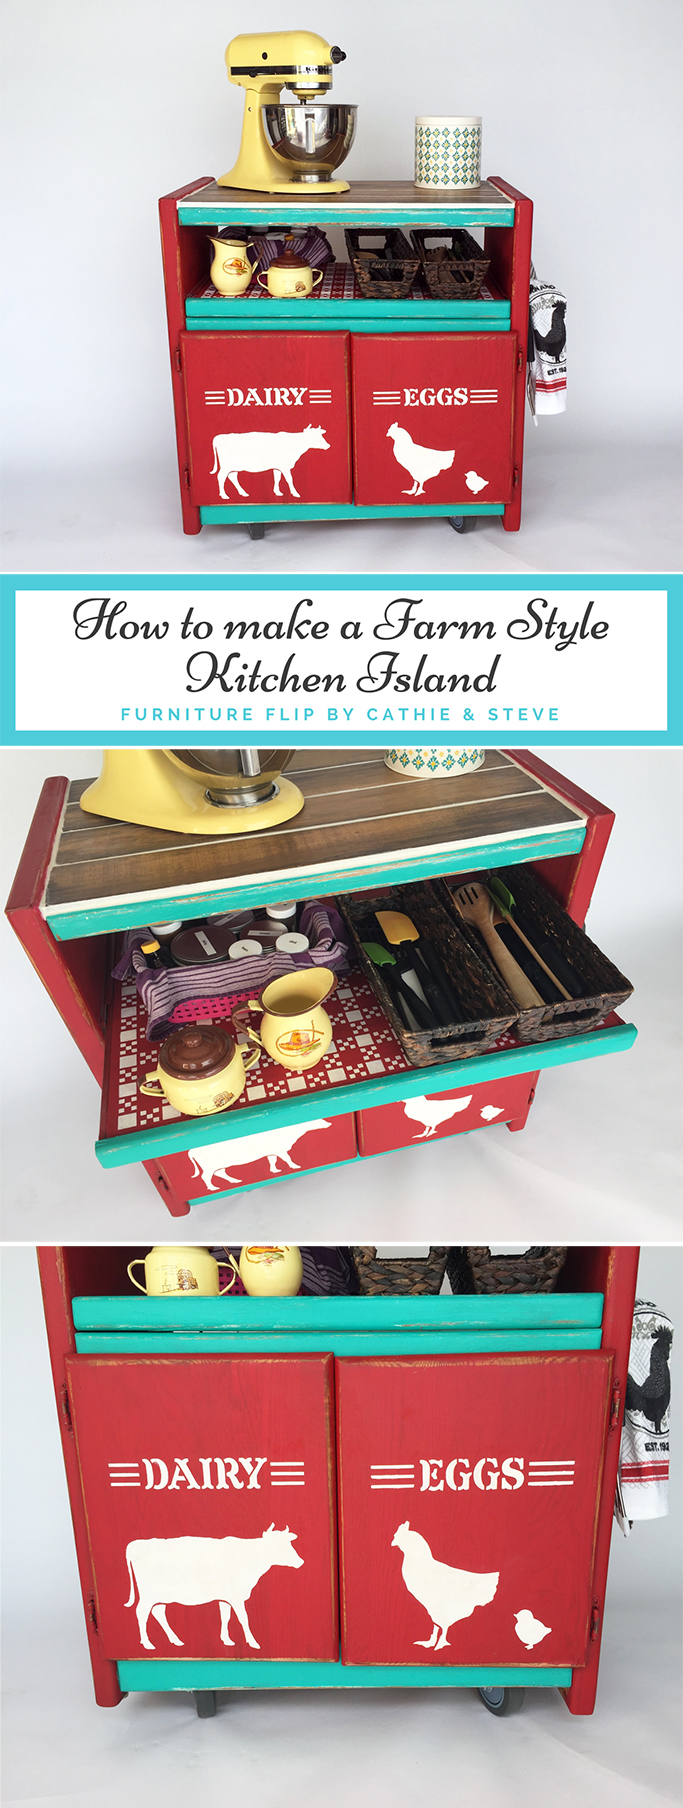
Have you been looking for a fun DIY way to revamp your kitchen? Look no further than Cathie & Steve’s brilliant TV cart-to-kitchen island transformation. This dynamic duo uses FolkArt Home Decor Chalk and some stunning stencils to upcycle this dated tv cart into a country chic delight.
.jpg.aspx)
Scroll down to watch the video at the end of this post. Let us know in the comments what you think!

Save our Kitchen Island Tutorial on Pinterest to inspire your next furniture redo!
Watch Now
Liked this
Furniture Flip? Watch more, and be sure to
subscribe for more DIY tutorials and tips
Instructions
Skill Level - Beginner
Time to complete - 2 hours or more
Plaid Supplies:
Other Supplies:
- TV Cart
- Spray Cleaner
- Rag
- Small Flat Paintbrush
- Painter Tape
- Sandpaper
- Wood Grain Tiles
- Tile Adhesive
- Tile Grout
- Tiling Tools
- Wheels
- Hooks
- Baskets
Instructions/Steps:
1. Clean and wipe down the TV cart.
2. Paint 2-3 coats of Imperial Red. Allow for dry time in between coats. For full coverage use 3 coats. NOTE: we did not paint the trim Imperial Red.
3. Paint the trim with Sheepskin. This will act as a primer for the Turquoise paint. After the Sheepskin is fully dry, paint two coats of Turquoise paint over the Sheepskin.
4. Use any stencil design from the stencil pack. We used the gingham checks, eggs and dairy stencils. Tape the stencils in your desired area on the cart. We did the pull-out tray and the door fronts. Load your brush with Sheepskin, tap off any excess paint. Tap or swirl the paint over the stencil until the stencil is covered. Lift the stencil while it is still wet. Allow to dry.
5. Sand the edges and points of detail to reveal wood underneath.
6. Apply the Clear Wax to the entire surface of the cart. Use a swirl motion. Allow to dry for 24 hours.
7. Cut tiles to fit the top of the cart. Attach tiles to the top of the cart using tile adhesive. Let the adhesive dry for 24 hours before grouting. Once dry, grout all the edges and in between the tiles.
8. Attach any wheels to the bottom, hooks to the sides and add storage baskets.
PROJECT TIP:
Wood grain tiles are available at any box home improvement store. If you want a more fun look, tile the top with broken bits of china plates.